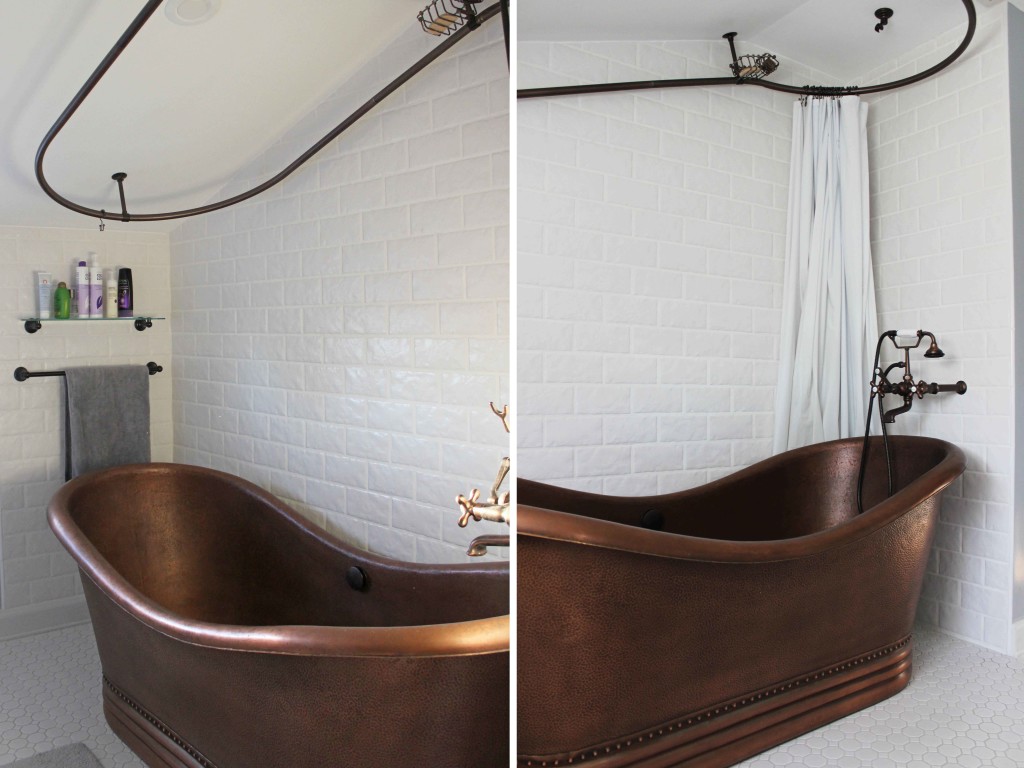
I really like the look of subway tile on a bathroom wall. Since we live in what used to be a chicken coop, I thought having a farmhouse style bathroom would perfectly fit our house.
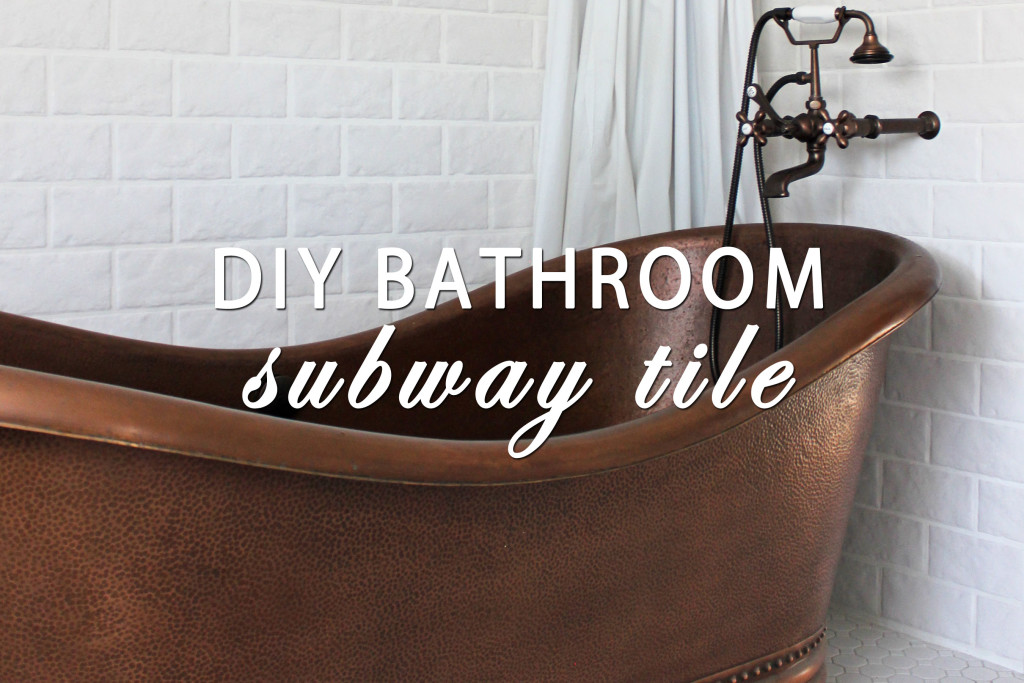
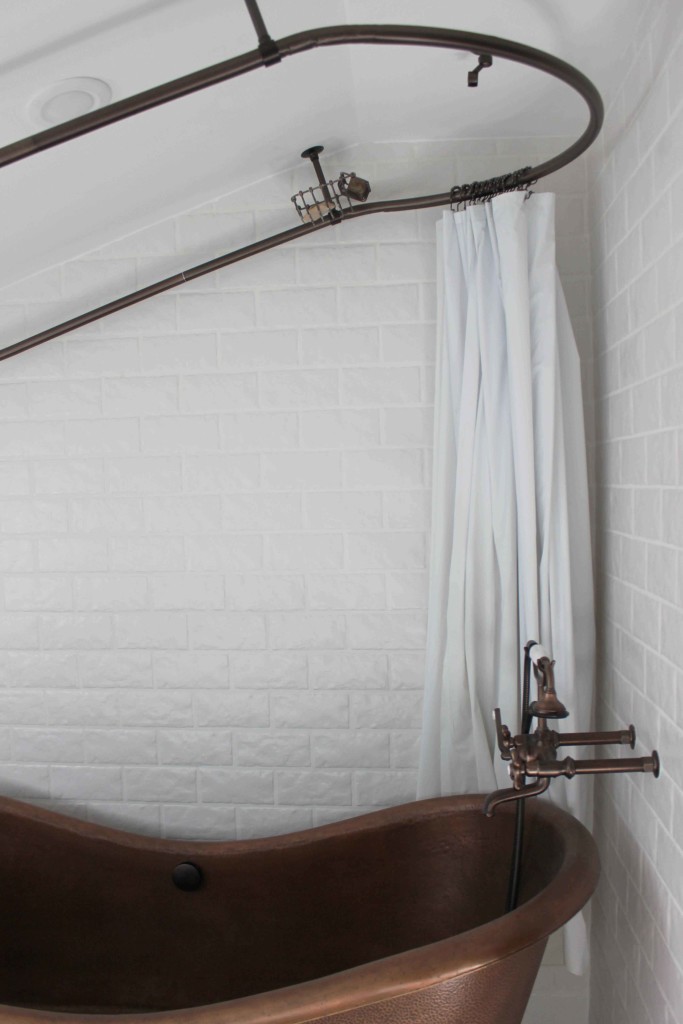
I drew inspiration from this photo that I found on Pinterest. I was drawn to this look because of the white painted brick, and how it complimented the copper tub in this bathroom. Although this particular bathroom is no where near the size of our humble washroom, I still appreciate how it all ties together. Keeping that image in mind, I selected a tile at Best Tile that I thought mimicked painted brick the most. I stayed away from glossy smooth surfaces, and selected one with a more matted and textured finish.
Here is a look into our process of installing our bathroom subway tile.
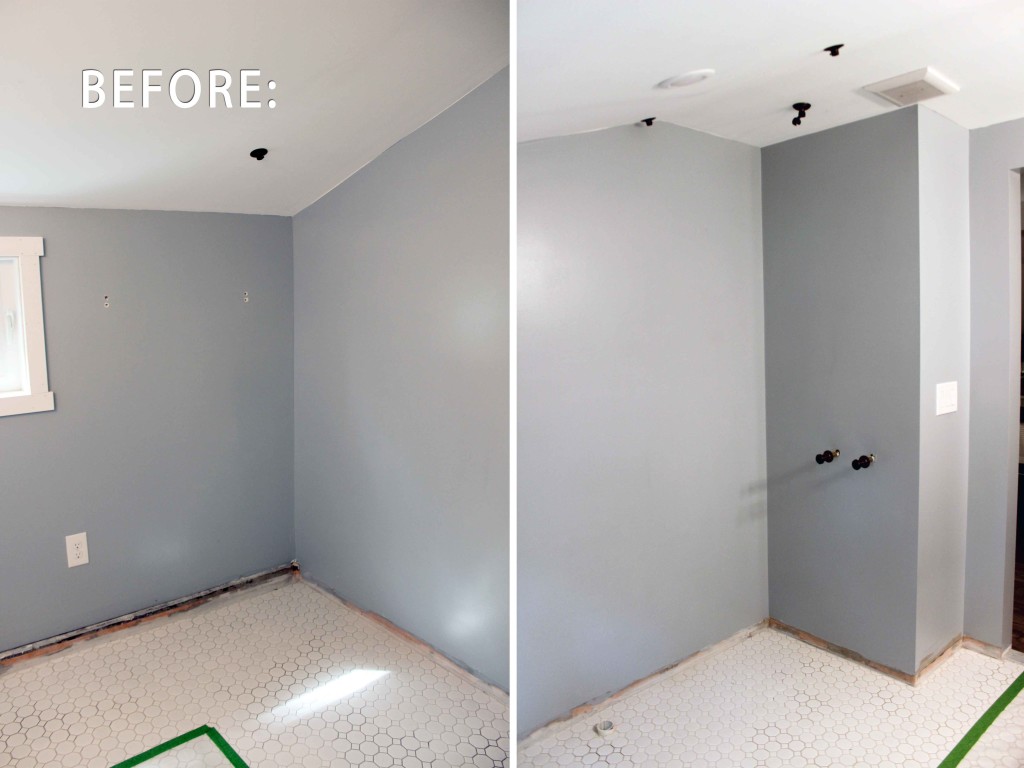
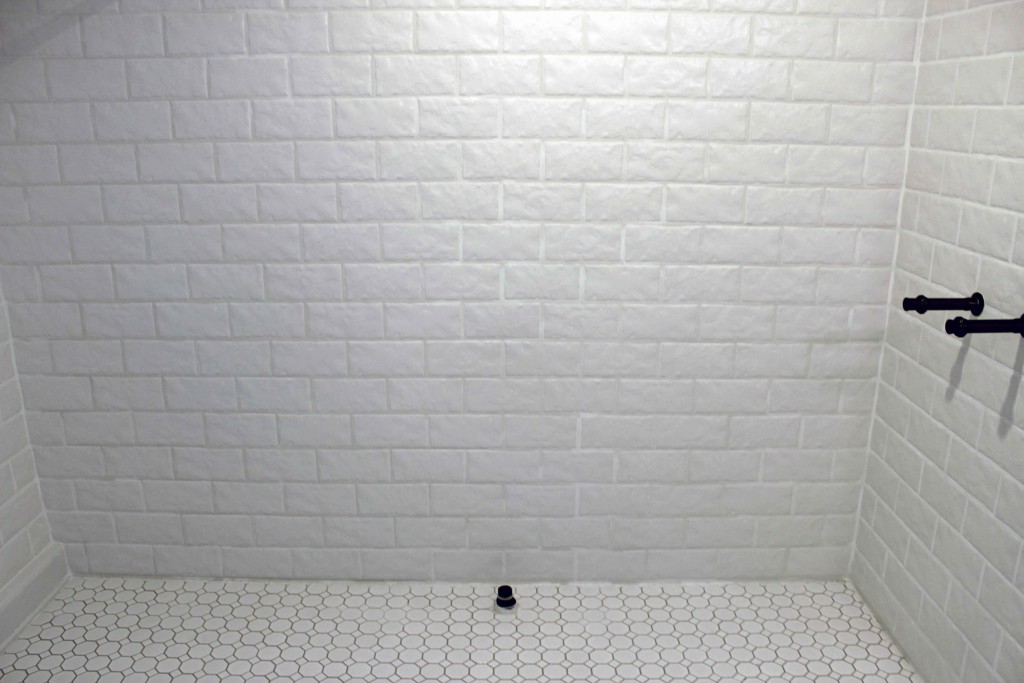
^ Our bathroom before the trim and tile.
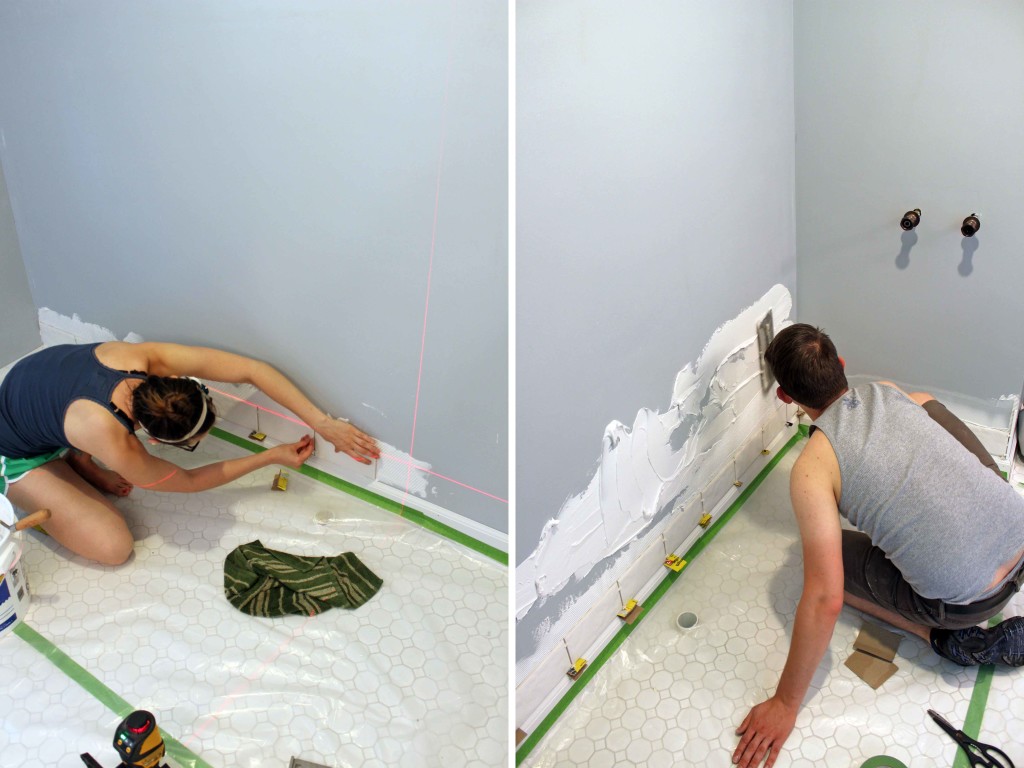
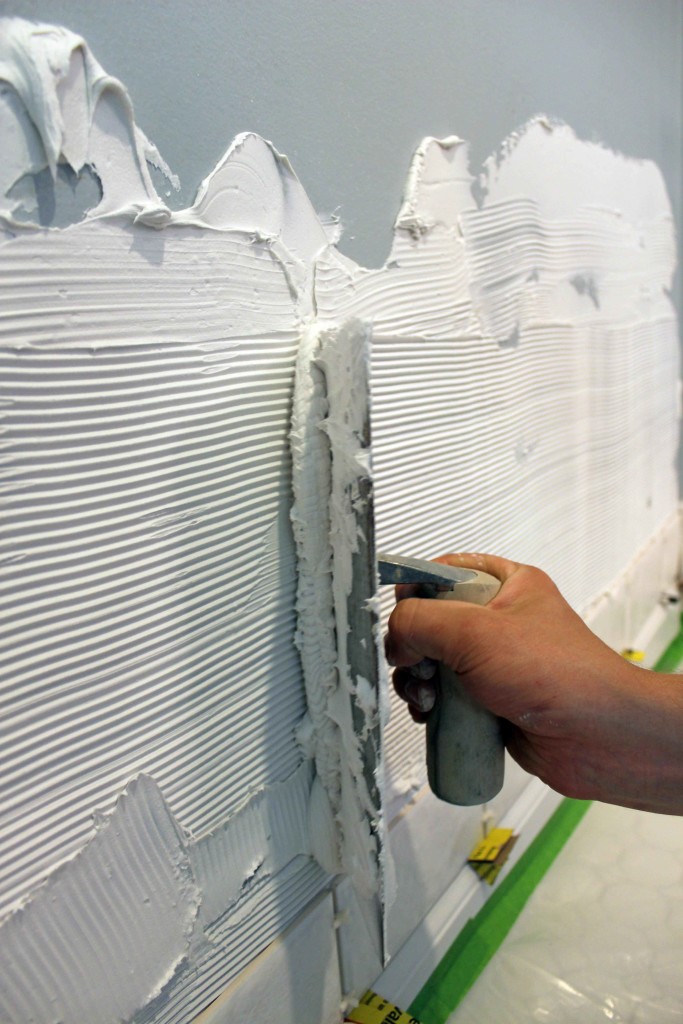
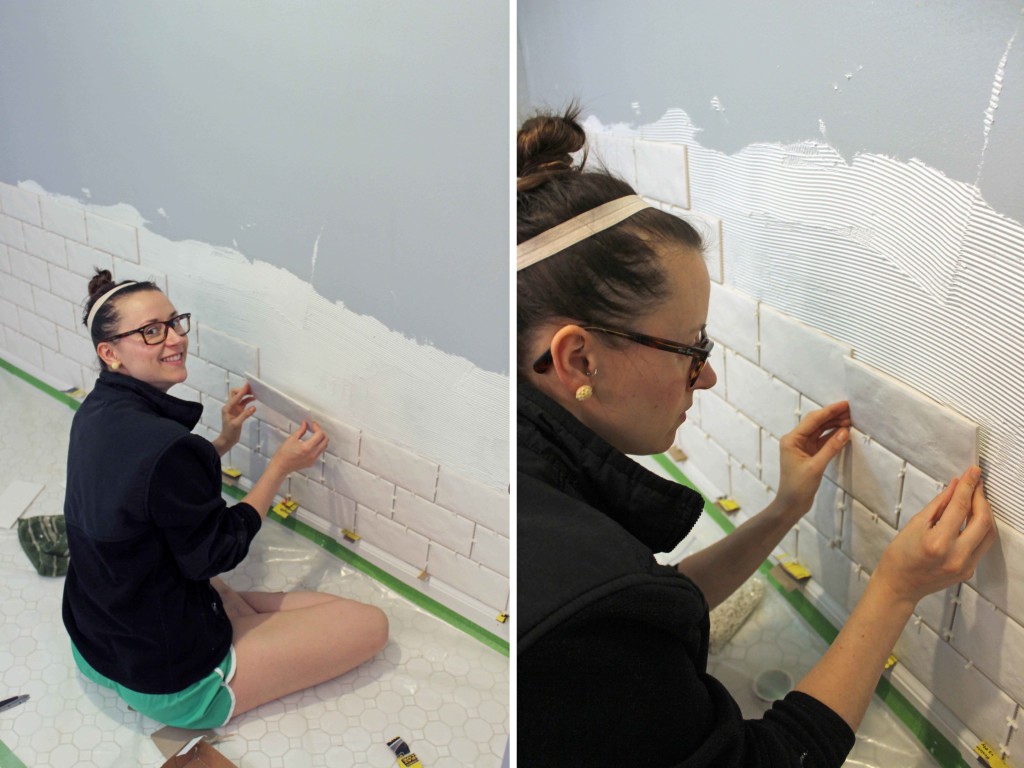
The first thing we did before putting up the subway tile was sand the walls. Doing this ensured that the acrylic tile adhesive and tile would adhere to the wall properly. We used a laser level to cast straight lines on the wall as a guide, and tile spacers so the tile would all be evenly spaced.
After we let the tile sit for a little over 24 hours, next came the grout. Here is where the story gets really interesting, and hopefully you will learn from our rookie mistake! Any professional tiler will tell you not to do what we did. We were so excited to grout the walls, that we mixed the entire bag. With stars in our eyes, we began to grout. Well, grouting a wall is extremely different than grouting a floor because you have one major factor to take into consideration: Gravity. (Insert John Mayer song here). As we were grouting the bathroom walls, we discovered that it was nearly impossible at first, as globs of grout fell to the the floor, piling up faster than it was being pushed into the lines. About 20 minutes into it, we really were racing the clock, as the grout we have sets in 30 minutes. Grout was everywhere. The bathroom was in disarray, and we weren’t even halfway finished. The grout in our bucket started to harden. This is where we should have stopped. But no, we thought it would be smart to add more water to the bucket and keep going. (Bad idea!) Adding water to the already hardening grout in the bucket, started a chemical reaction and the bucket got really hot. On top of it all, the grout on the wall started to cure. We frantically grabbed our sponges and scraped and scrubbed what we could. When that stopped working, I literally grabbed a plastic spatula and started using that to scrape the grout off the surface of the tiles. We were a mess.
Anyway, we ended up buying a grout removing tool, and had to chisel out the grout between each and every line. The removal process took 5 days. When all the grout was gone, we repurchased a new bag from Best Tile, and started the grout process over again. This time, we mixed only a fraction of the bag at a time, and grouted the wall in sections.
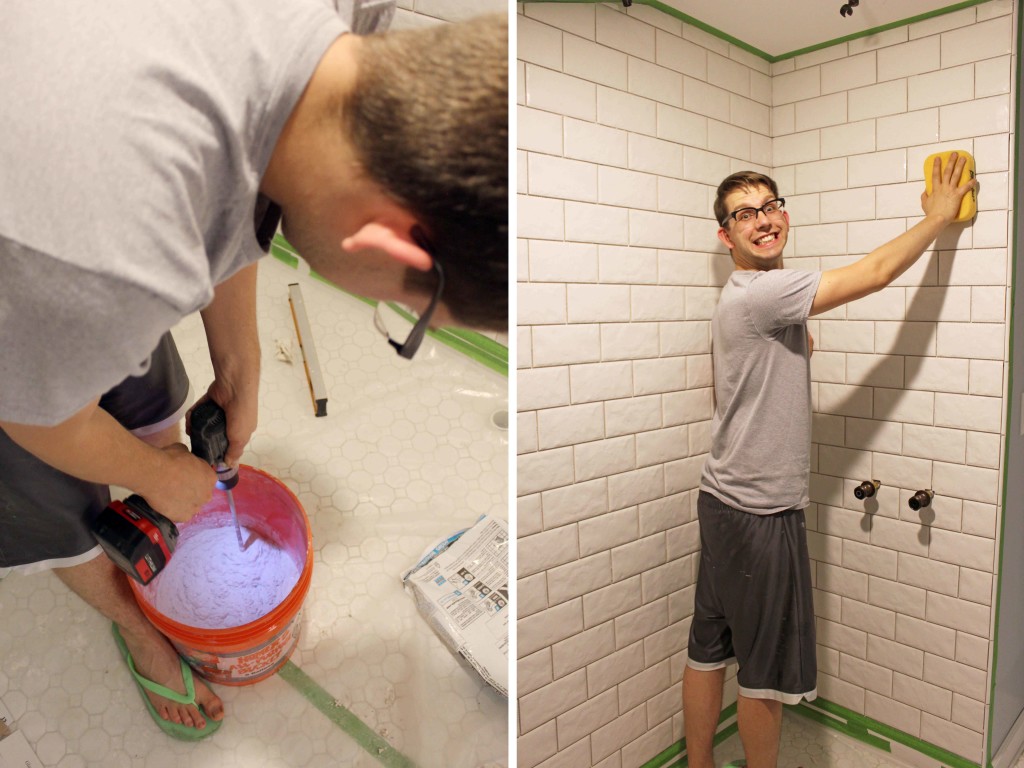
^ Ignorance is bliss- before we grouted the first time.
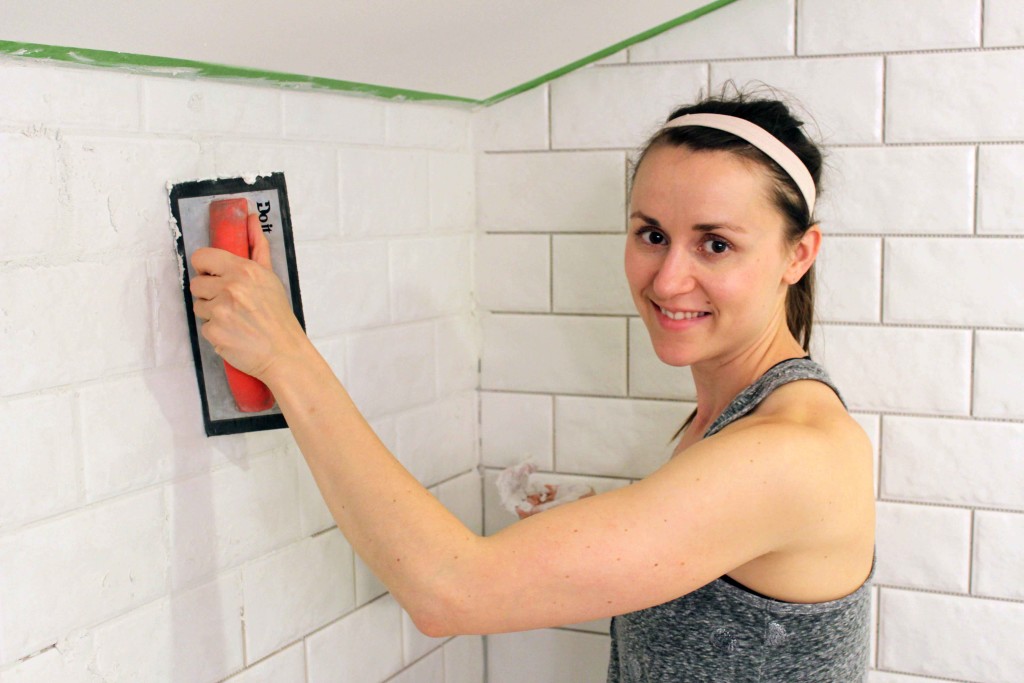
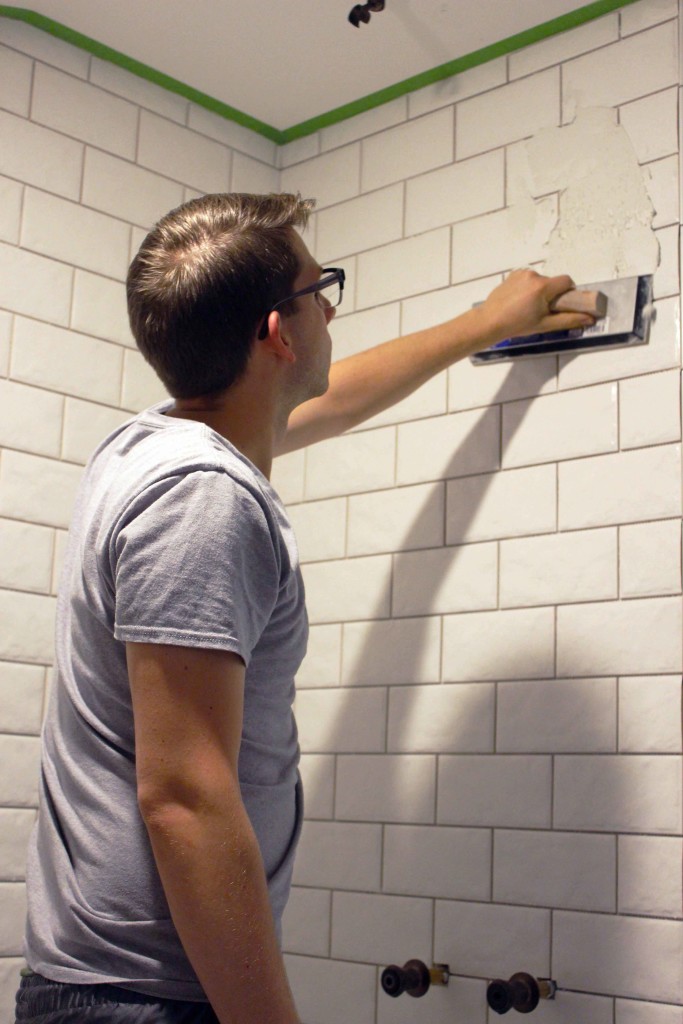
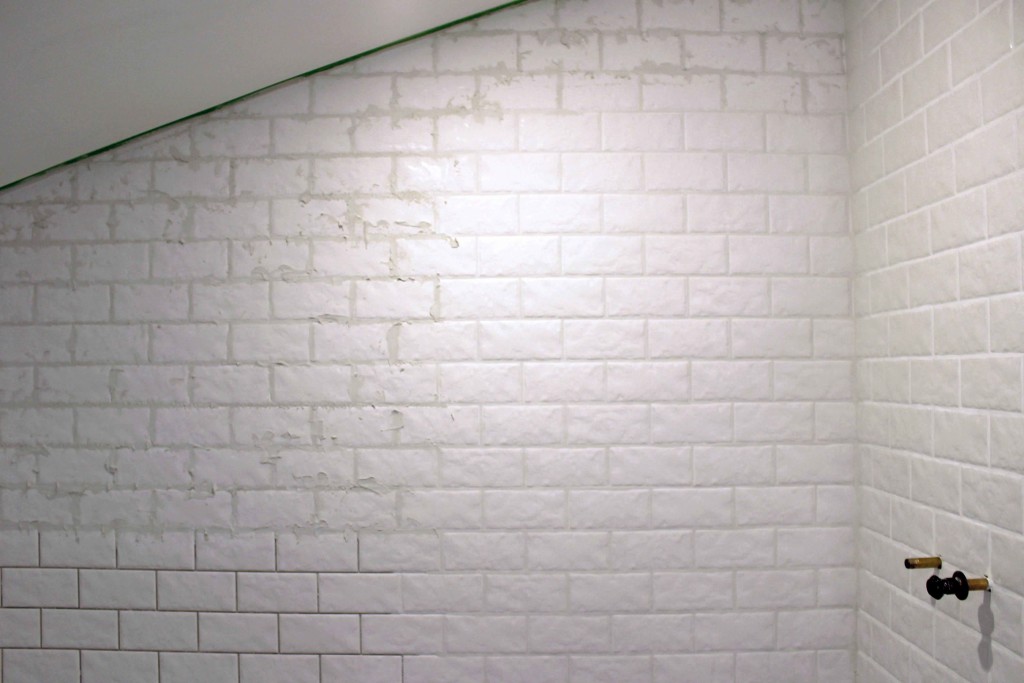
^ The grout progression: Just applied >> just sponged >> complete.
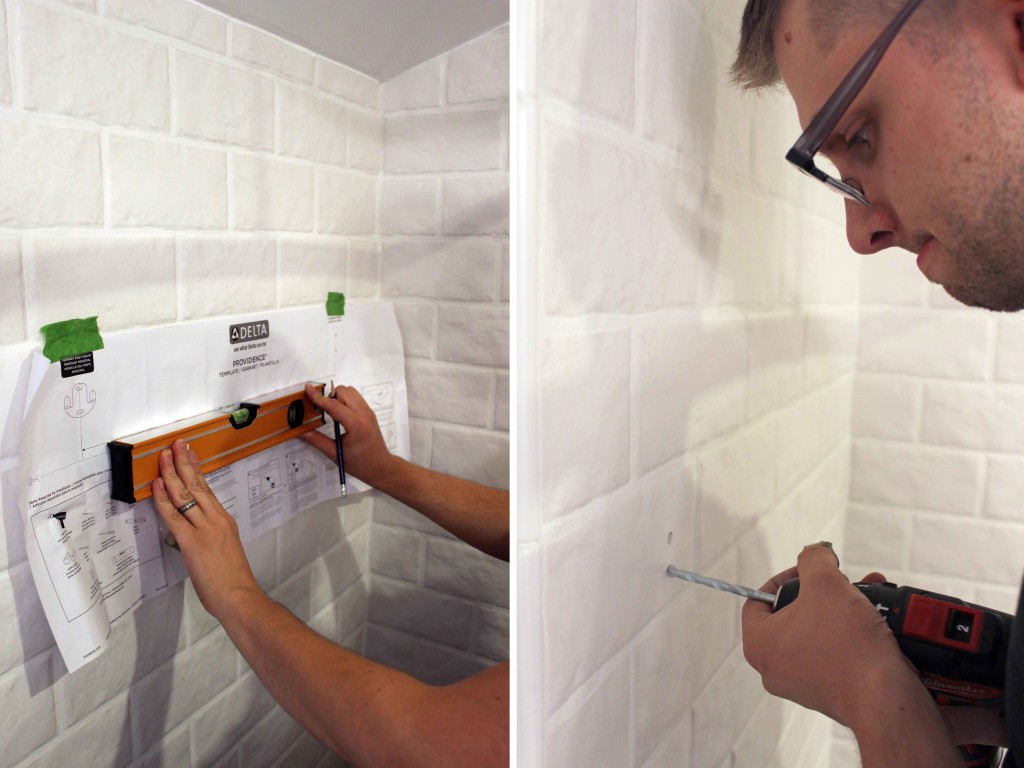
The last step in completing our bathroom was to install a shelf for our shower products. I picked this glass shelf out at Lowes to match the rest of our bathroom accessories. Brandon used a special drill bit to drill through the tile, and we used the measuring guide straight from the packaging.
Besides the grout fiasco, this was a relatively easy project to do. If you have the proper tools, you could easily do subway tile yourself. Please keep in mind, this was strictly a cosmetic project, as we tiled directly over our drywall. We use a shower curtain over our tub to protect the wall from absorbing moisture. If this were an actual shower wall, we would have needed cement board (as opposed to drywall) on the wall, and a vapor barrier behind the cement board.
For a look into our bathroom vanity, read about it here and here. More house projects to come!


