Do you like color? I really enjoy creating something for the home that adds a pop of a bright color to a room, especially if you live in a space that has neutral walls. Here is a project that anyone can do. It’s really easy, fun, and only requires a little bit of elbow grease. Oh, and a trip to a local thrift store or garage sale!
Last weekend was beautiful here in upstate New York. I was itching to do another project, when I stumbled across a garage sale in my town. I pulled over to scope out some goods. After surveying the driveway, my eye was caught by this cute little side table. I picked it up, gathered my supplies and got to work!
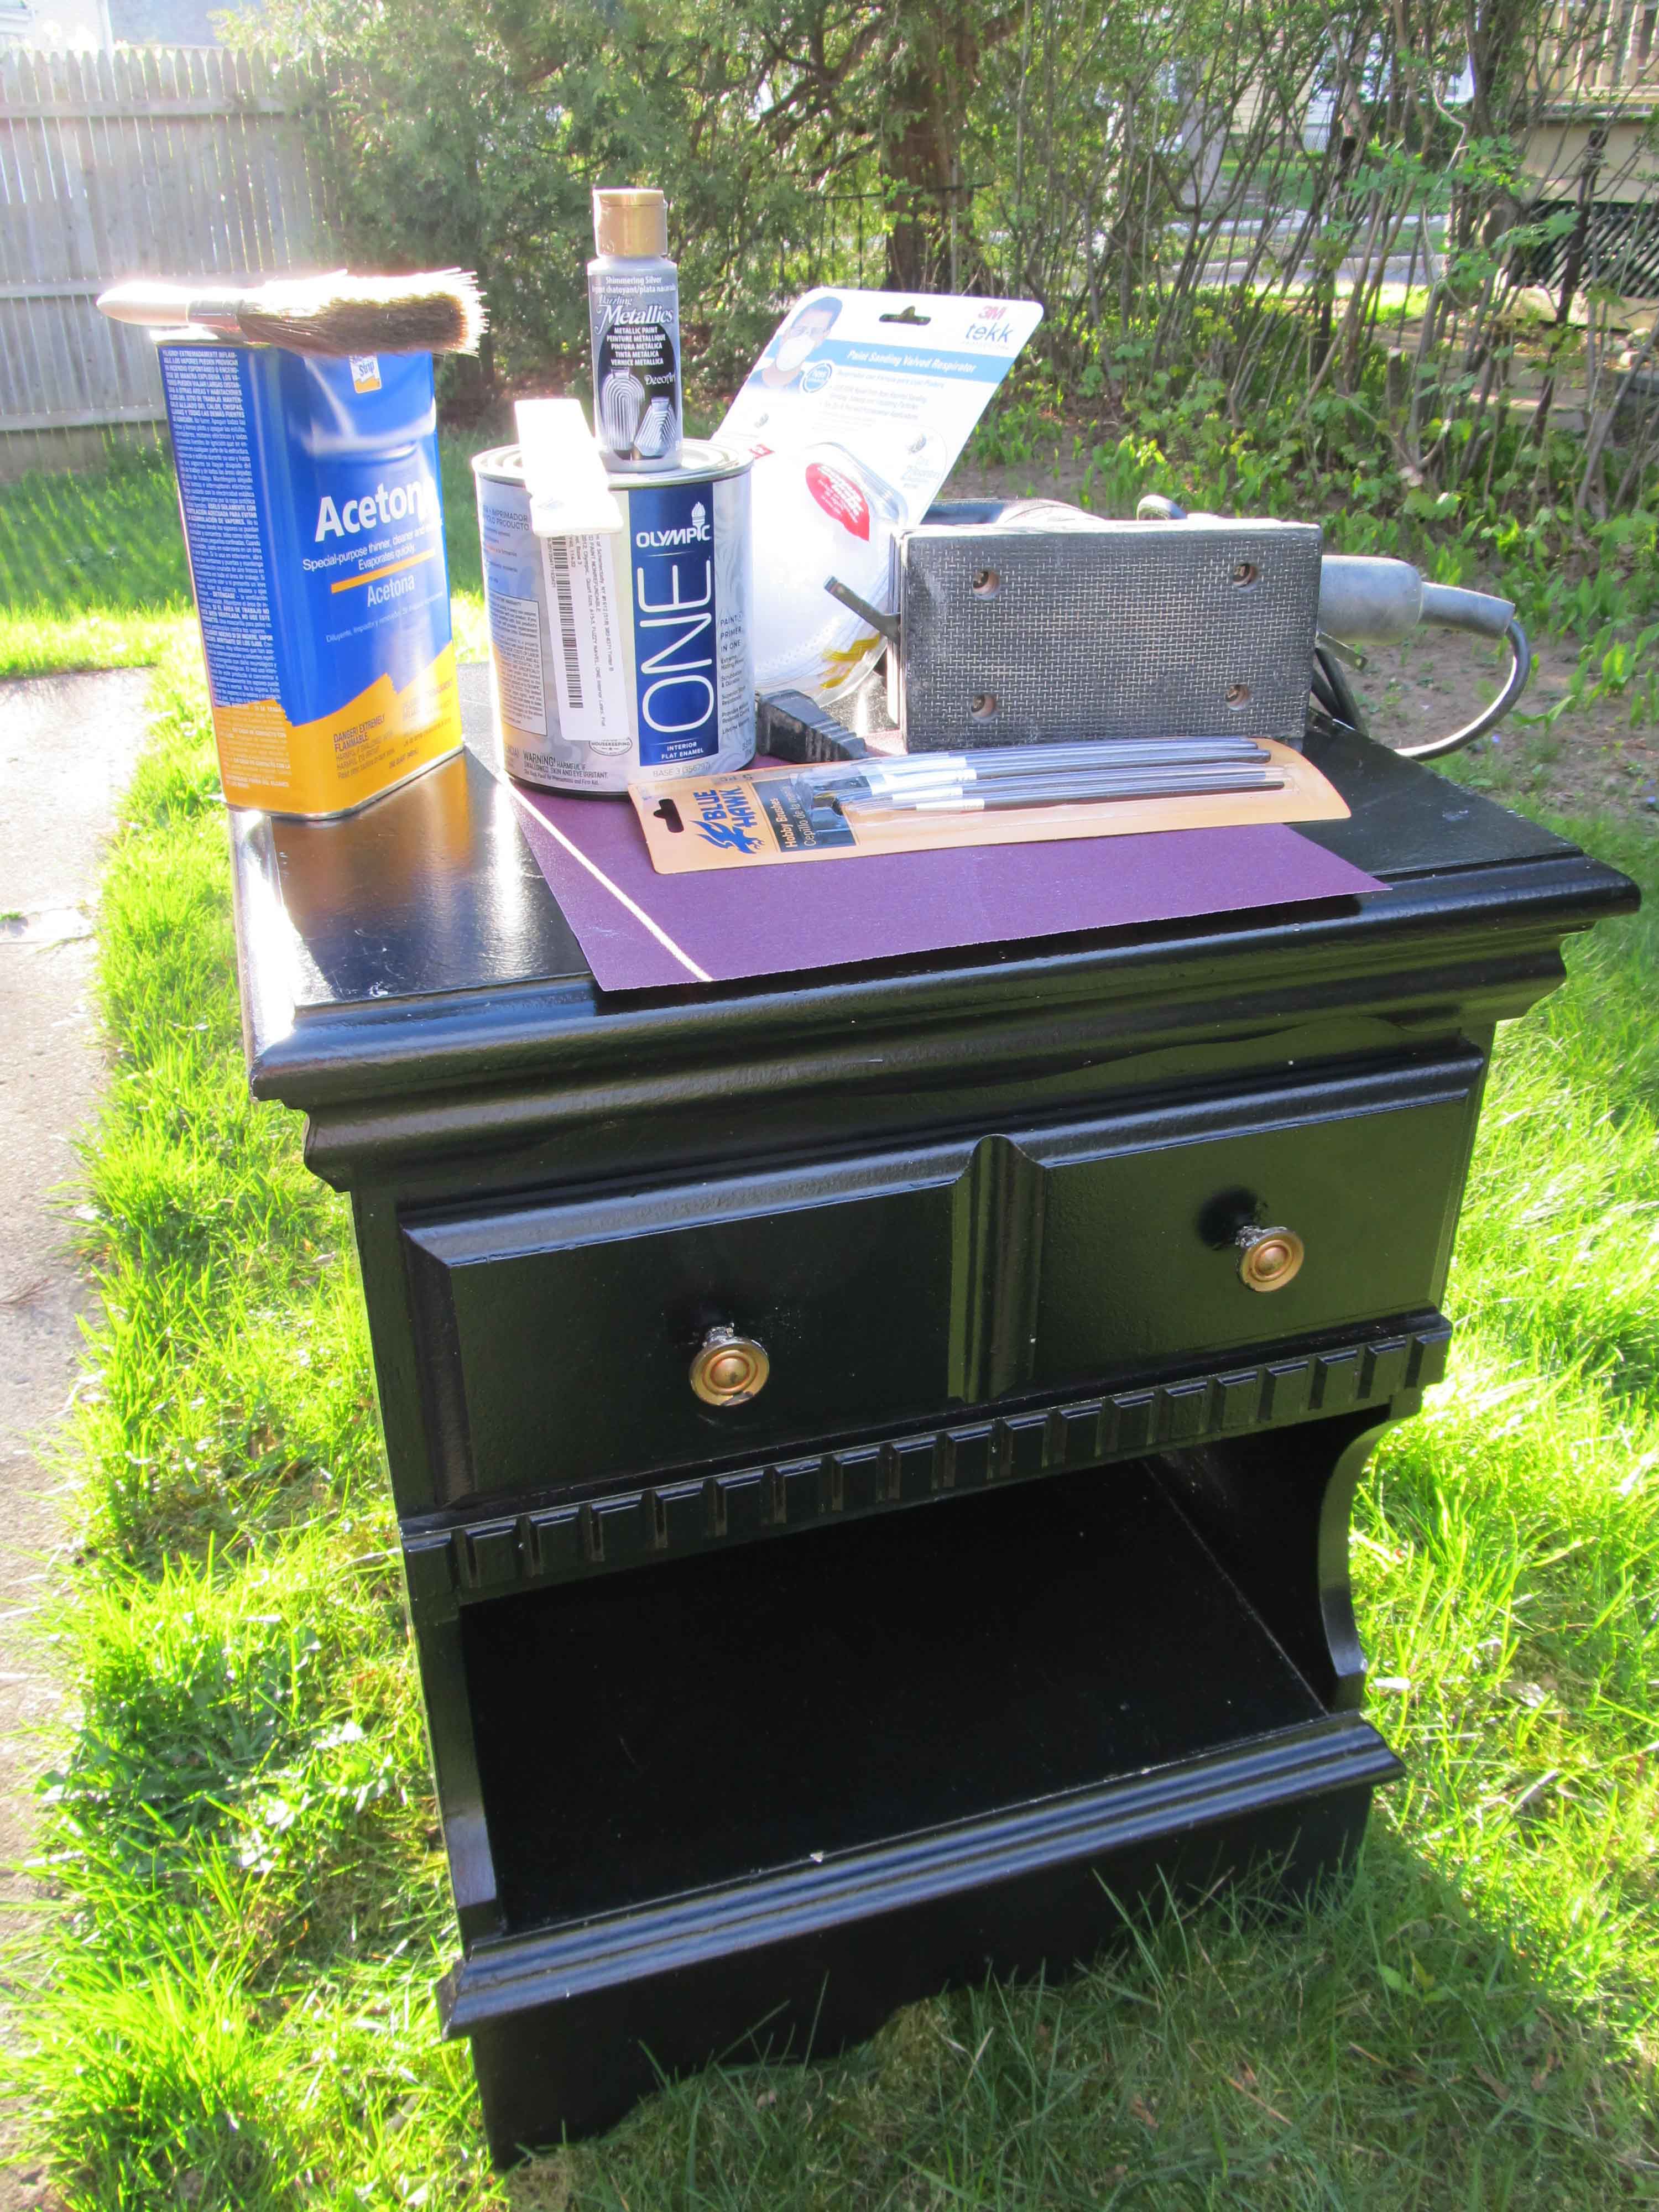
Here is what I used for this project and how I did it:
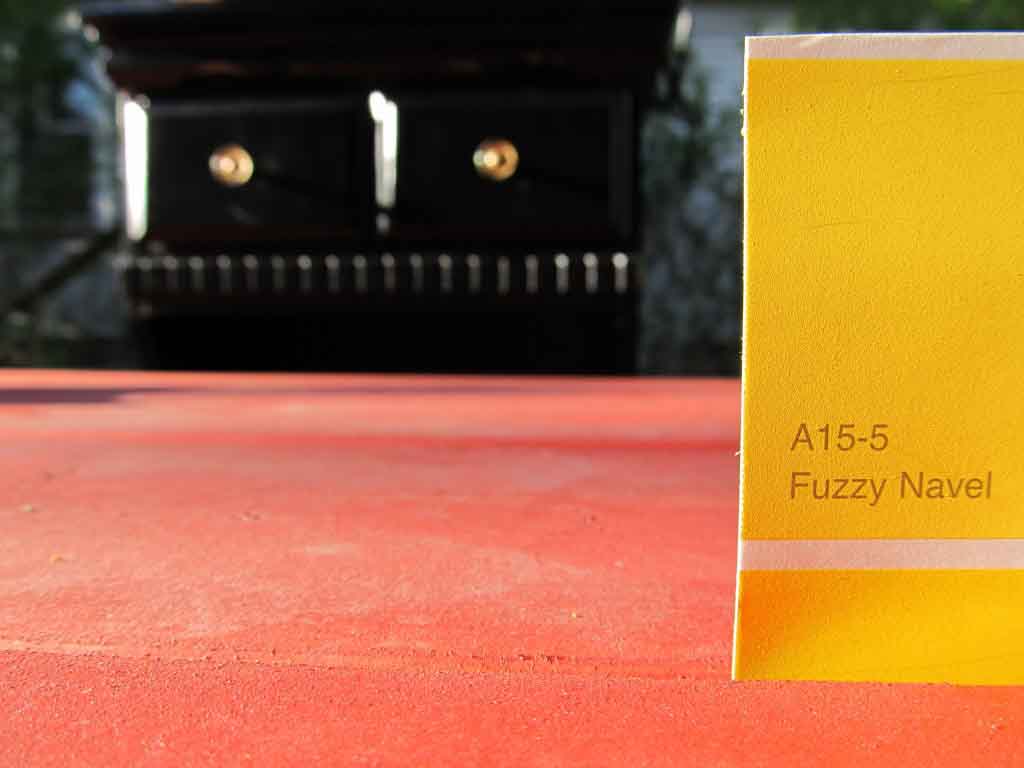
Paint brushes of varying sizes, Valspar paint + primer from Lowes in the color Fuzzy Navel, a small bottle of metallic silver acrylic paint from Jo-Ann Fabrics, a Craftsmen power sander, 220 and 120 grit sandpaper, ventilated dust protecting masks, safety goggles, and acetone to clean the brushes.
First I sanded the paint off using a power sander and 120 grit sandpaper. When sanding wood, always use a rougher grit paper first, then a finer grit. (With sandpaper, the lower the number grit, the rougher the sandpaper is). When using the particular power sander I have, it takes 1/3 of a sandpaper sheet to fit on the sander. I used an entire sheet for this side table. I sanded all the flat surfaces with the power sander, and sanded all the small grooves by hand. I removed the drawer knobs before I sanded the drawer face. I used a rag to wipe off the dust and then switched to the 220 grit sandpaper. I only used 2/3 of the sheet of paper for this part. Depending on how big your piece of furniture is, you may need to use more or less. Just make sure you are aware of how worn down the sandpaper gets as you use it, and switch to a new piece if it gets too worn out. This whole sanding process took about an hour and a half.
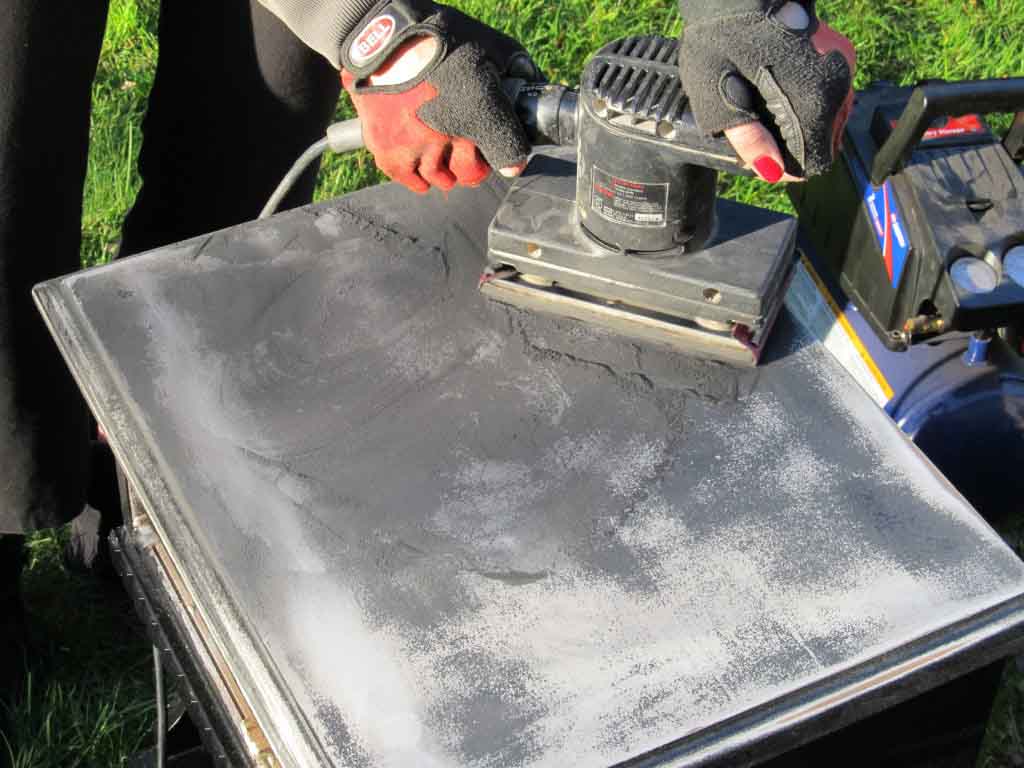
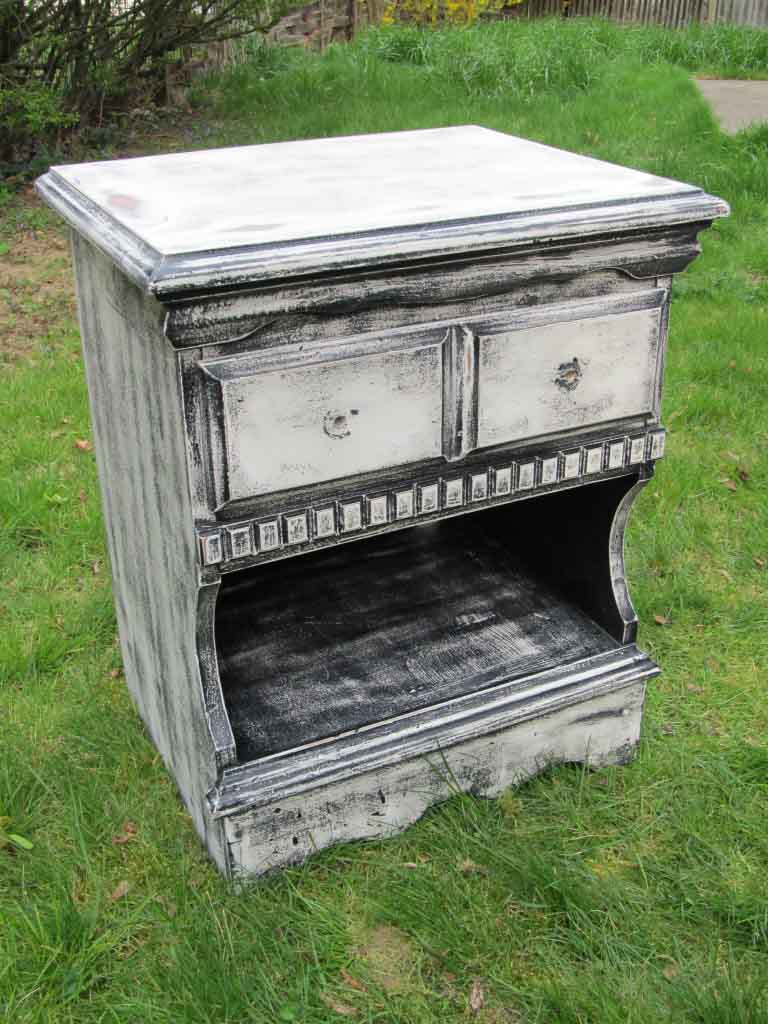 Soon after I sanded to the surface of the side table, I realized that this table isn’t 100% solid wood. (A tip when purchasing from a garage sale is even though the person selling to you says one thing, be aware that they might be telling you this because they want to make a sale). The surfaces of this piece are a manufactured wood composite and I didn’t want to sand on that surface, so I just sanded until I got to the last layer of paint.
Next was the fun part. I chose a yellow shade because I really enjoy bright colors. I like to paint furniture colors that they ordinarily would not be. Keep in mind if you decide to do a project similar to this, be sure to allow for many layers of paint. Don’t expect to get all the painting done with one coat of paint, especially if you are using a light color. You can see below the results of just one coat.
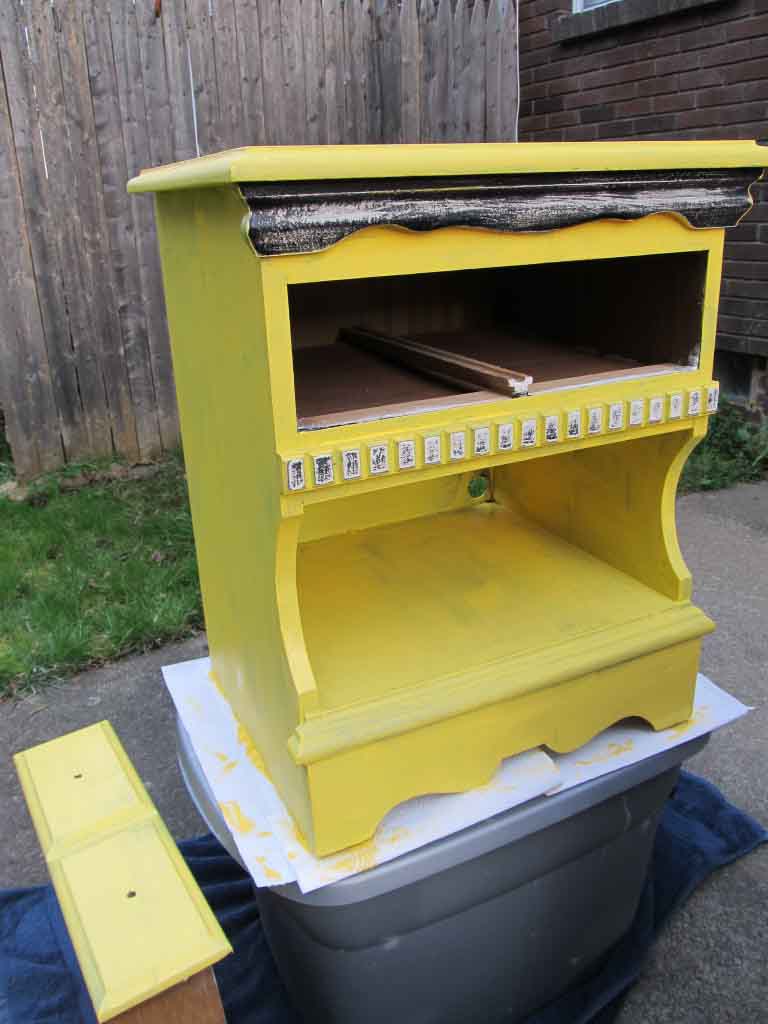
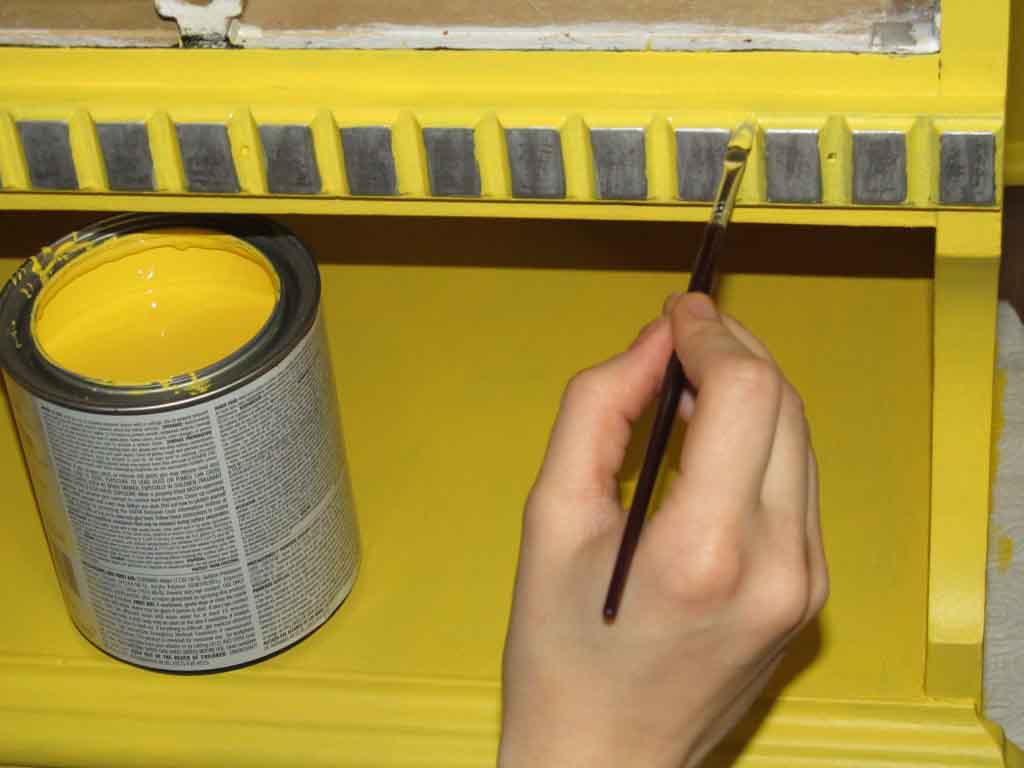
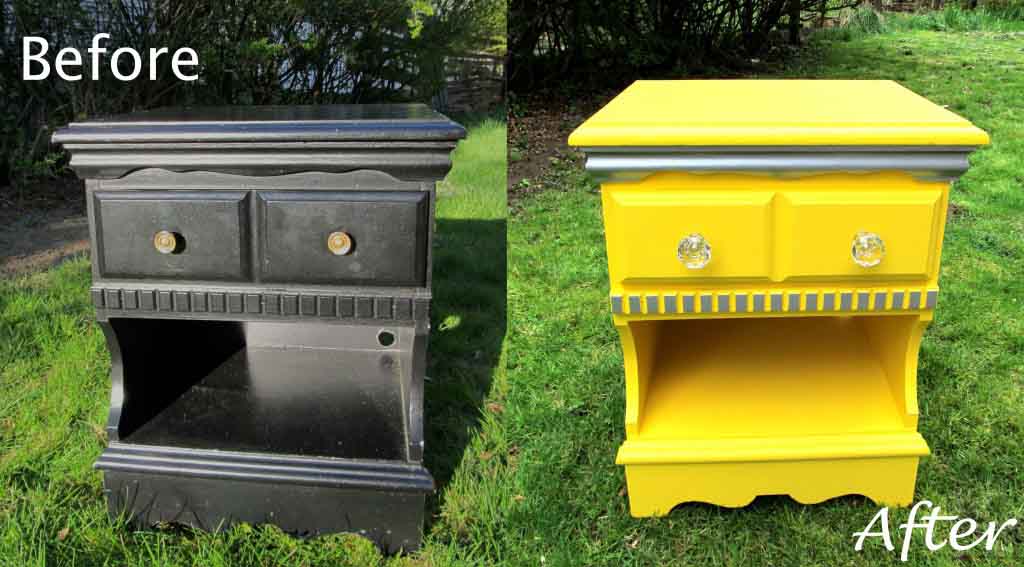
I also like to enhance the details of a piece of furniture using a different color. This side table has some rectangles across the front of it that I painted silver to draw attention to that particular detail. Painting them was tedious. I used a small detailing paint brush to paint in between the rectangles. Then I washed the paint off, dried the brush, and painted the rectangles silver. After the paint dried for a few hours, I repeated the process 2 more times. The entire project took me about 3 days.
If I were to do this project over again, I would have used a paint with a glossy finish rather than a flat finish because glossy paint is more forgiving of scratches and marks. I’m going to go over this with a coat of polyurethane to seal and protect it.
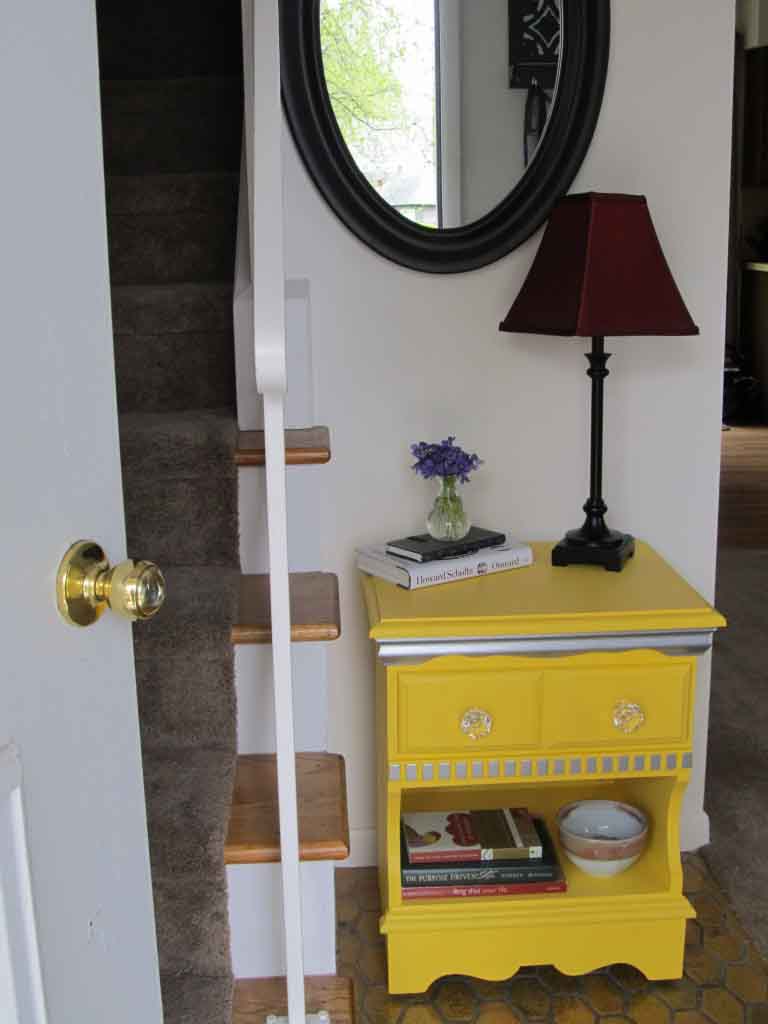
The finished table looks like this:
Do you have an old dresser that needs a new look? How about a desk or coffee table that could use some TLC? I hope you enjoyed learning from my experiences and I inspired you to do your own furniture makeover!
xo,
Maggie


