I have had an incredibly long summer. Without getting into the nitty gritty details, I went through a very difficult season which sort of spun me into a minor depression. So when I am depressed, I grab some dark chocolate, red wine, and begin a new project.
This particular project I have titled “Credenza Therapy” because it has helped clear my mind and remind me of new beginnings. I really love projects where you can see a total transformation.
The supplies I used were 80 grit and 120 grit sandpaper, a power sander, paint/paintbrushes, and painter’s tape.
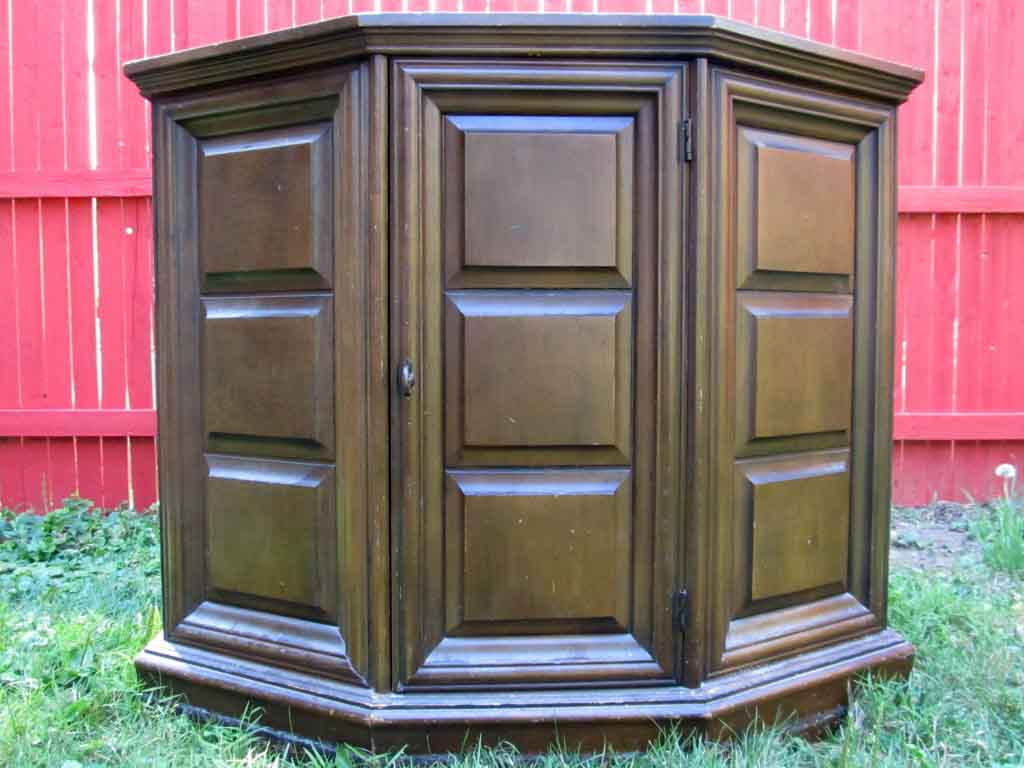
Here is what how the credenza looked when I began:
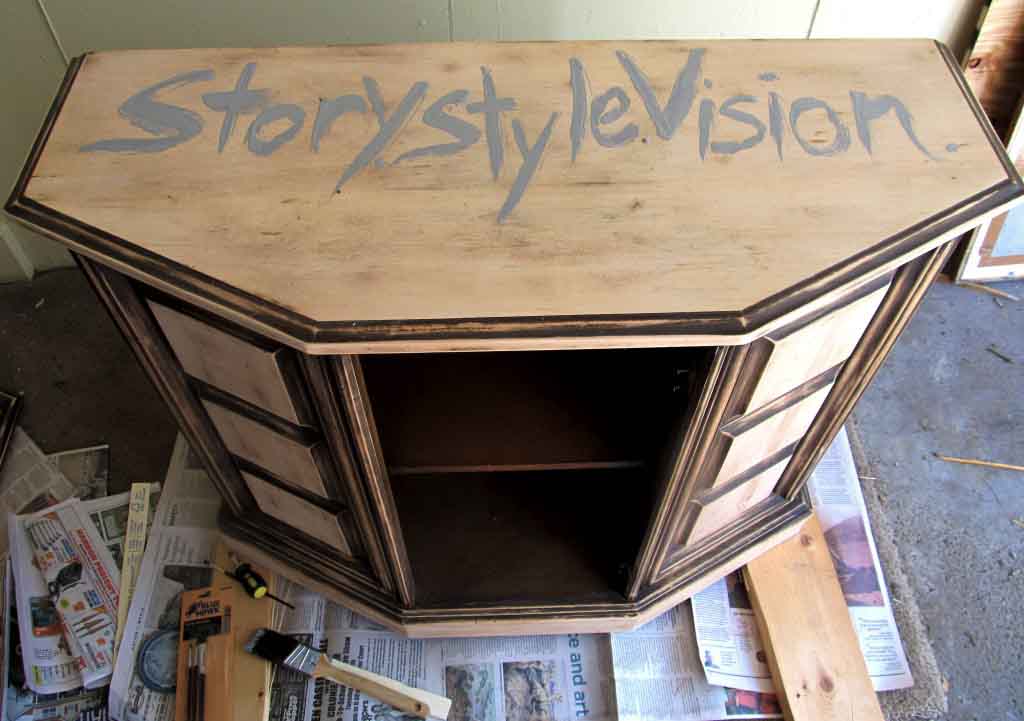
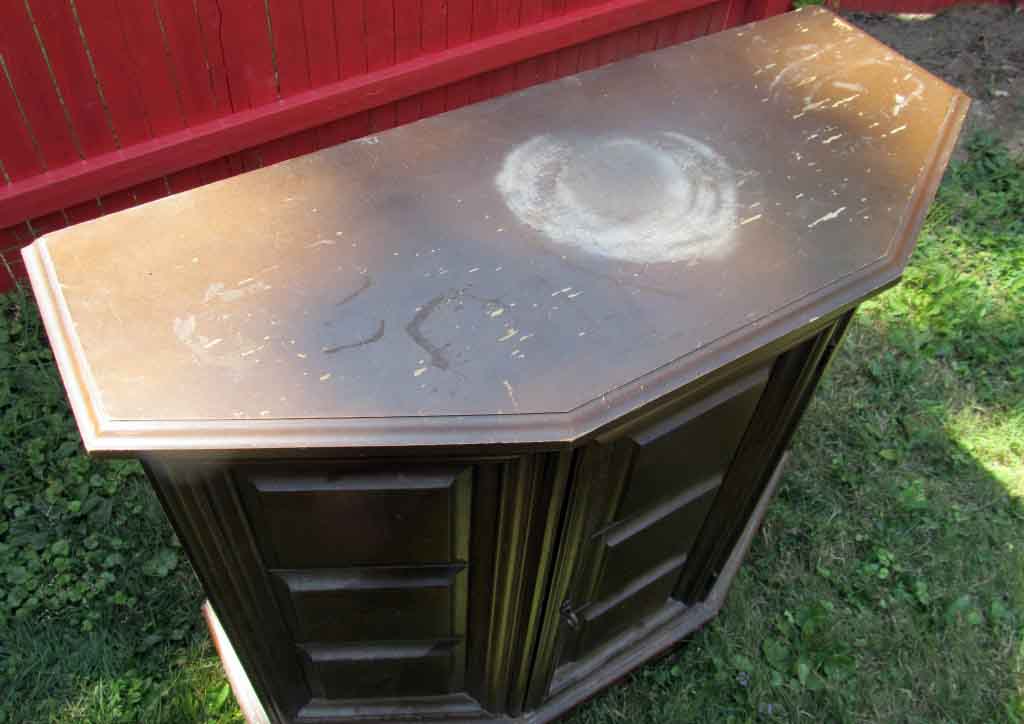 First I had to sand off the old finish on all the surfaces of the credenza. Let me tell you, that was a project in and of itself! I didn’t realize how many crevices there were on the credenza until I had to sand in between every gap. It was incredibly tedious and my nails got ruined, but it was worth it!
I used a power sander for the wider surfaces, and I used a single sheet of sandpaper cut into a smaller size to get in between the crevices. I first used 80 grit sandpaper around all the surfaces. Then I sanded it all over again with 180 grit sandpaper which is finer than 80 grit. This ensured a smoother surface for when I painted.
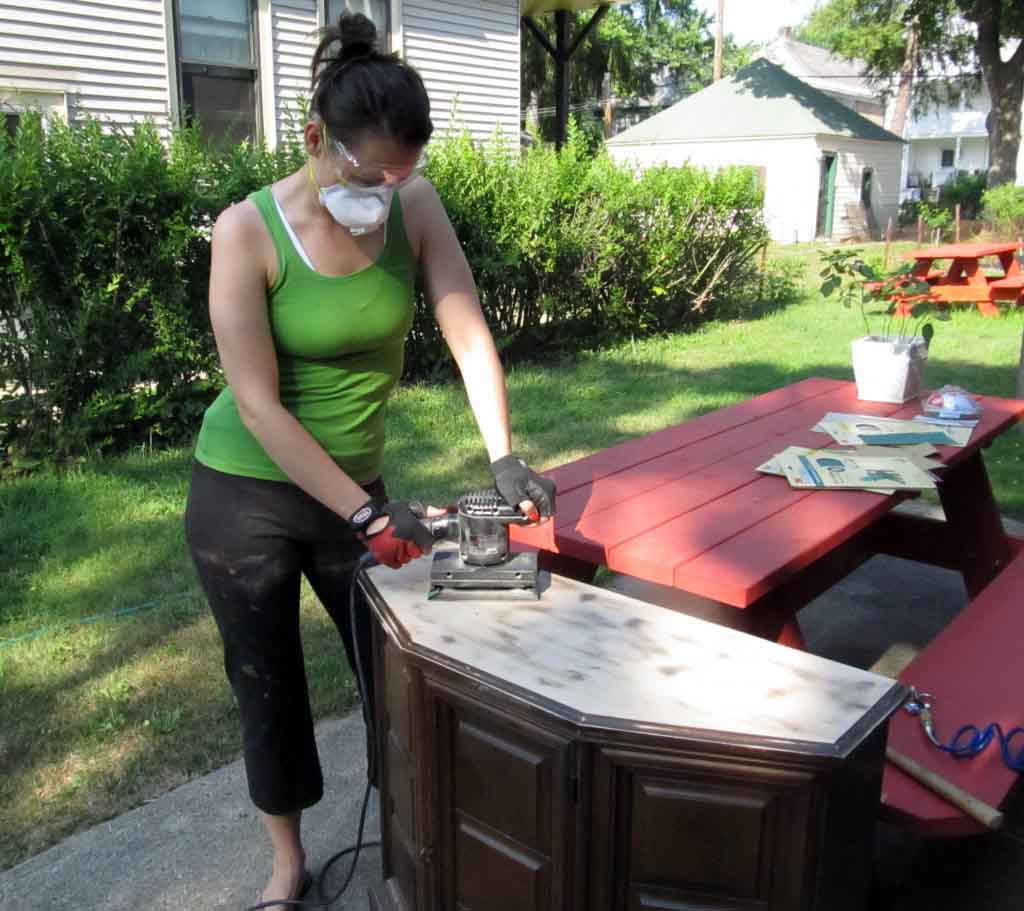
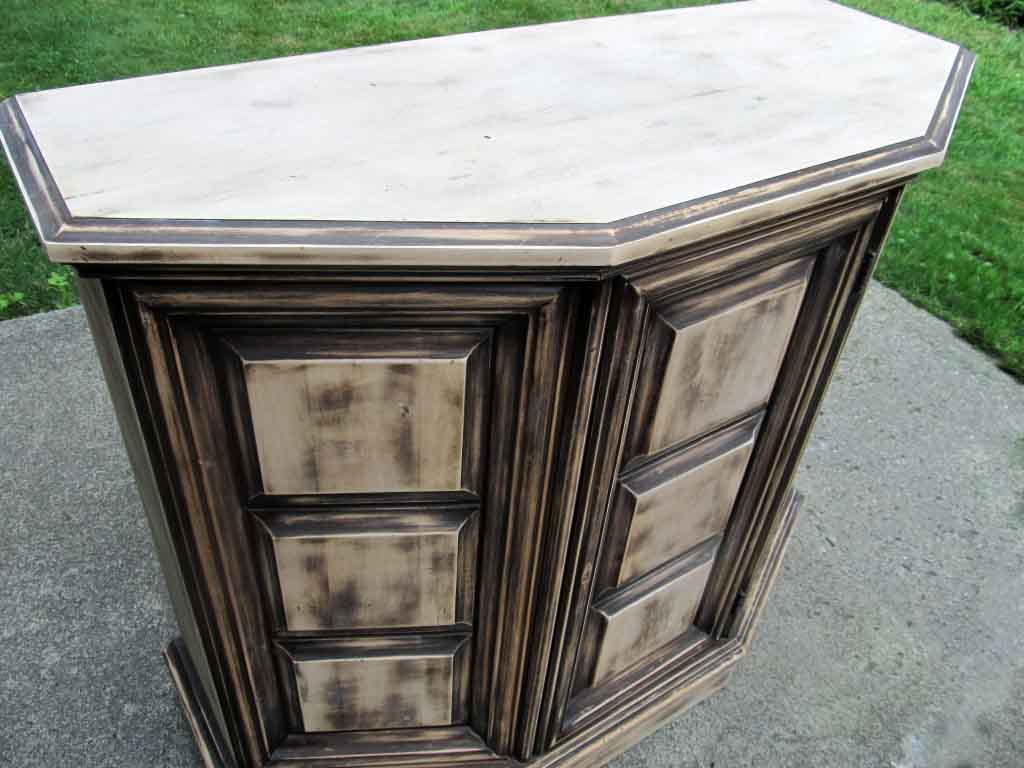
The sanding itself took an entire weekend. On a side note, if you decide to do a project like this, I suggest giving yourself 2 or even 3 uninterrupted weekends.
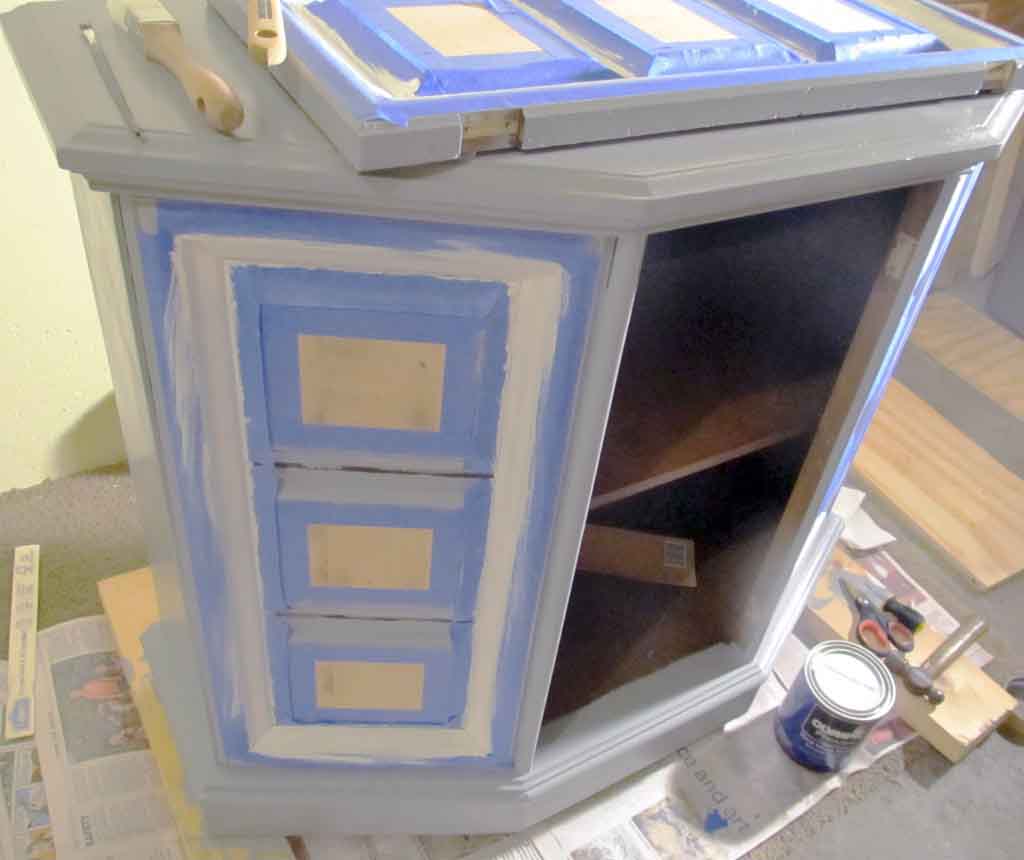
Next I moved into the garage to do the painting. I got my paint from Lowe’s in a glossy finish. I used Olympic brand of paint in the colors “Steeple Gray” and “Turban Shell.”
I first used ScotchBlue Painter’s Tape to cover the edges I didn’t want the gray paint to get on where the cream color would be. It’s very important to have a good seal on your edges when you paint so that they come out clean, and paint doesn’t leak through.
Unfortunately for me, some of the gray paint leaked through the ScotchBlue brand of painter’s tape. I was so frustrated because all it took a lot of time to carefully lay down the tape around the edges, then paint it, only to find that the painter’s tape didn’t do its job! I went to the store and decided to give Frogg tape a try.
Below you can see where the paint leaked through the ScotchBlue Painter’s Tape. Next to where the paint leaked is green Frog Tape. Frog Tape ended up working 10X better than ScotchBlue tape.
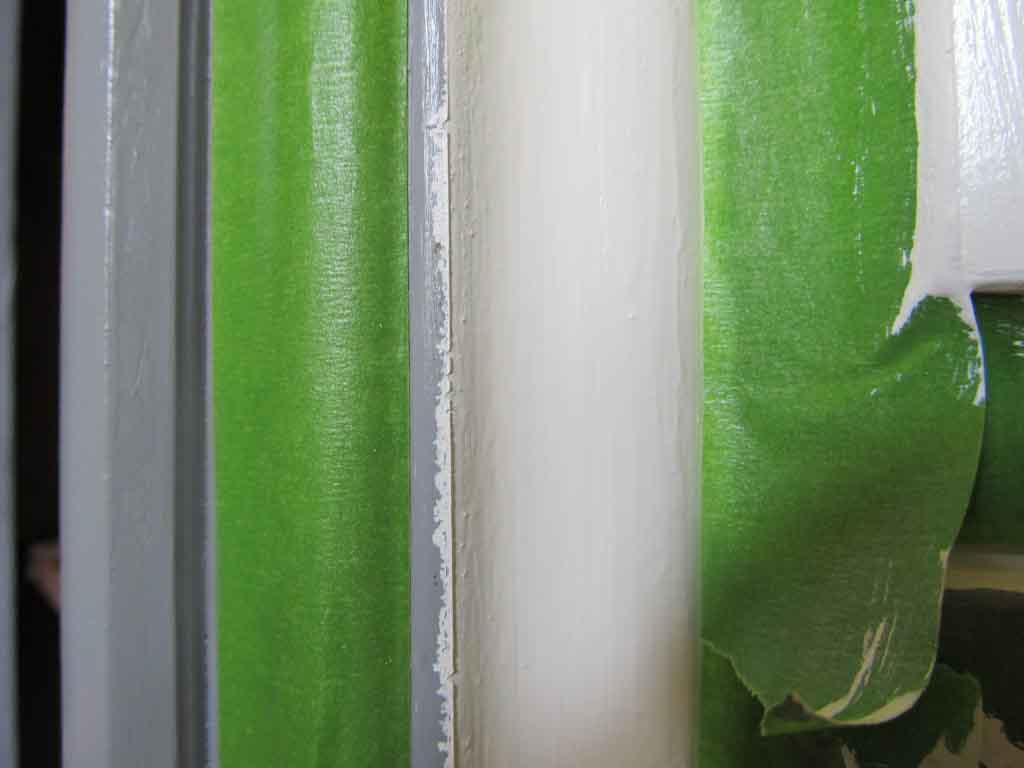 After repainting over the edges, I finally finished the credenza! Here’s what it looks like:
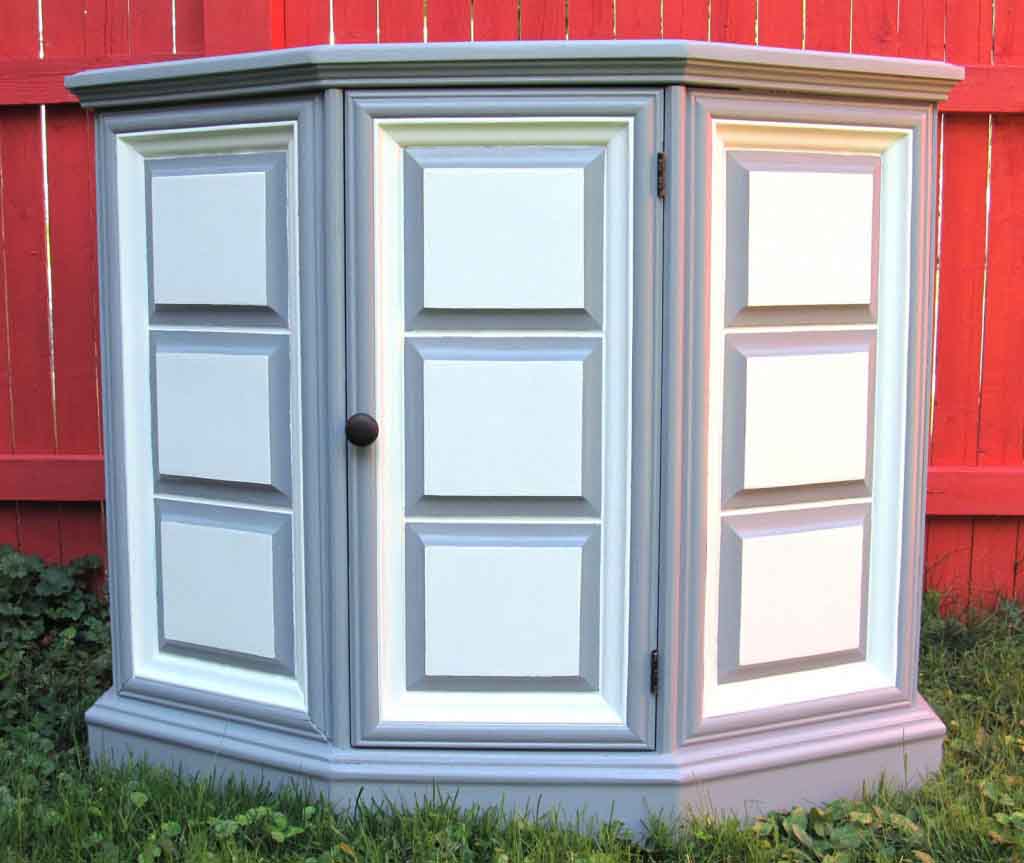
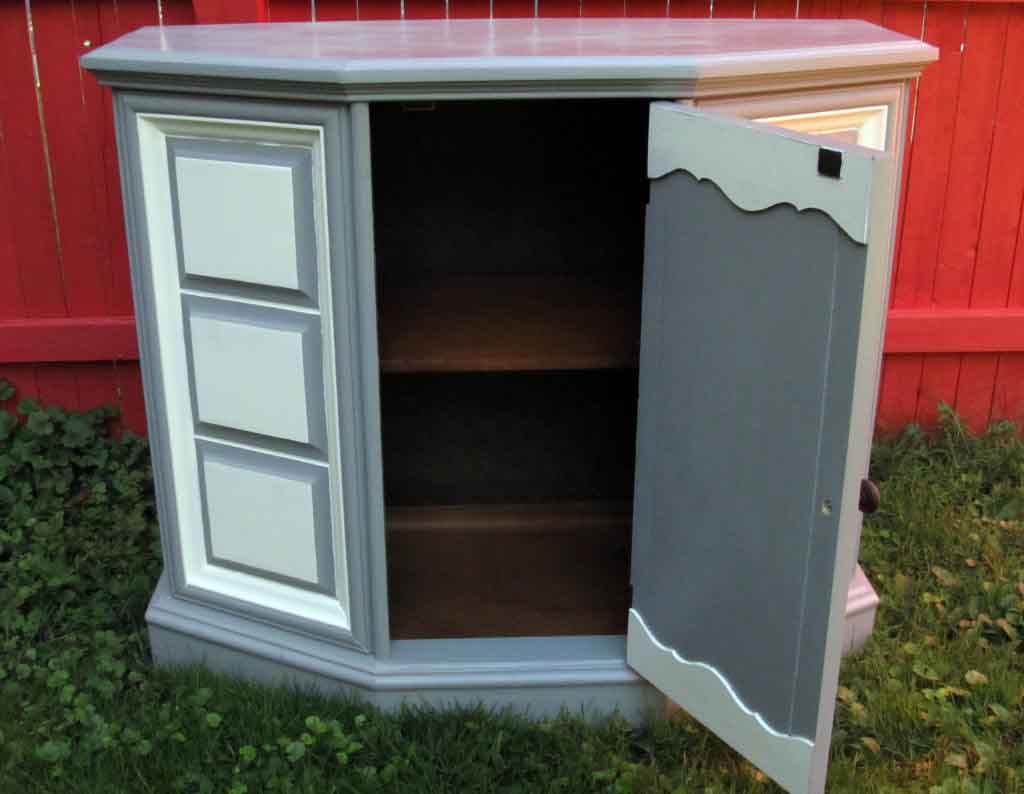
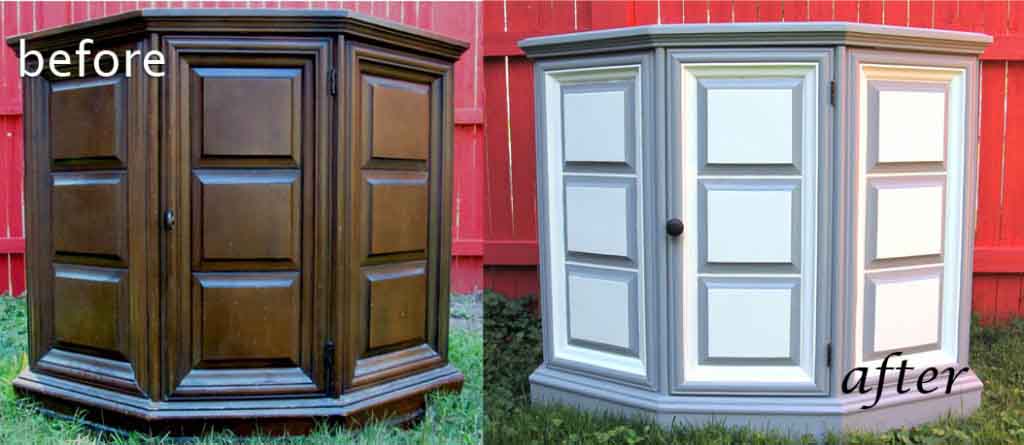 It took me about a month to complete this, mainly because I only had time to work on it on the weekends. Ideally, it should have taken me a week. I’m so happy with the way this turned out!
I am so happy Fall is coming! It’s by FAR my favorite season, and I just know it is going to bring great things.
When I’m feeling down, I clean and do projects. What do you do to bring yourself up when you’re feeling down?


