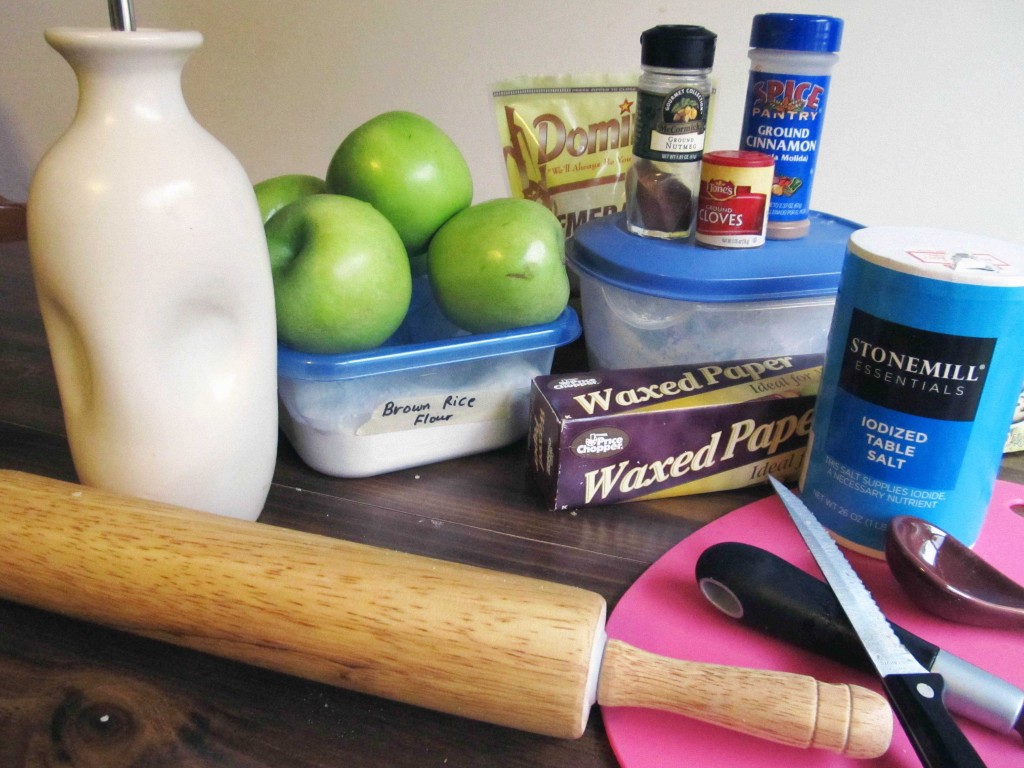
To me, it doesn’t feel like Fall if there isn’t apple pie- especially homemade apple pie. There must have been something in the air the other day because I came home from work and was craving apple pie. I love to bake, and I love how it makes our house smell, so I pulled out some ingredients and got started.
This particular pie I made is gluten free. I don’t have celiac disease, but there are several people in my life who are gluten intolerant and I like to be able to bake for them. Plus, its healthier than cooking with only white flour.
Crust:
- 1 cup almond flour
- 1 cup tapioca flour
- 1/2 cup rice flour
- 1 teaspoon xanthum gum
- 1/2 teaspoon salt
- 1/4 cup cane sugar
Mix well then add:
- 1/2 cup olive oil
- 1/2 cup water
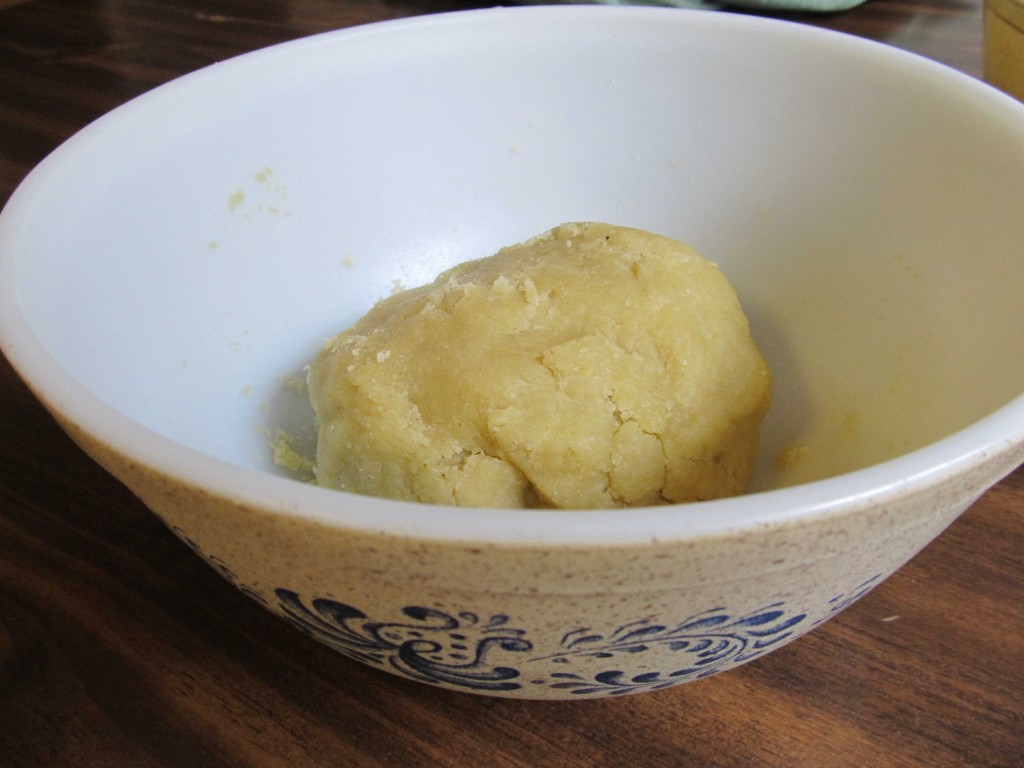
After I add the water and oil I like to mix it with together with my hands. This way I can really make sure the ingredients are distributed evenly. After its all mixed, l set it aside in the fridge.
Apple filling:
- 8-9 medium granny smith apples
- 1/2 cup of cane sugar
- 3 tablespoons tapioca flour
- 1/4 teaspoon cloves
- 1/2 teaspoon nutmeg
- 2 teaspoons cinnamon
- pinch of salt
The easiest way for me to prepare the apples is to peel them all first with a vegetable peeler. I keep a garbage can next to my seat so I can peel the apple over the bin, and the peels fall right into the compost pile. Then I cut the apple into quarters, remove the seeds, and slice them into a bowl. When they are all sliced, I add the pie filling ingredients.
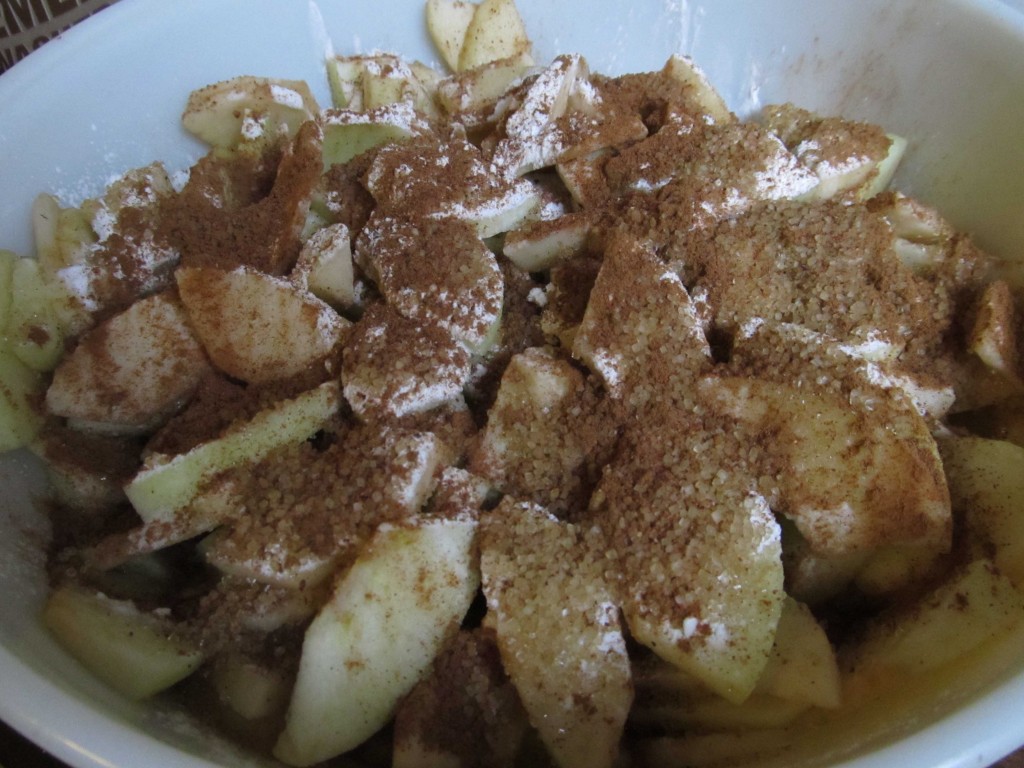
I also like to mix the apple mixture together with my hands.
Next comes rolling out the crust. If you have ever previously baked with gluten free flours, then you know it can sometimes be frustrating getting the finished product to look and taste like a wheat filled dessert or bread. So, I have figured out through trial and error that the best way to roll out gluten free pie crust is to use wax paper.
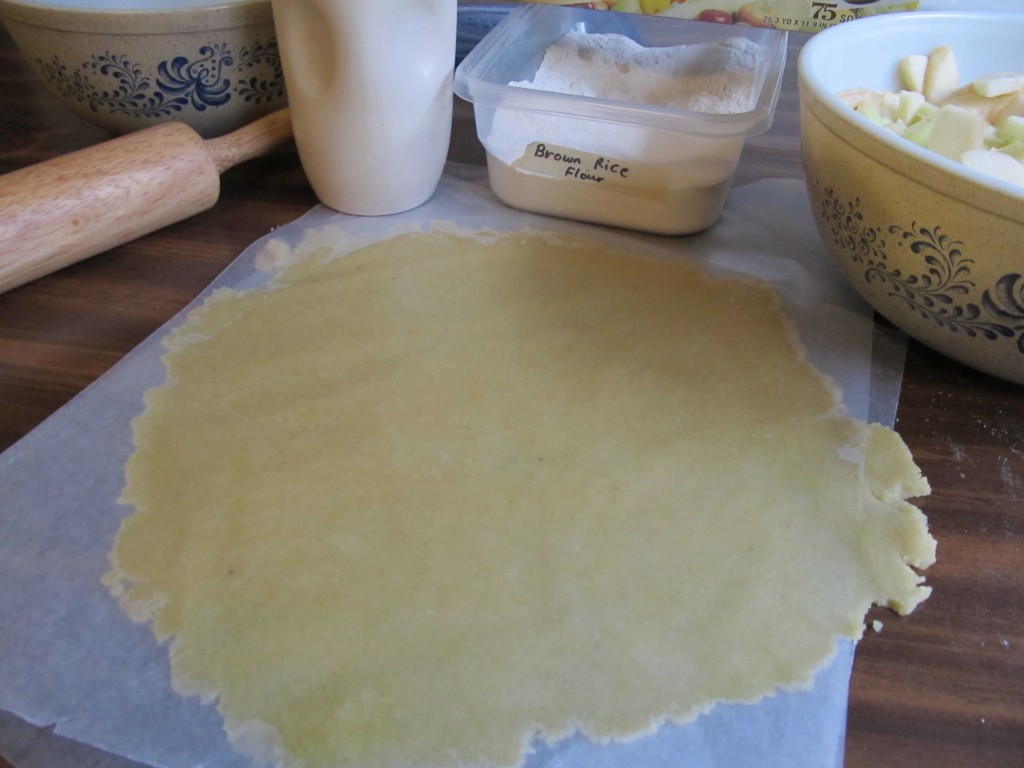
Start by putting a sheet of wax paper on a flat surface. Divide the dough ball in half. Take one half of the dough and flatten it with your hands on top of the wax paper. Then put another sheet of wax paper over the dough like a sandwich. Use a rolling pin to flatten the dough completely until it is the size of your pie pan.
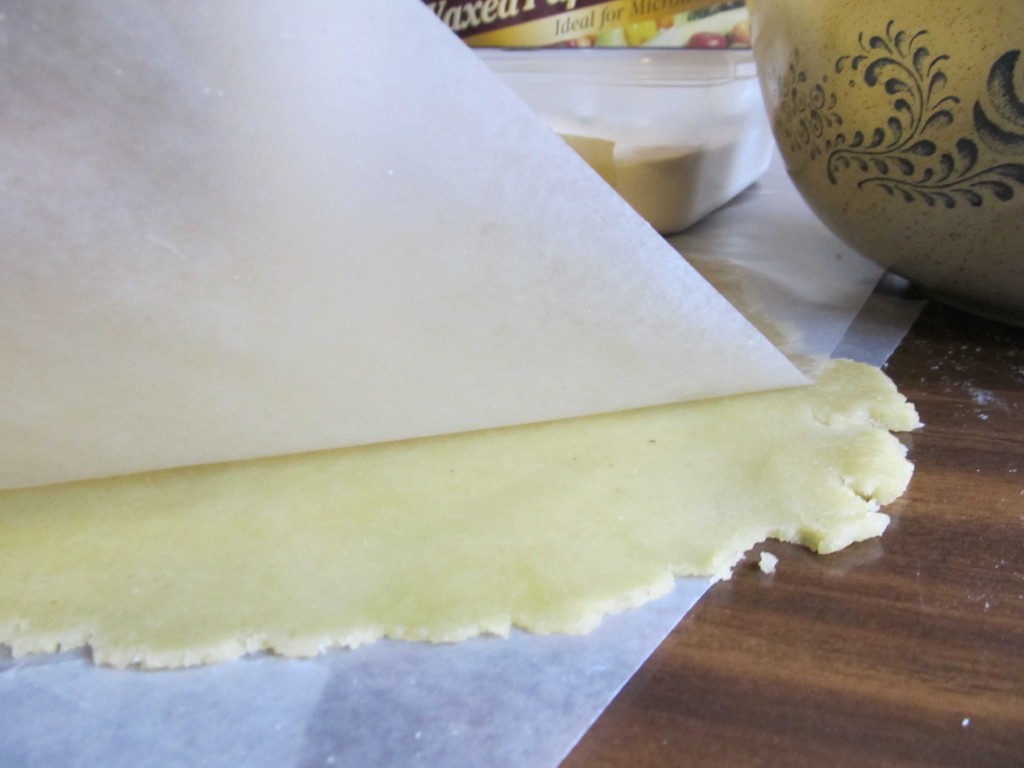
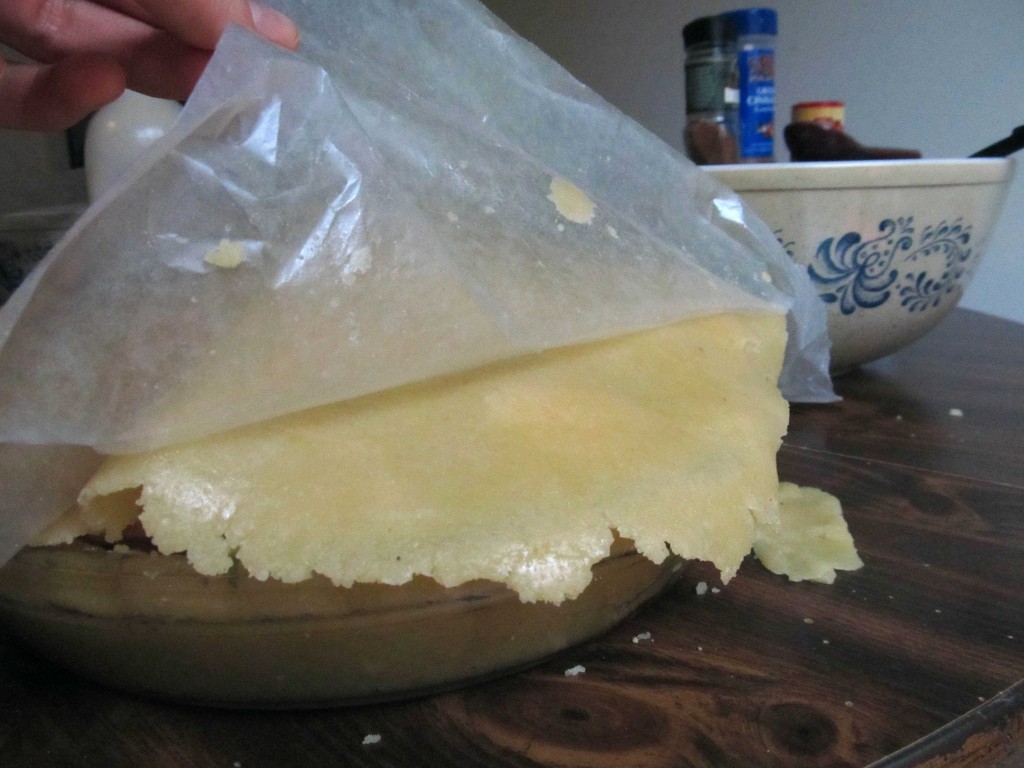
This next step is crucial. Slowly peel back the top layer of wax paper. Then carefully lift the bottom layer of wax paper/dough and transfer it to your greased pie pan by flipping over the dough so its on the pan. See below.
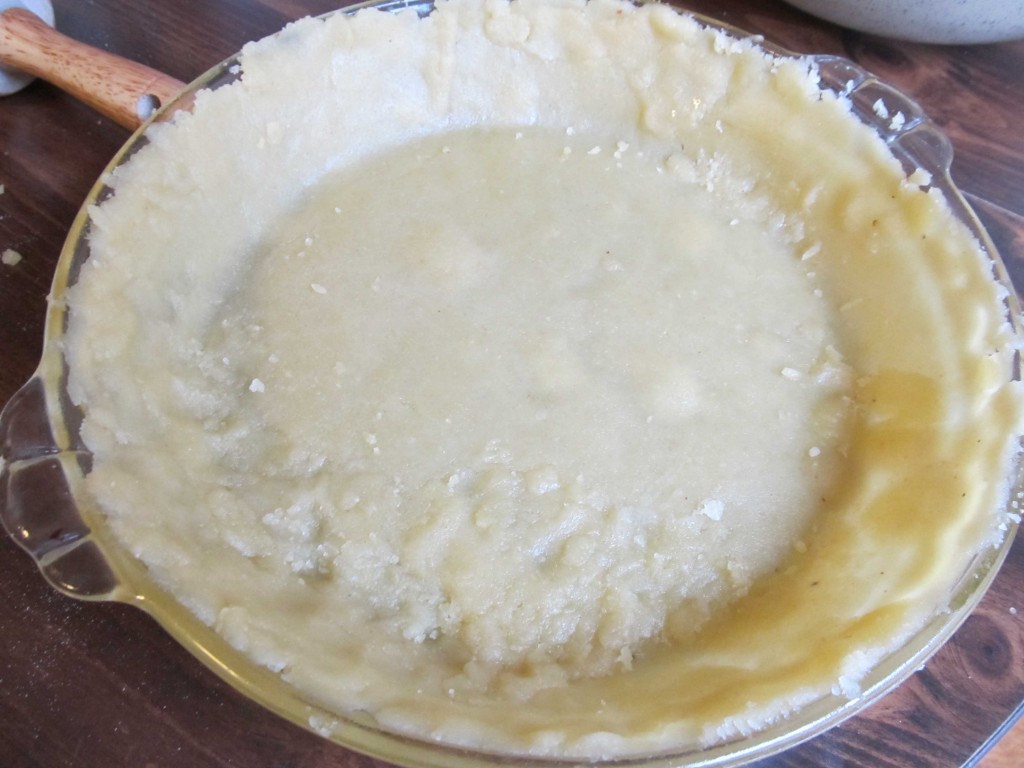
If you are lucky, you the crust dough will not crack. If you are unlucky like I was, you will have to use your fingers to mend the cracks in the dough, or use excess dough to repair. If your dough runs over the edge of the pie pan, use a knife to cut away the excess over the edge.
Fill your pie pan crust with the apple filling.
After the filling is inside, and you have resisted the urge to eat all those apples, take the second half of the dough and repeat the aformentioned rolling out steps.
To successfully get the crust on top of the apples, peel the top layer of wax paper off as before. This time, take the pie crust and flip it so the wax paper is on top and the crust is touching the apple filling. Carefully peel back the wax paper.
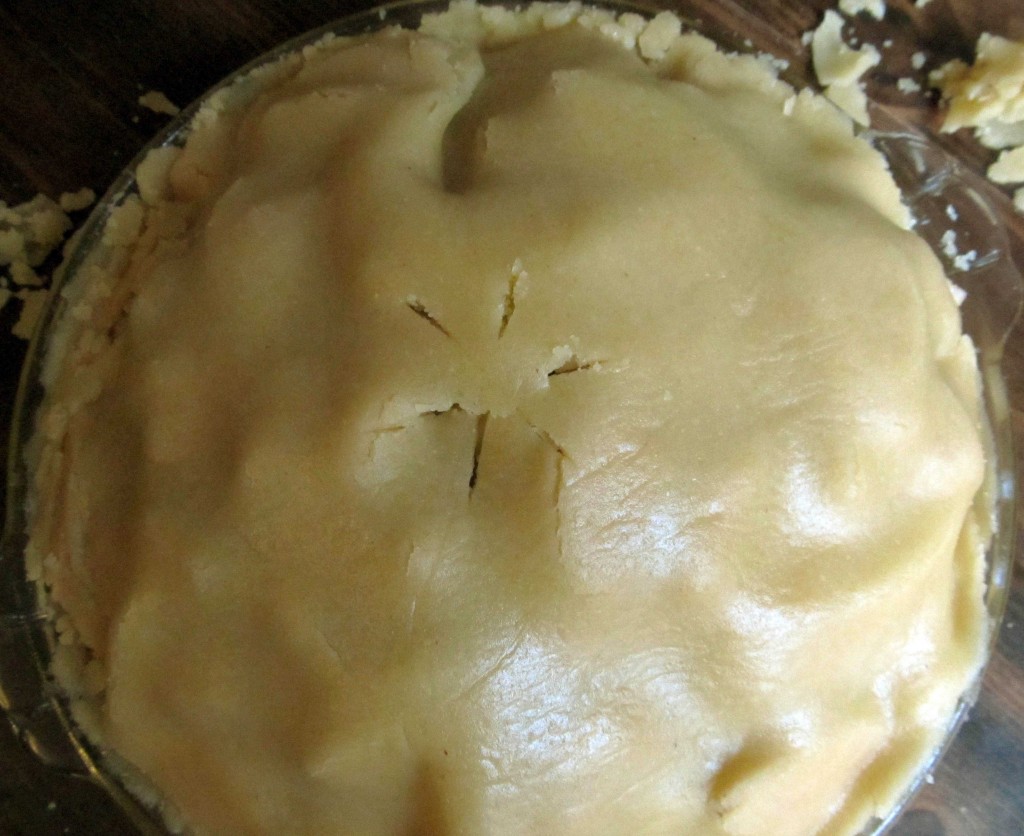
Use your fingers (or a fork) to push the two layers of dough together so it seals. Then take a knife and cut “breathing” holes on the top of the pie.
Bake at 375 degrees for 40-45 minutes.
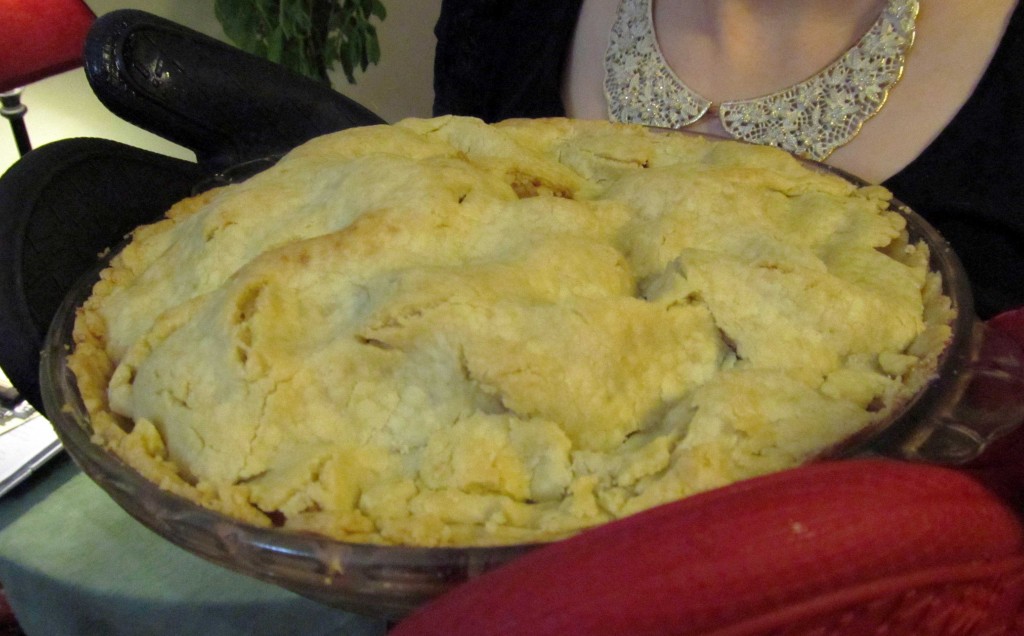
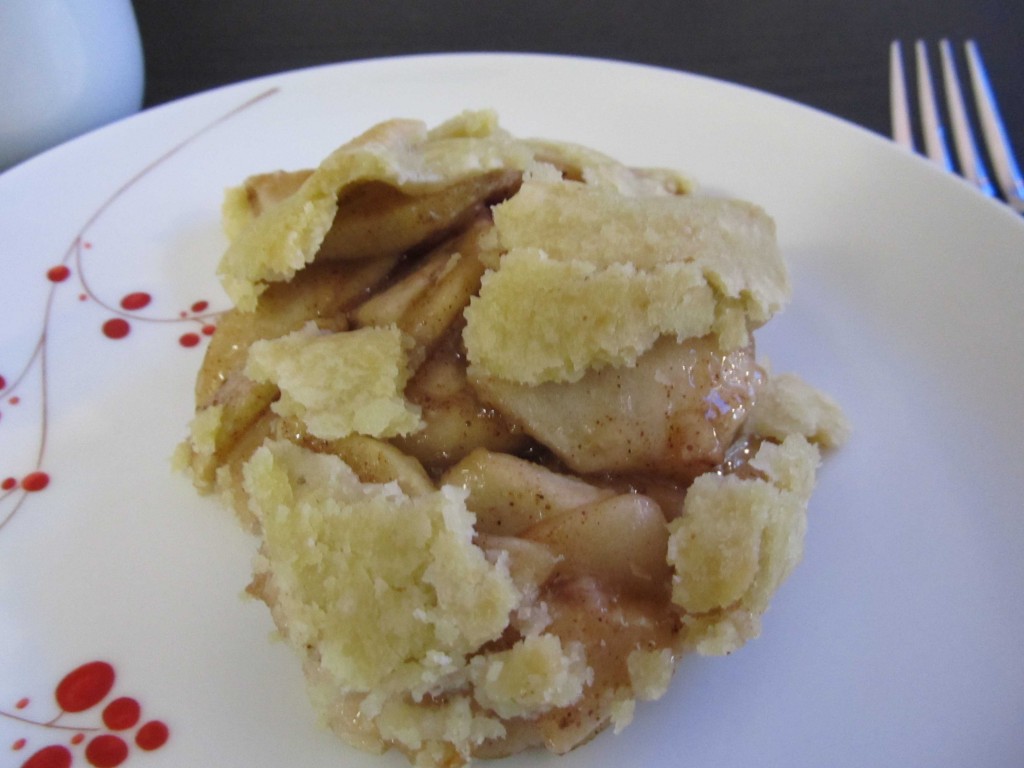
Here is what my pie looked like. Just time for dessert!
It turned out so well if I do say so myself. By the way, apple pie is not just a dessert food. It also works as a perfectly delicious breakfast. 😉
Enjoy!
Maggie


