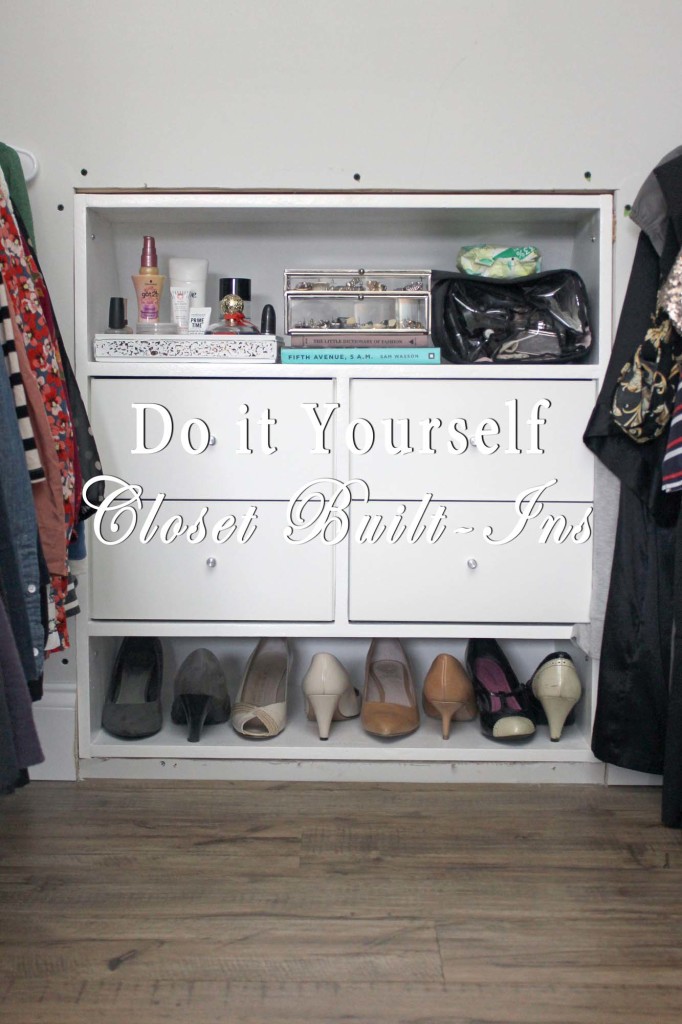
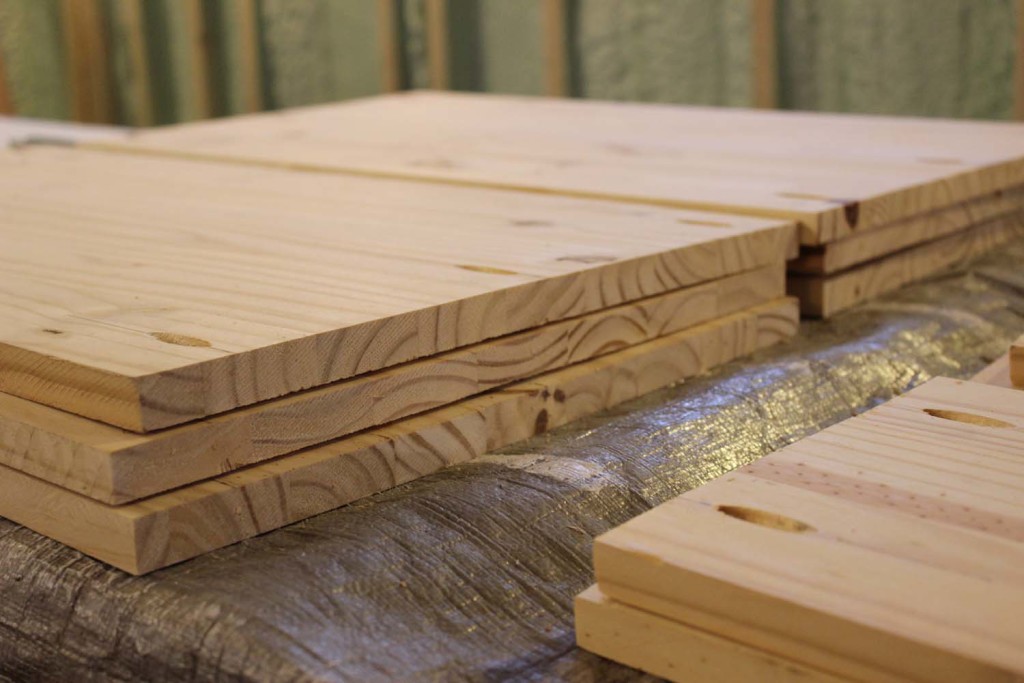
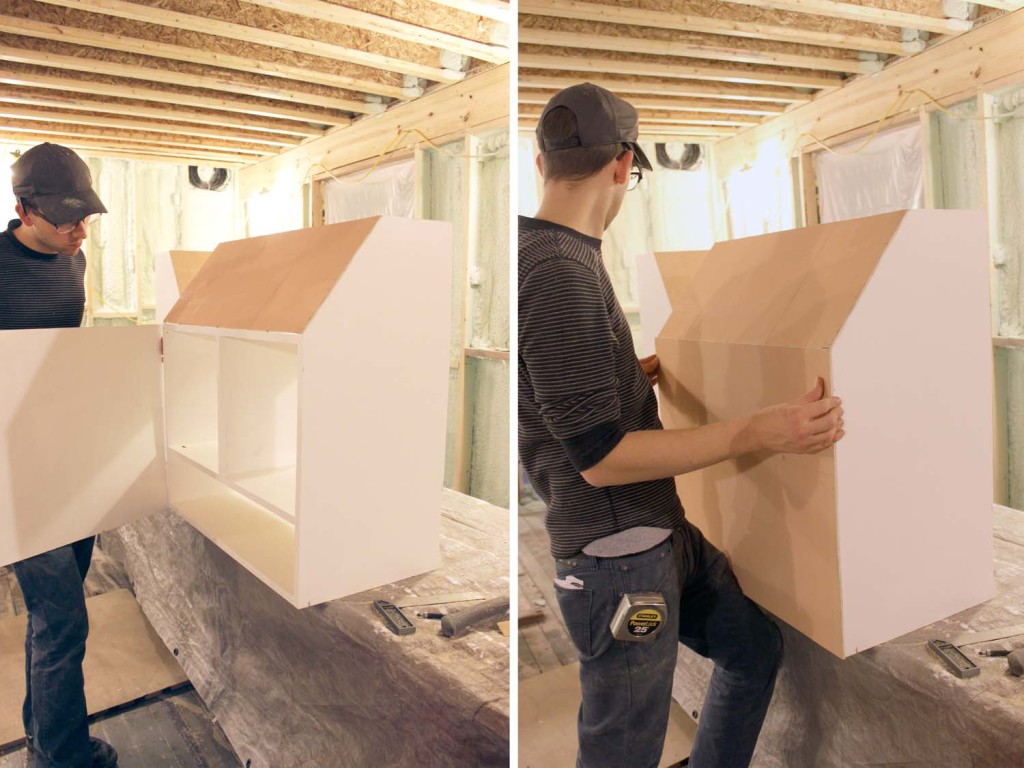
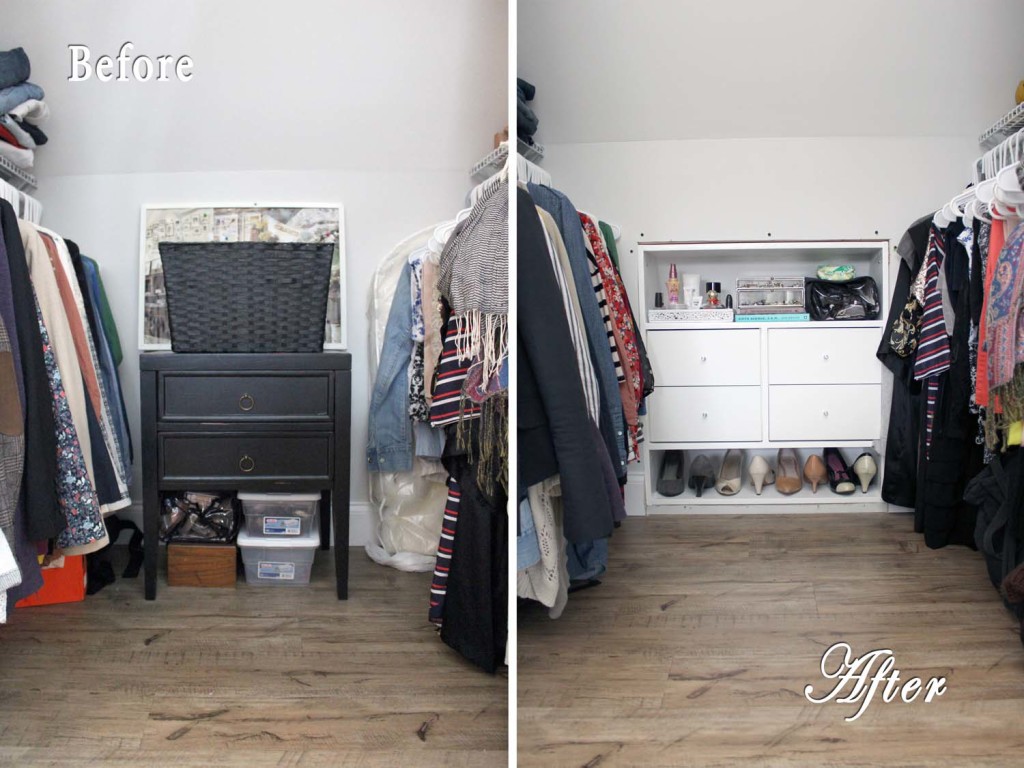
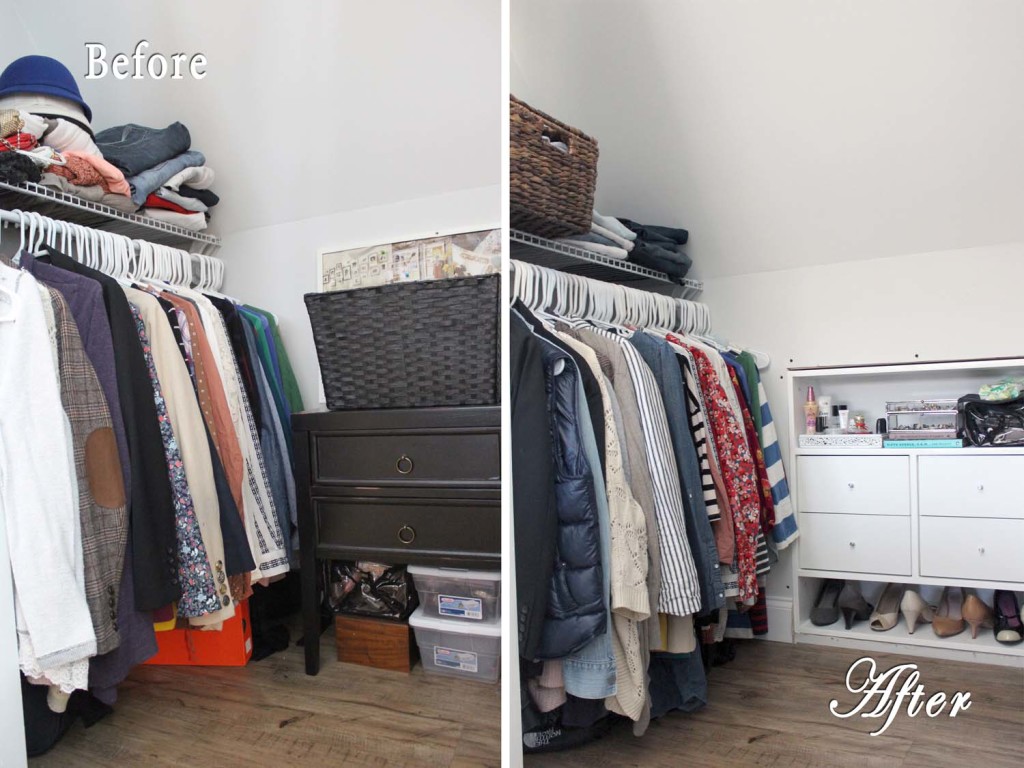
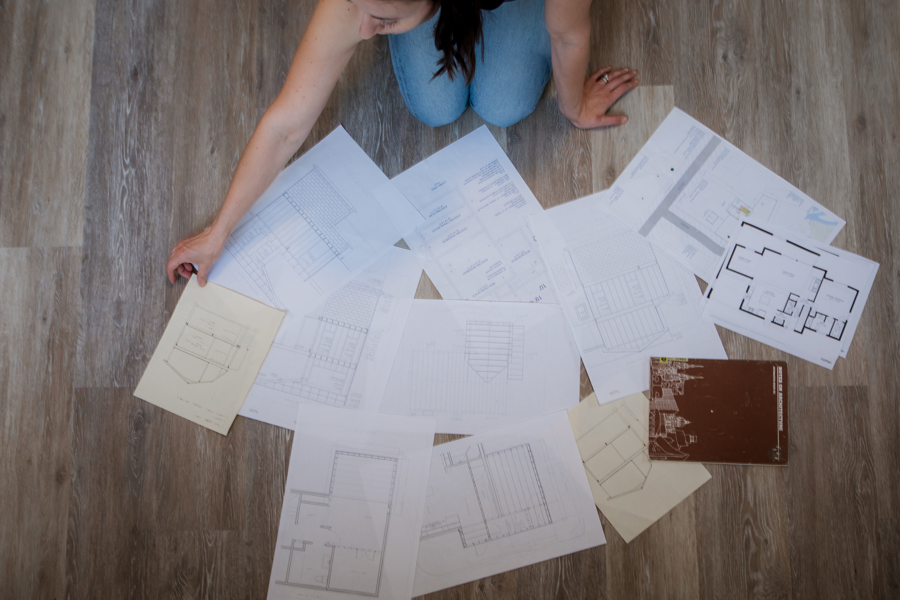
Space is a real luxury here at our house, or should I say, our ‘apartment‘ for the time being. When we redesigned the upstairs of our house, we took into account every square inch of the space and how we could make the most of it. In our bedroom, we created separate closets for each of us with the intention of installing closet built-ins inside the knee-wall which is dead space where the gambrel roof tapers off. Brandon designed the built-ins using CAD software with the measurements he took of the wall angle, knee-wall height, and width of our closets. We bought the boards of wood from Lowes, cut them to size, and assembled them together.
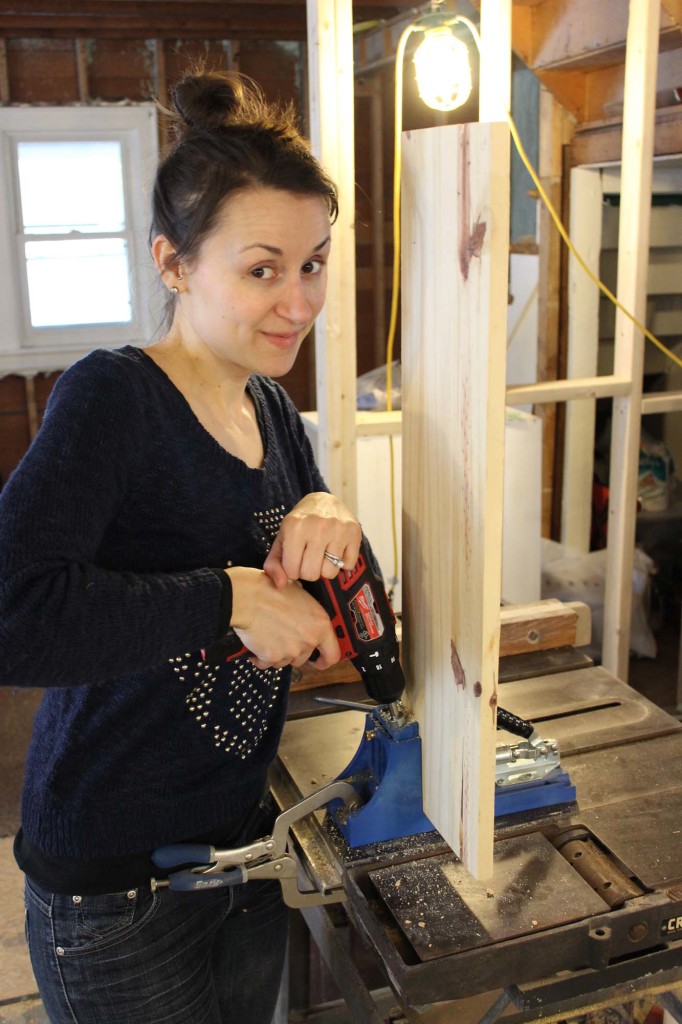
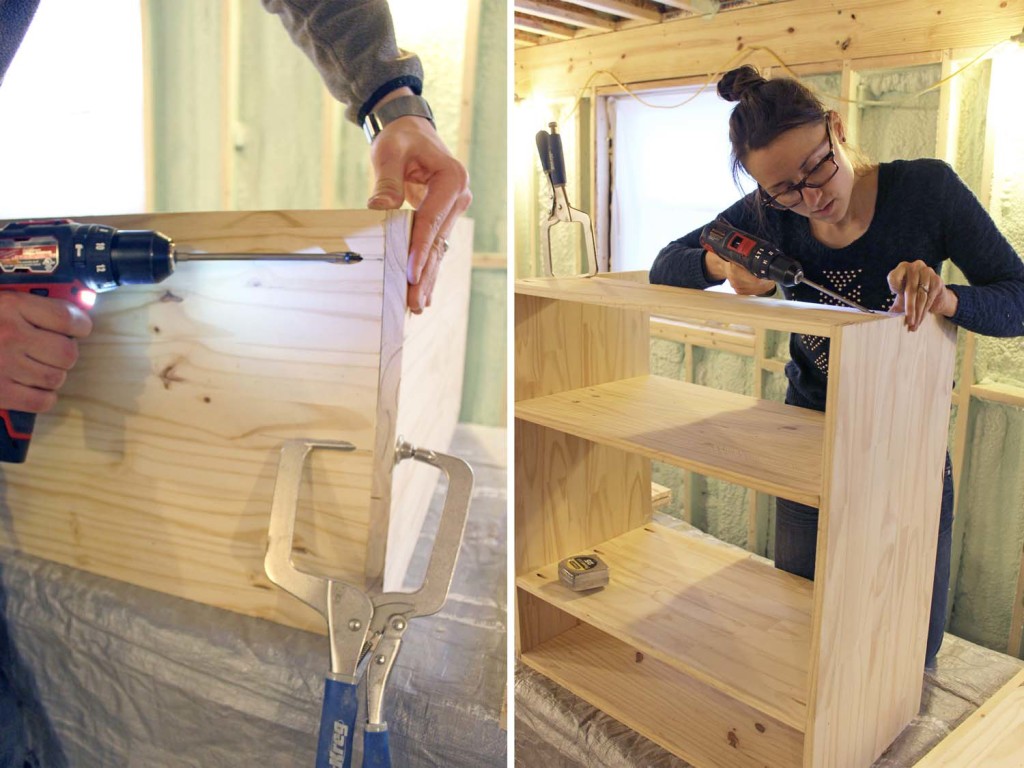
First, Brandon measured out where each screw would need to go, and marked the locations on each board of wood. Next, I drilled the holes into the wood using a Kreg Jig, which drills holes at an angle so you can join two pieces of wood on edge. Before screwing together each of the edges of wood, we schmeared a small amount of wood glue between each joint.
After both of the units were assembled and the glue dried overnight, I sanded the surfaces of each unit with a random orbit sander and 300 grit sandpaper. When they were smooth as a baby’s bottom, I painted them a semi-gloss white. I also painted a quarter inch piece of lauan white that we would be using as the back piece of our built-in.
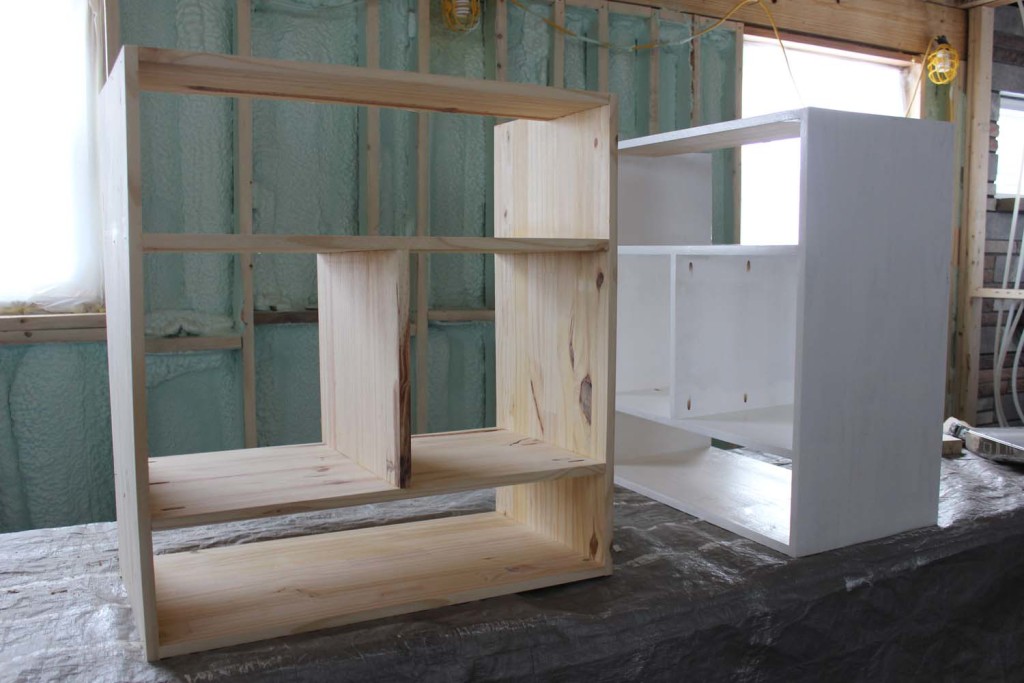
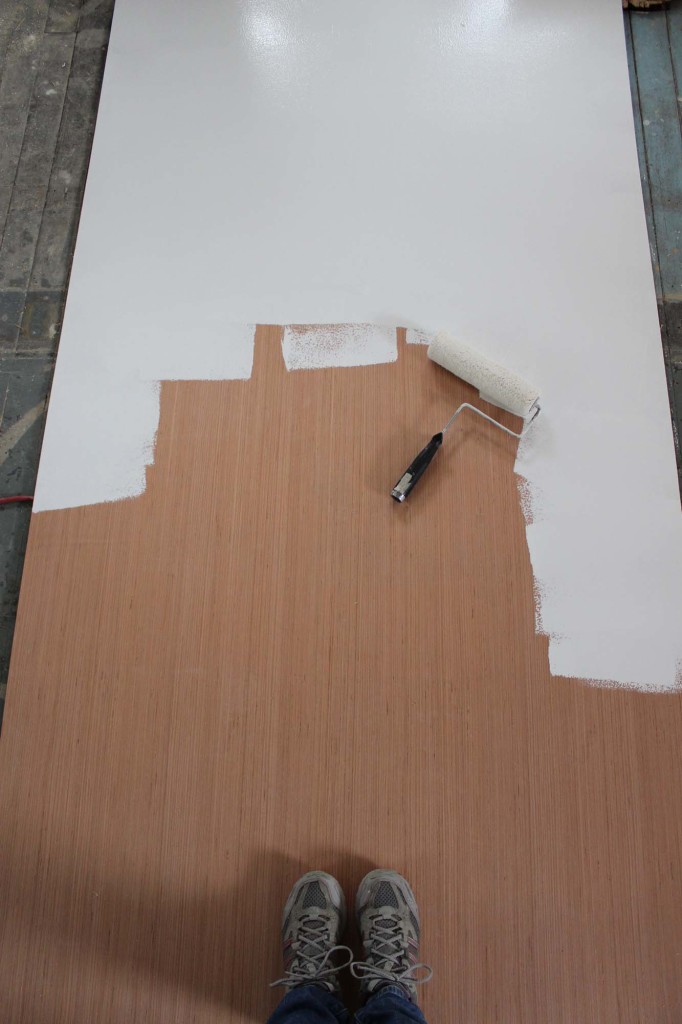
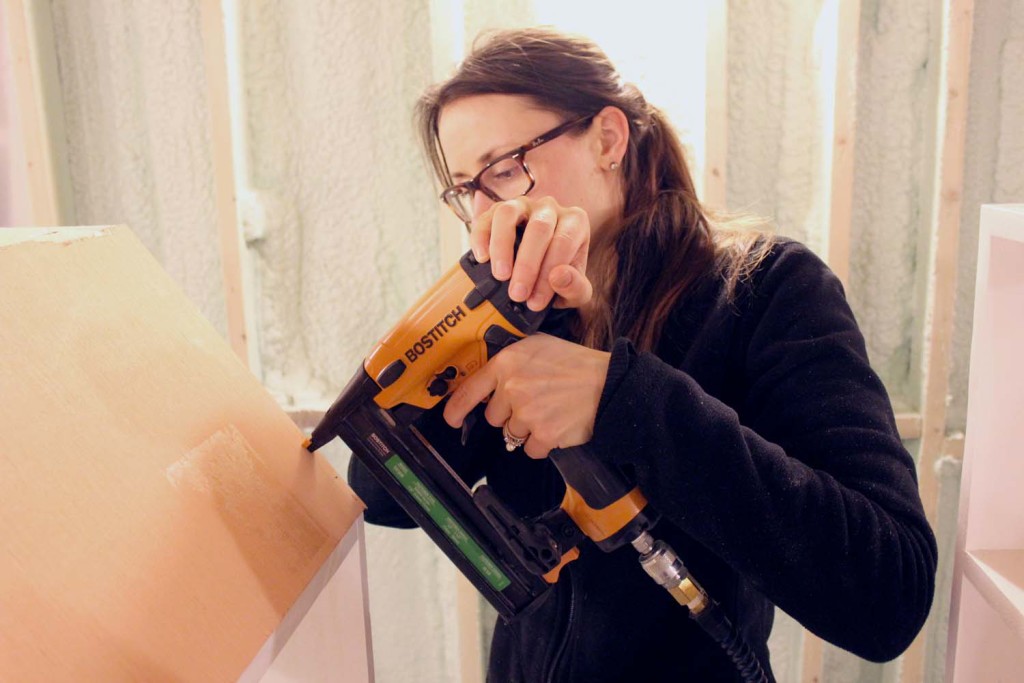
When the paint was dry, we cut the lauan to the appropriate size, stapled it to the built-ins, and added a coat of paint to the back.
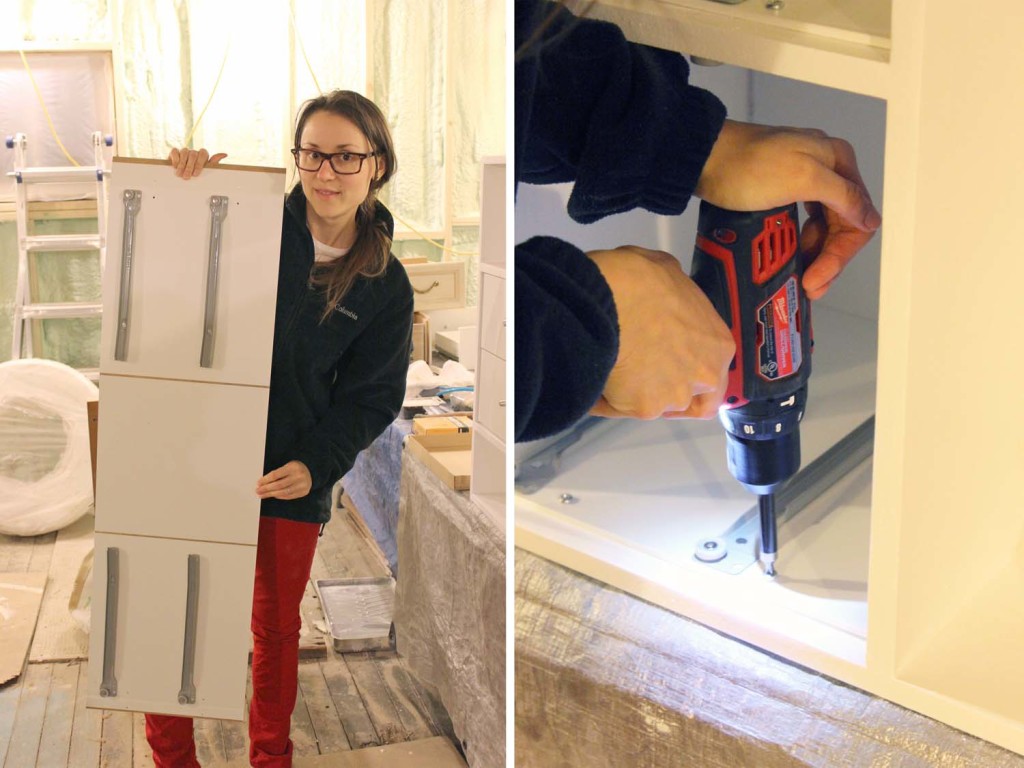
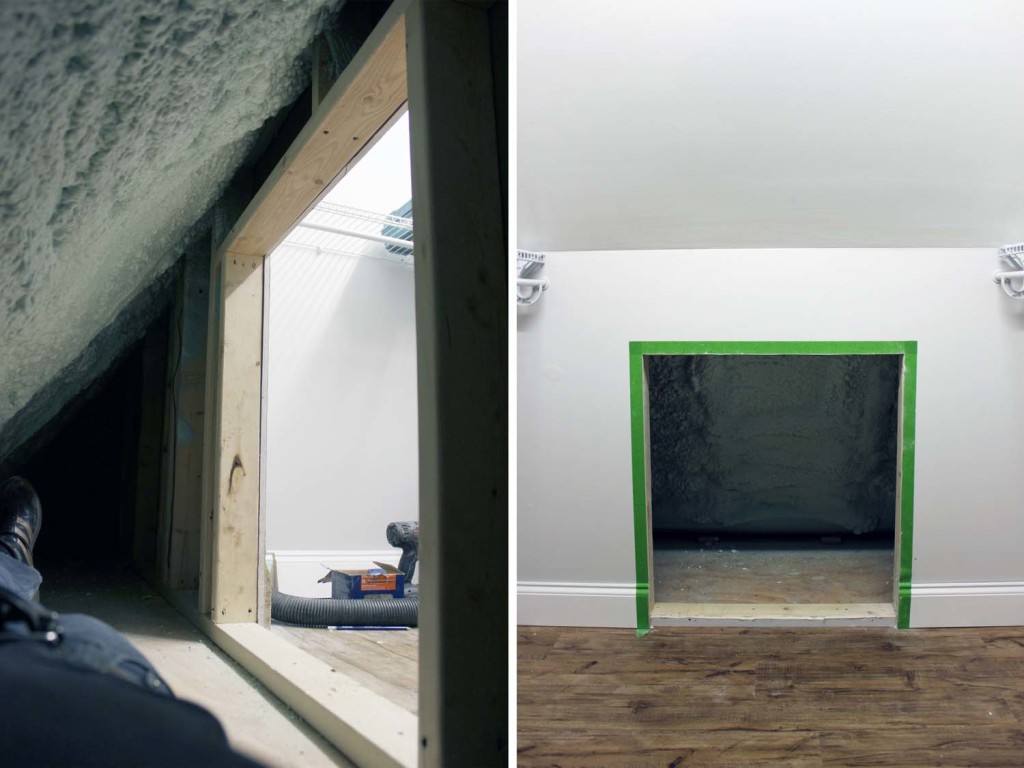
Once the paint was dry, we installed these drawer inserts from Ikea into the cubby holes. Keep in mind that when Brandon designed these built-ins, he accounted for the measurements of these drawers. Once the inserts were secured, Brandon measured the space out in the walls of our closets, cut out the sheetrock, and framed in the space where the built-ins were going to go with 2x4s. Below you can see the view from inside the wall!
Once the walls were framed for the built-ins, we carefully put each of them into their corresponding closet, and secured them with screws.
The last thing we still need to do before the built-ins are complete is put trim around them. We will do that when we do the trim for the doors and windows. For now, I really don’t care that it doesn’t have trim- I’m just so happy that these are done, and I space to put things, without them taking up room in my already small closet. It’s a relatively small change we’ve done to our closets, but its made a huge difference!
More Fromm style DIY projects to come…


