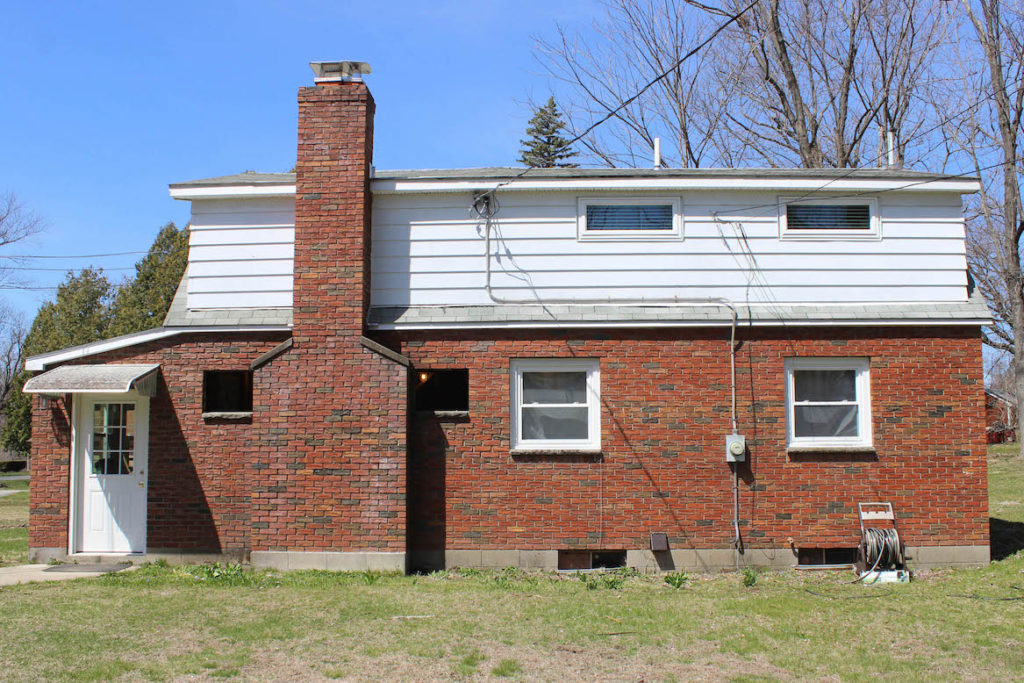
It’s been almost a month since I last updated you on our house and so much progress has been made with our fireplace wall! As you know, our fireplace project is taking wayyyy longer than we anticipated. (Try months longer) After we removed the original stone, (discovering the rotting wall behind it) we removed the rest of the wall and the original firebox. Then we reinforced the joists above it with a versa-lam beam, installed a new lentil in the brick, and filled all the gaps with rebar and cement. That’s where we begin today’s post. Any sane person at this point would have quickly gotten the wall back together, sealed it up and moved on- but we decided to add some more work to our plate. Why not? Since the entire wall was now exposed down to the original brick, we thought it would look really amazing if we made the windows on both sides of the fireplace bigger to match the sill height of the other windows on the same side of the house.
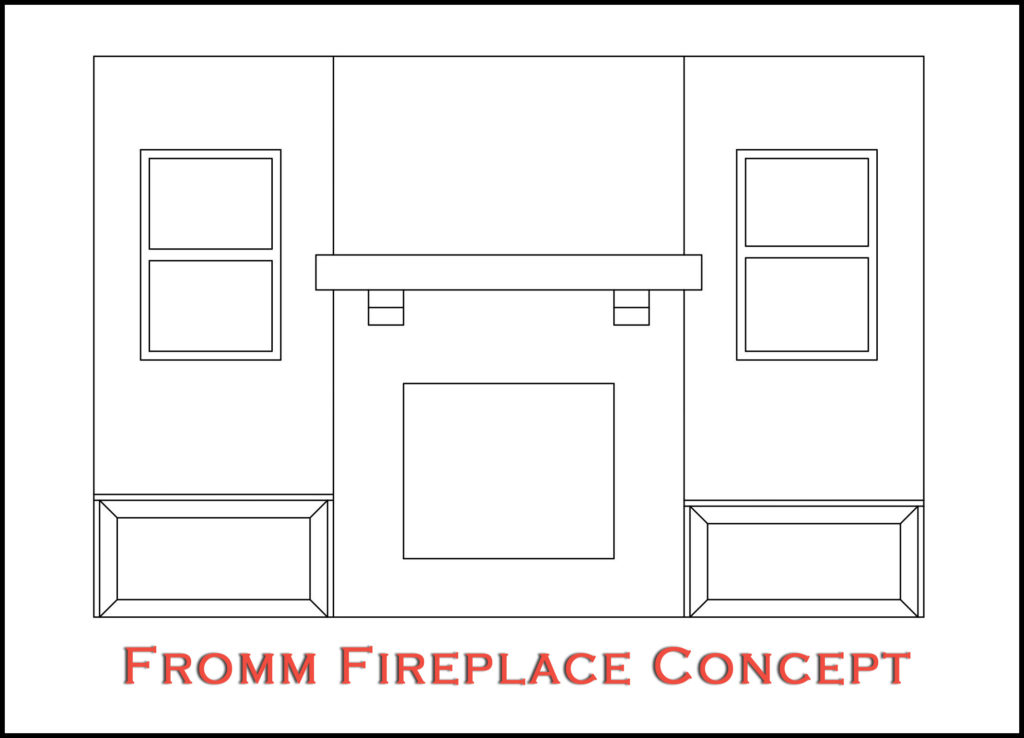
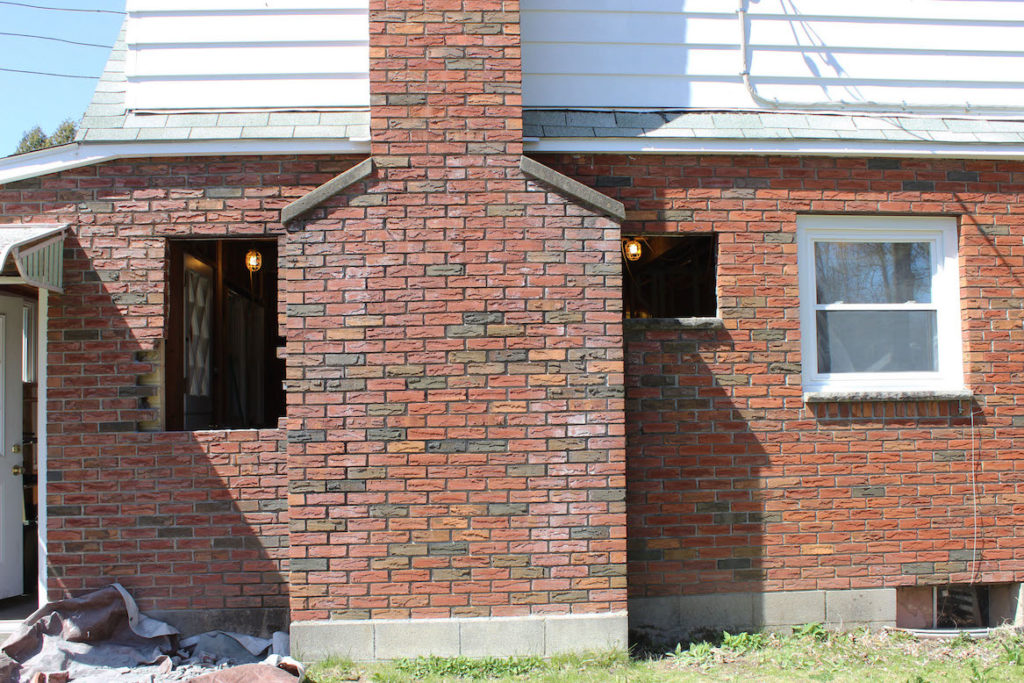
As you can see in the photo above, the height of the windows at their prior installation did not match the other two windows. We figured that since we were already this deep into the wall, we might as well lower the fireplace windows to match the sill height of the other two, which would ultimately allow more light in that part of the house as well. Below is a CAD drawing that Brandon created as a concept (based upon several ideas I have) for what we wanted our fireplace area to look like- complete with a bench beneath each window.
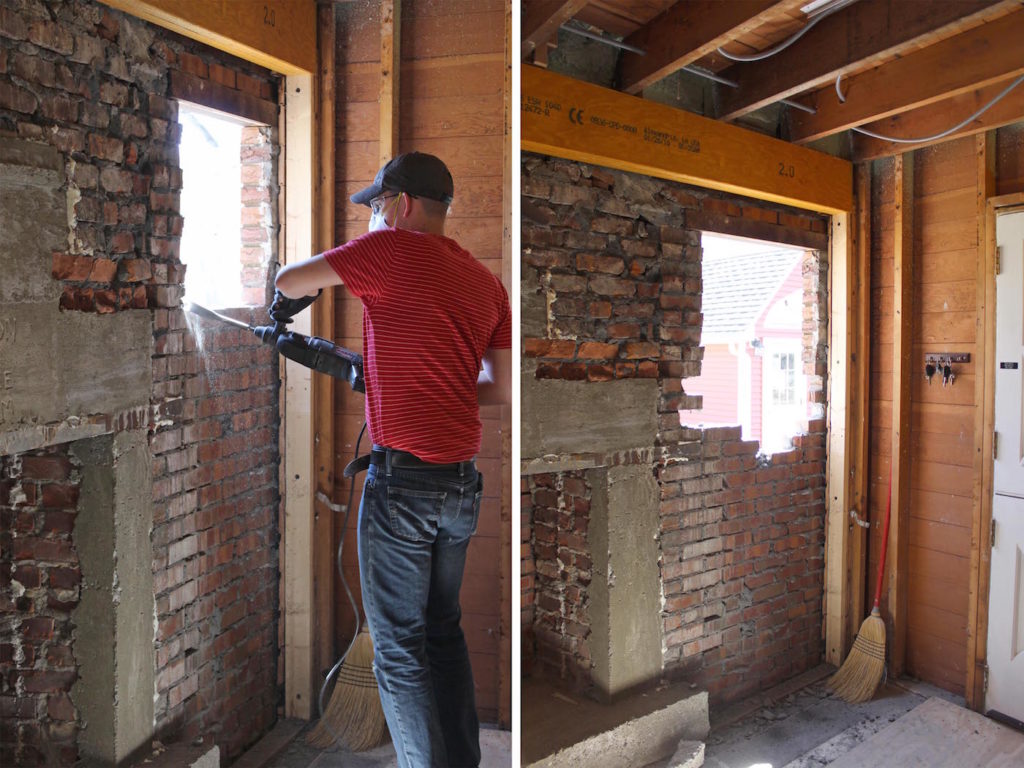
In order to make this happen, Brandon and I first needed to remove a few layers of brick at the windows. Using a reciprocating hammer drill, we carefully chiseled away at the original mortar and removed each brick one by one. Once the window was at the proper height, we were ready to build the new wall in front of it.
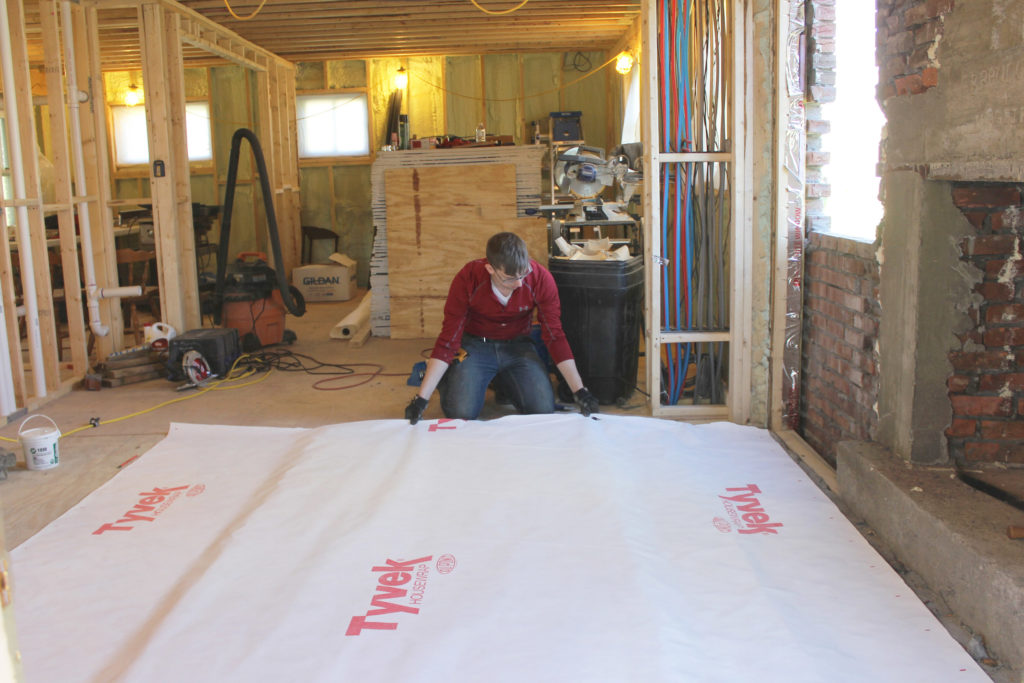
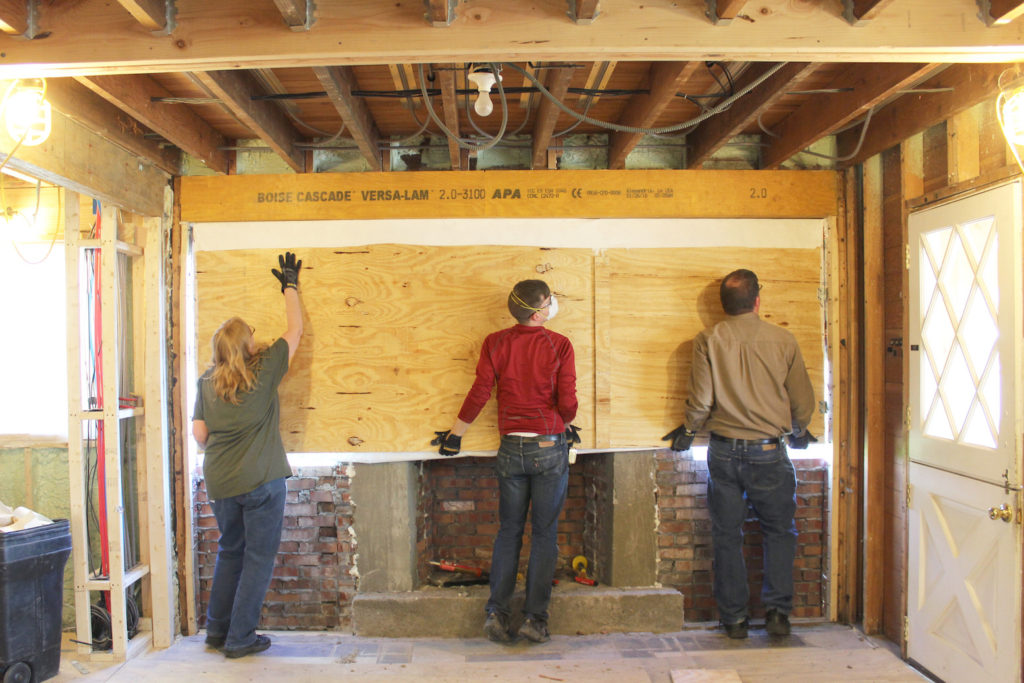
We built the wall in 3 parts: the top as one part, and the bottom left/bottom right in the other two parts. On the side facing the exterior, we covered the plywood with a vapor barrier material, and sealed the corners and staple entry points with vapor barrier tape. On the weekend we built the wall, Brandon’s father and his wife came to town to help us out with the rebuild. Between the 4 of us, we managed to assemble and build the whole wall in a weekend. Since we aren’t ready to put in our wood stove (and our chimney isn’t ready yet) we covered the area where our wood stove will be a sealed it with Great Stuff.
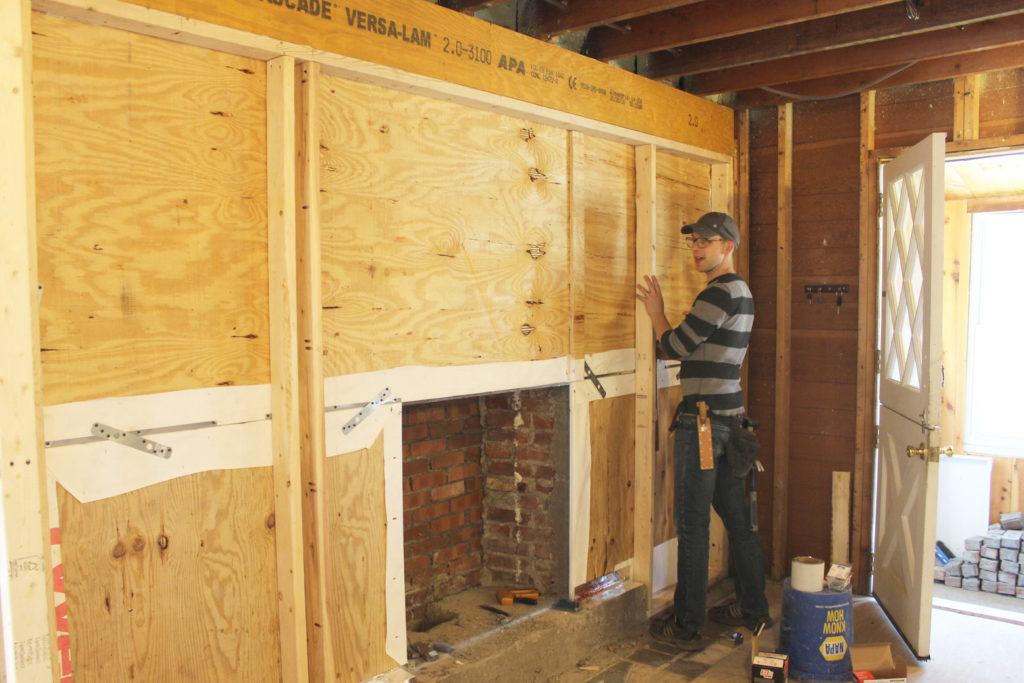
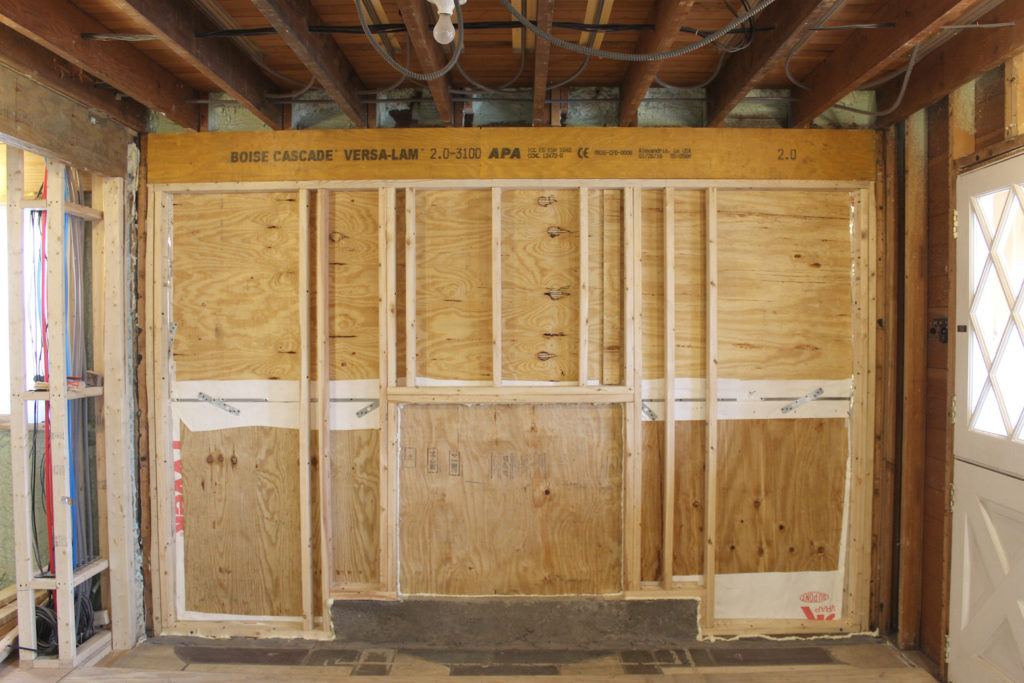
Now that the wall was up, the next part of the project was laying the brick. We were very careful about removing the original brick so that we could reuse it when finishing the windows. Before we could lay the brick down, we had to clean the old mortar off the bricks by hand using a hammer and chisel.
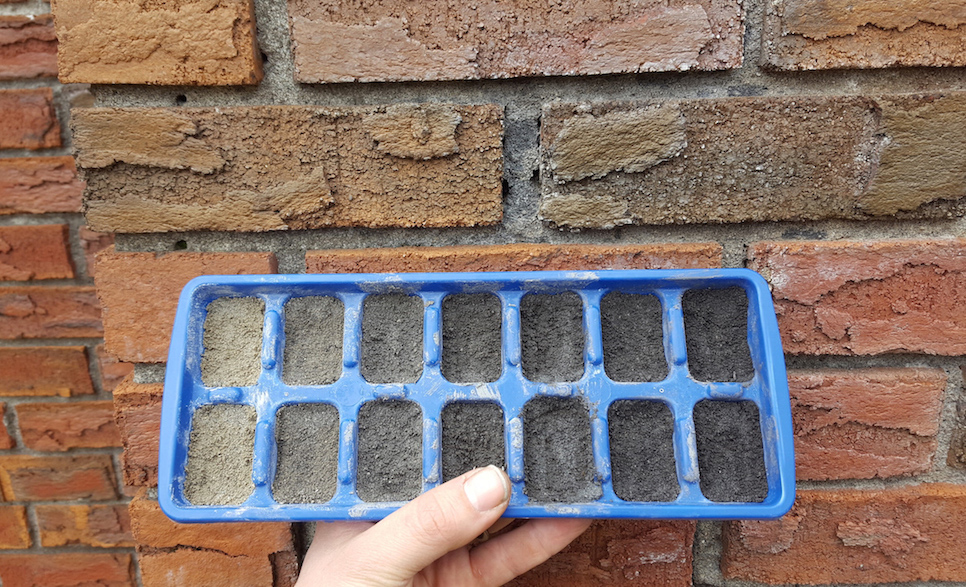
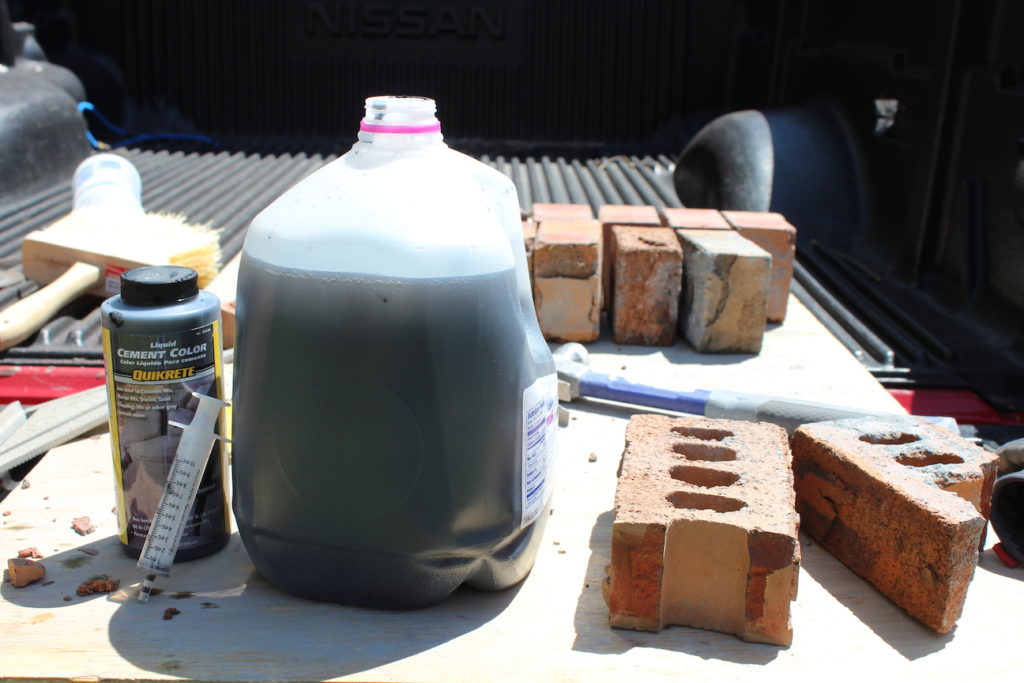
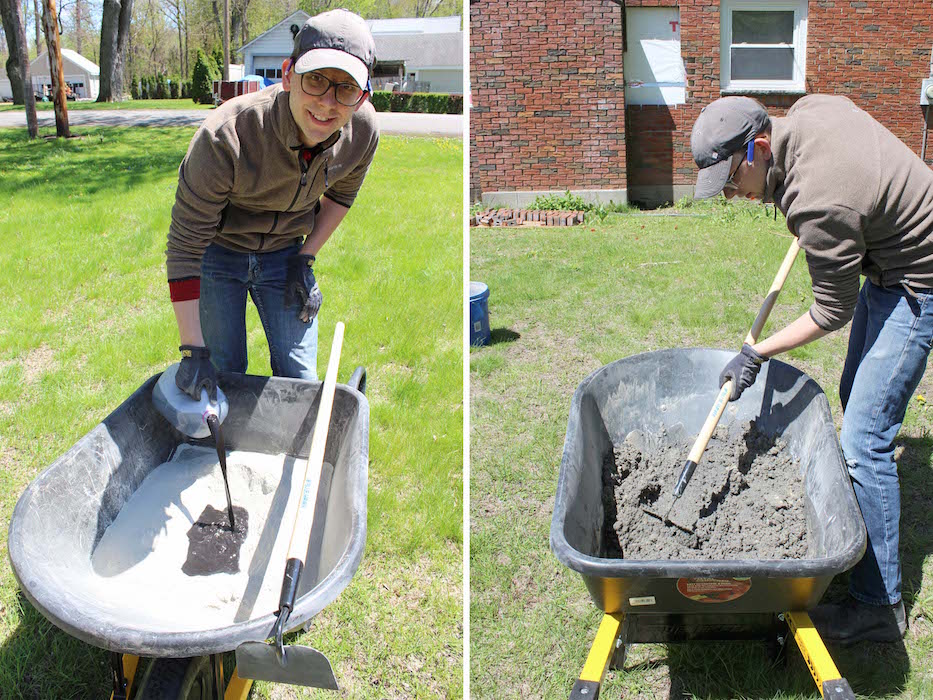
After the bricks were clean, Brandon mixed together the mortar. Now this is the part that got a bit scientific. Since our house is over 100 years old, the mortar on our house has been weathering for quite some time. We wanted to make sure that the new mortar we used matched as best as possible with the mortar that was already on the house. Brandon conducted and experiment with several different ratios of water and dye mixed with the mortar. After letting it harden in an ice cube tray for over 24 hours, we brought them outside and tried to best match it with the existing brick. We ended up using 12.5%, or 1/8, of the manufacturer recommended mixture. It equated to about 1 oz of die per 60 lbs of mortar. (The second cube in from the left was the winner!)
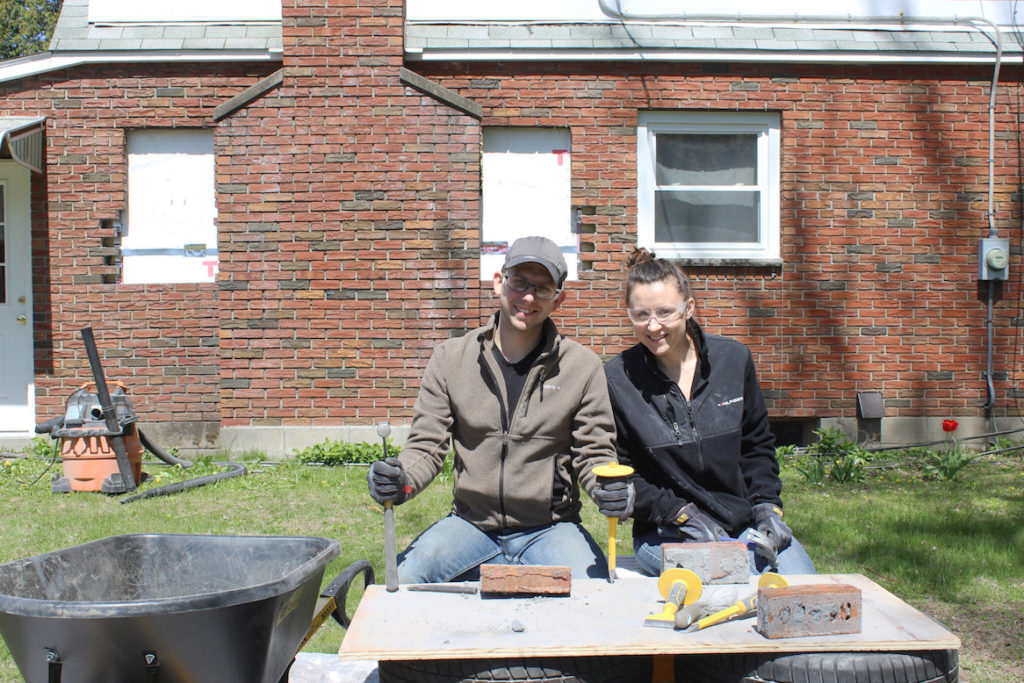
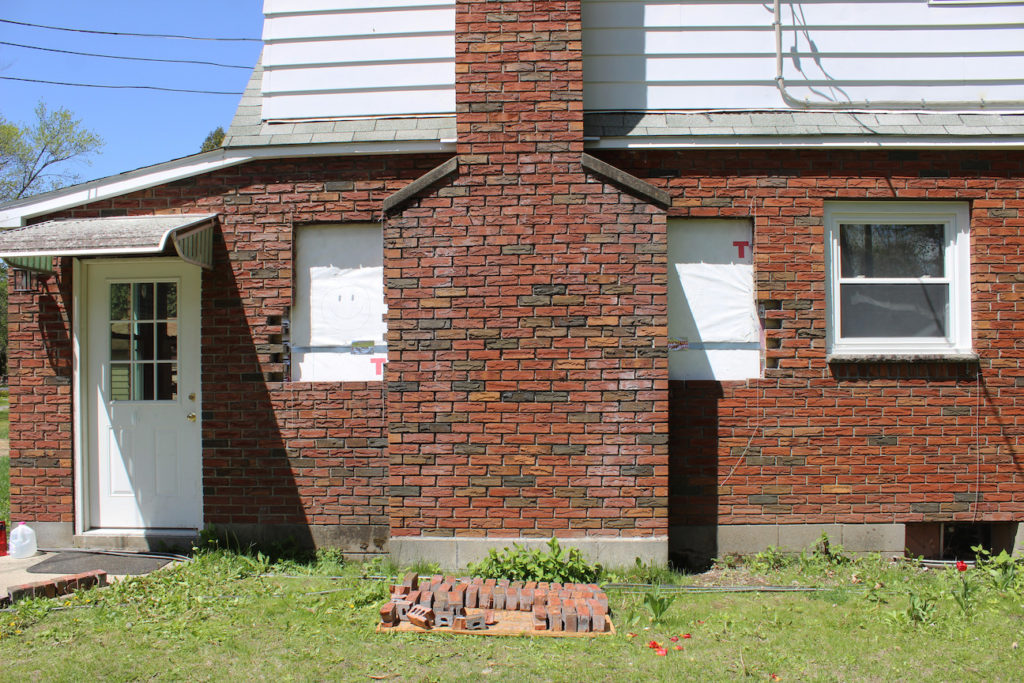
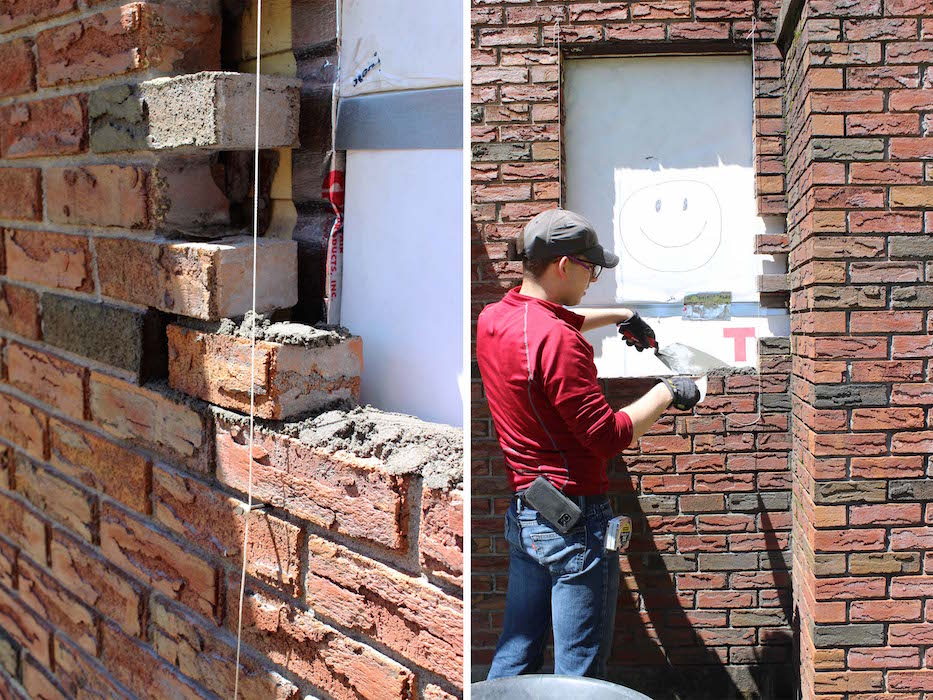
Brandon and I used a plum bob to line up the edges of the previous brick, and tied vertical strings in place to help keep the brick in line. We started putting up the brick at the sill area first edge-wise to match the look of the other sills. We saved the previous cement-casted sill from the window, and put it back in at a 15 degree angle. While Brandon put the brick on the house, I cut the next pre-measured brick in line with an angle grinder and pass it off to him. It ended up taking us two afternoons (one afternoon per window) to finish up the brick.
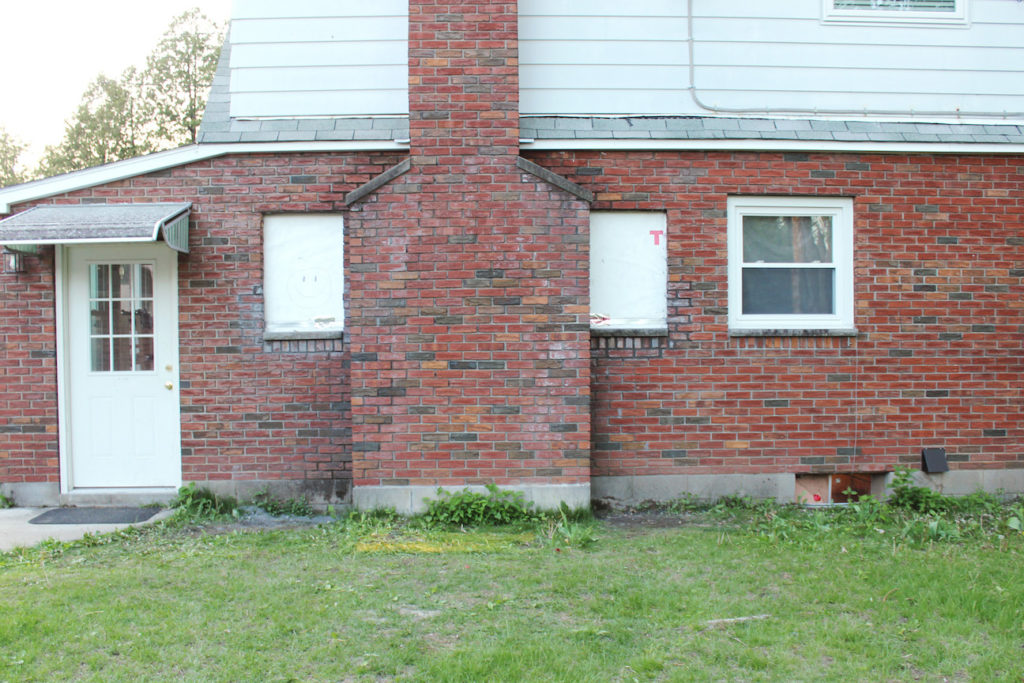
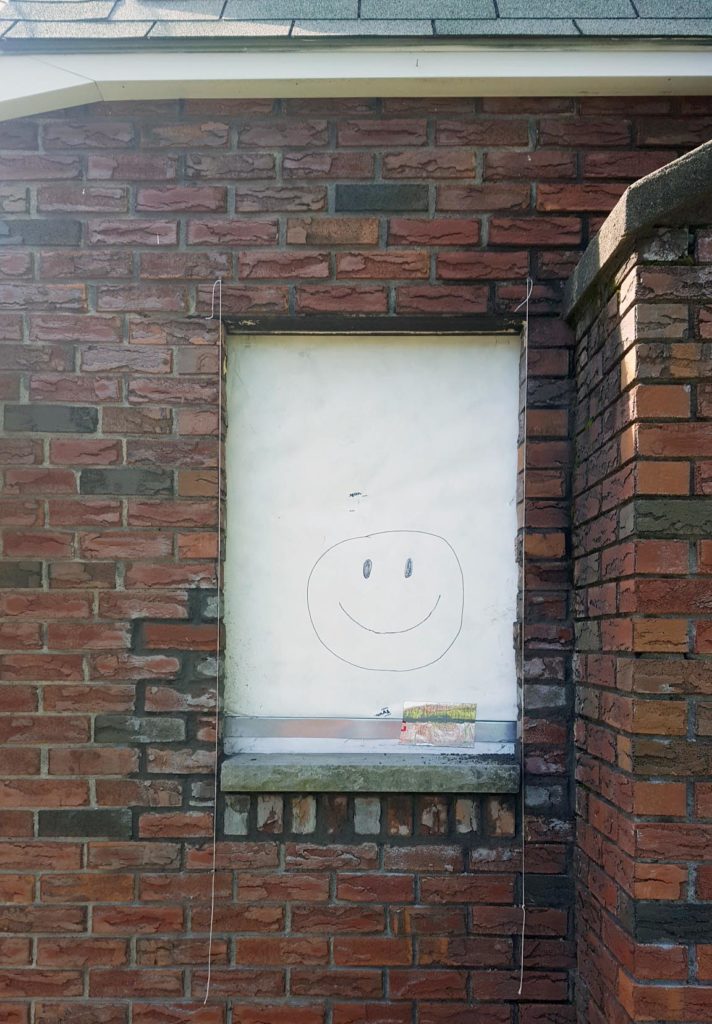
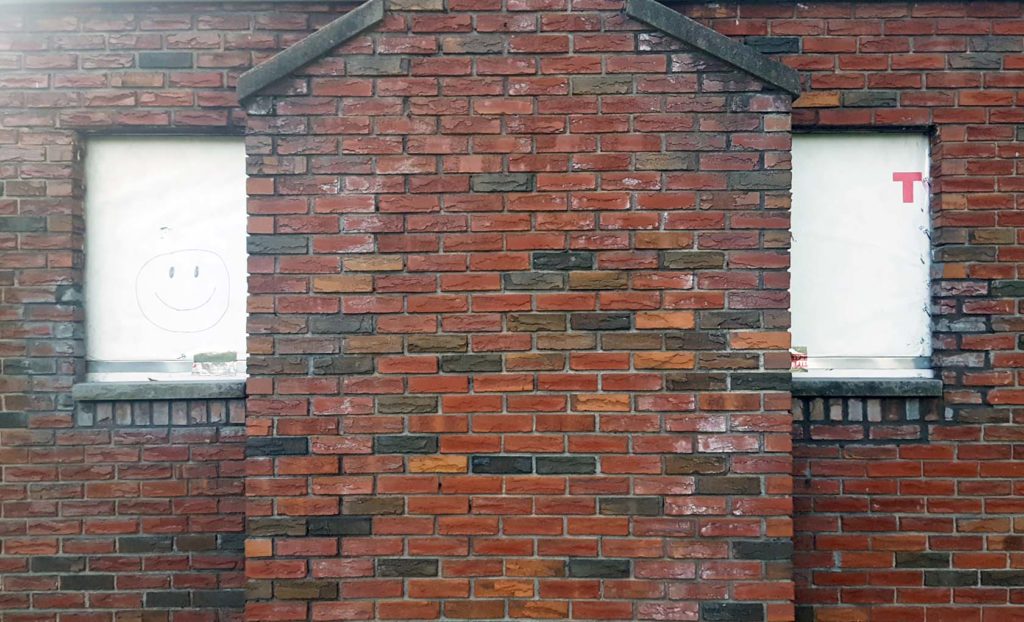
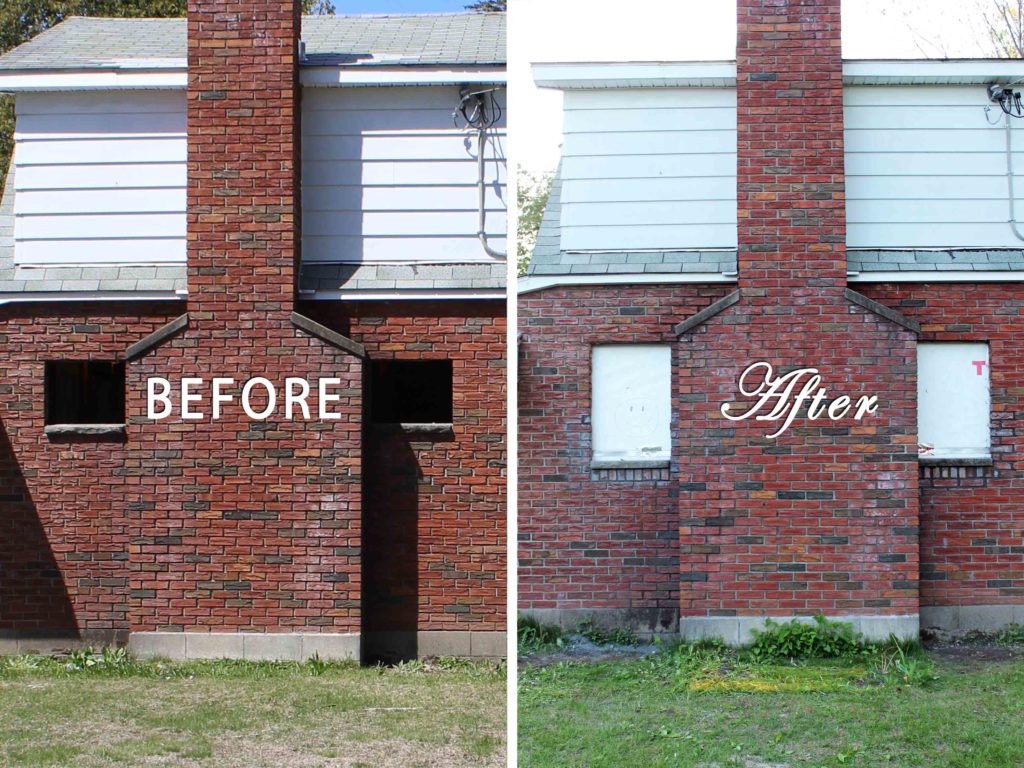
I absolutely LOVE how it turned out!! These photos were taken shortly after we finished, so obviously the mortar will lighten up as it cures. We just ordered new windows for the entire first floor. I can’t wait to reveal those once they are installed. Stay tuned!!


