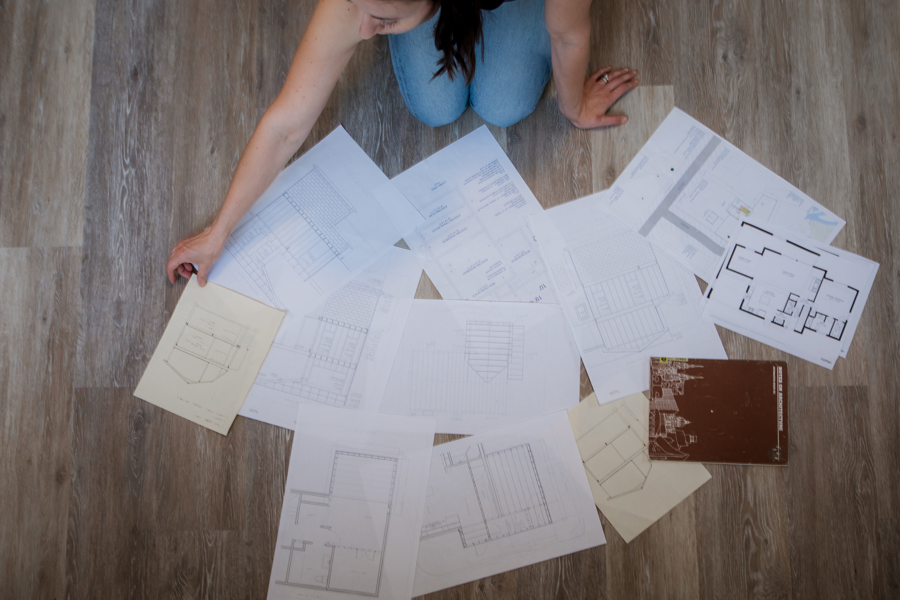
Another transformation project.
This time, I swear the porch is our last major demolition project. (I know that for certain because we have no more walls to demo!) We just can’t help ourselves!! I know, its been foreverrrr since I did a house update, but we’ve been working so hard on our house the last month. Finally, I have the opportunity to sit down process my thoughts and the first batch of photos from the summer.
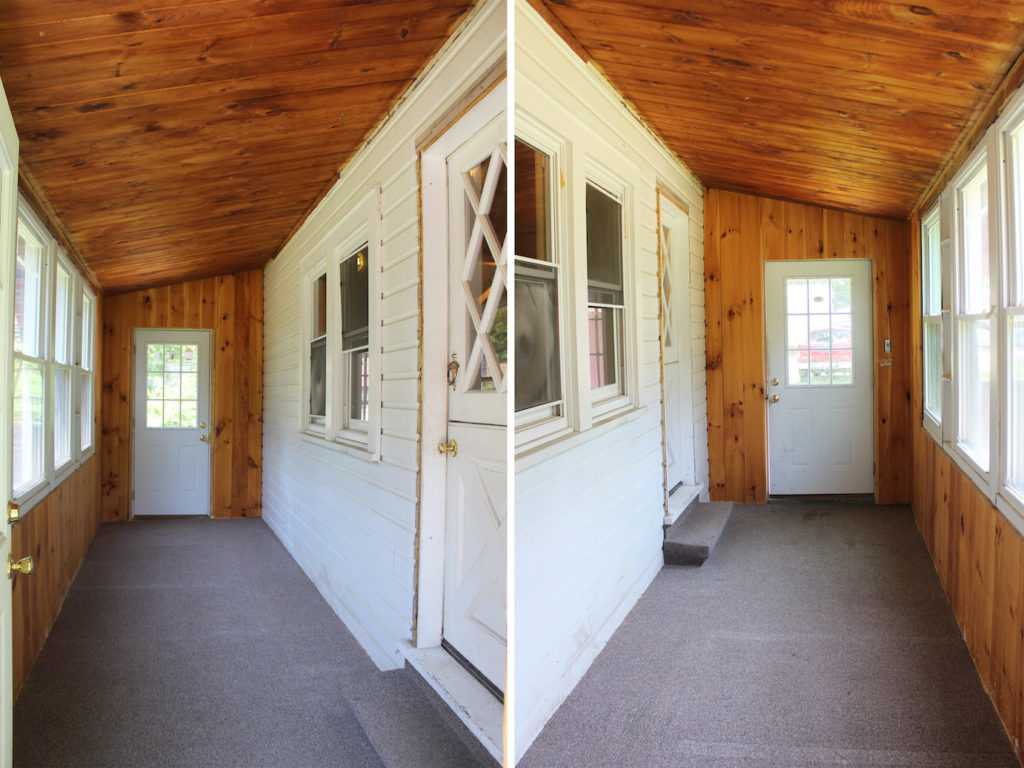
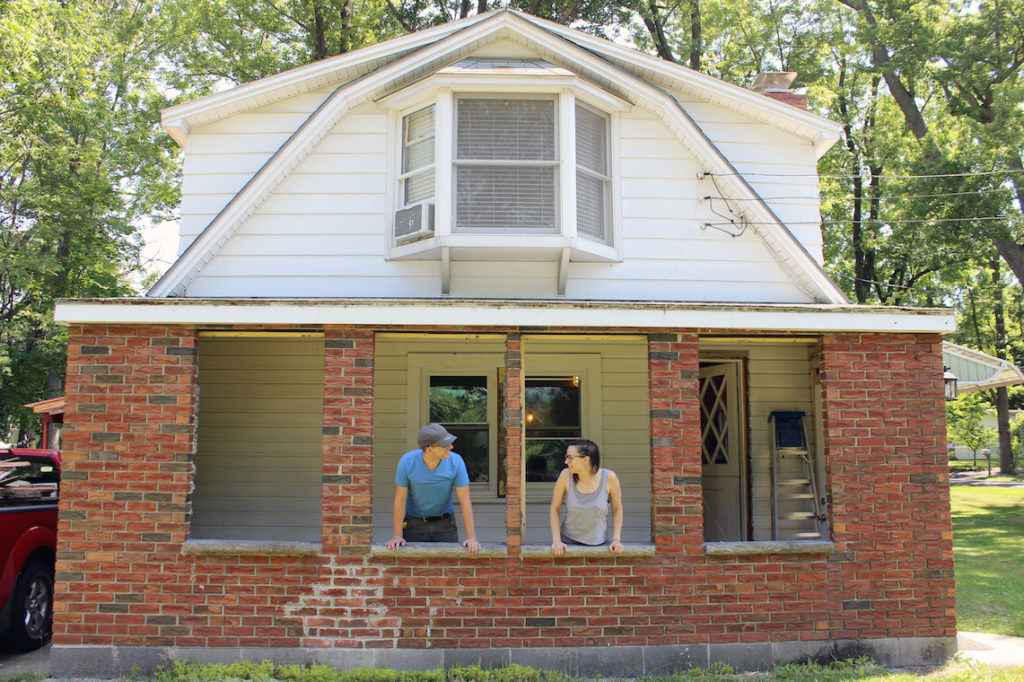
You can probably tell by the photo above that we have moved on from the fireplace to the front porch. Last time we left off, we replaced the windows on one side of our house. Brandon and I decided that it would be a good idea to replace all the other windows on the first floor. After careful consideration, we agreed that for our front porch, we wanted to combine the two center windows into one big picture window. But before we could replace any of the windows, we needed to find out what was behind the existing wall. If the wall structure behind the wooden paneling was good, then we could just move forward and replace the windows. If not, we would need to rebuild the whole wall. You probably know where this story is going.
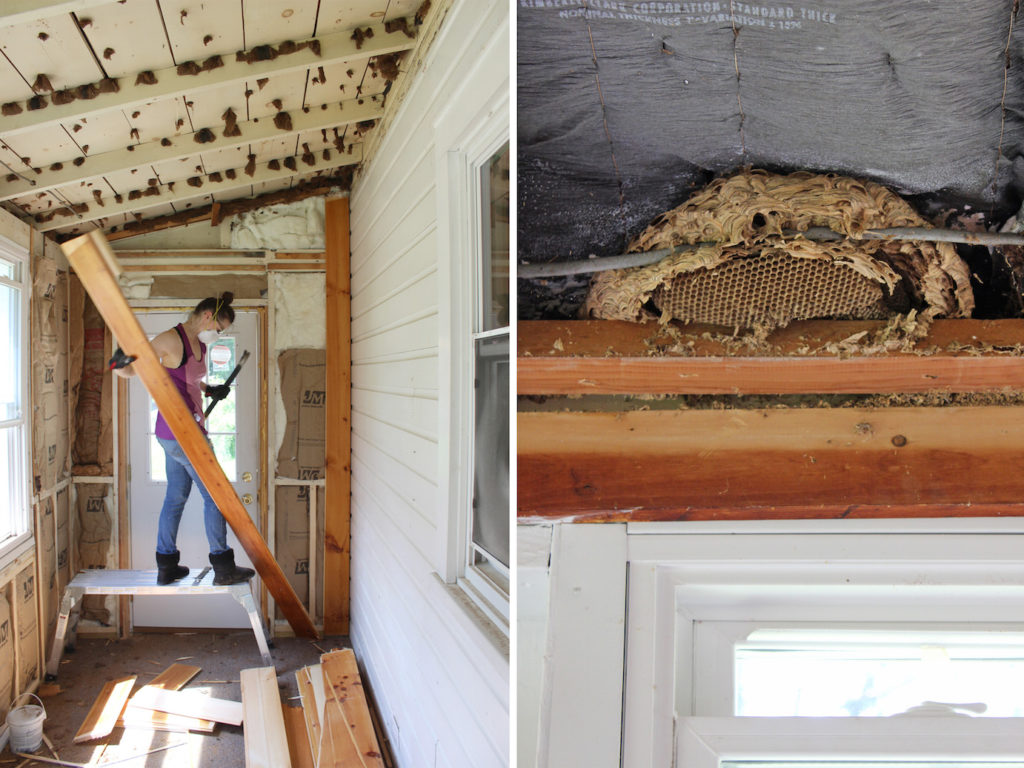
^ You never know what you’ll find behind a wall!
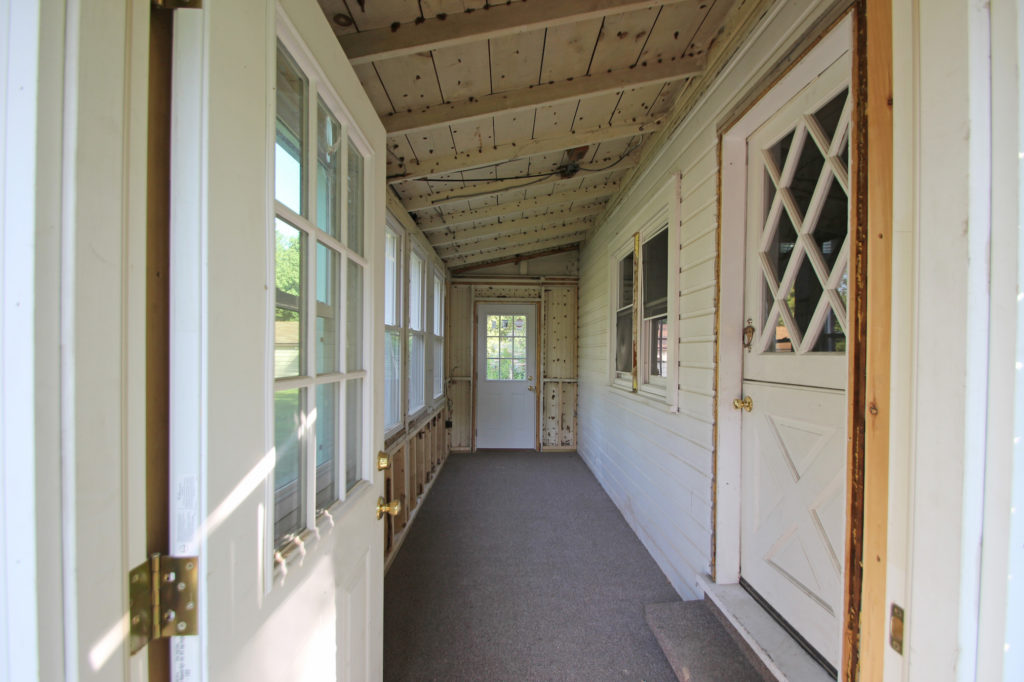
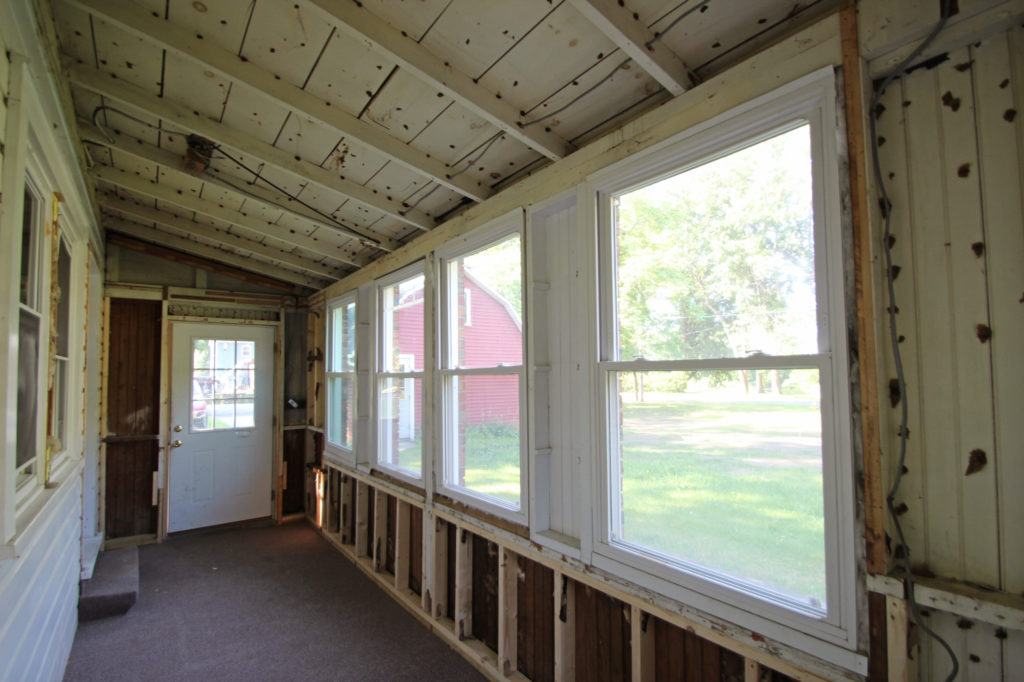
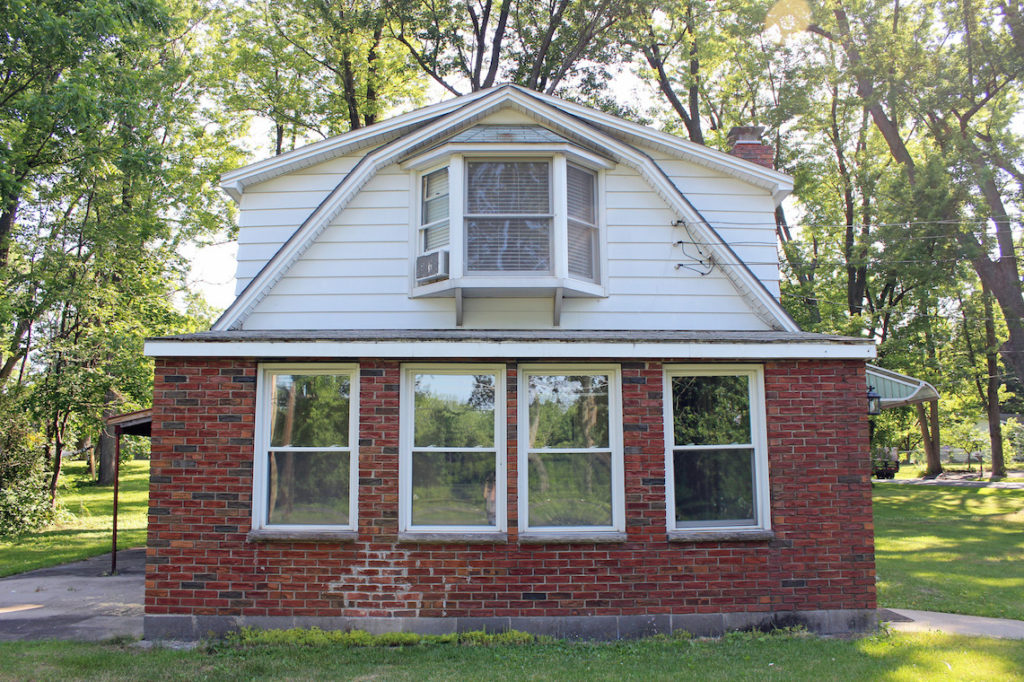
As history repeats itself, there were signs of rot on the wall behind the insulation on the original exterior of the house. There was no vapor barrier put in before the brick was added. Therefore, over the years, moisture had gotten in behind the porous brick. Over time, the wall (which was the original exterior of the house) began to rot and break down. We needed to build another wall. Before we could build that wall, we needed to remove the windows. Once the windows were removed, we could demo the rest of the wall.
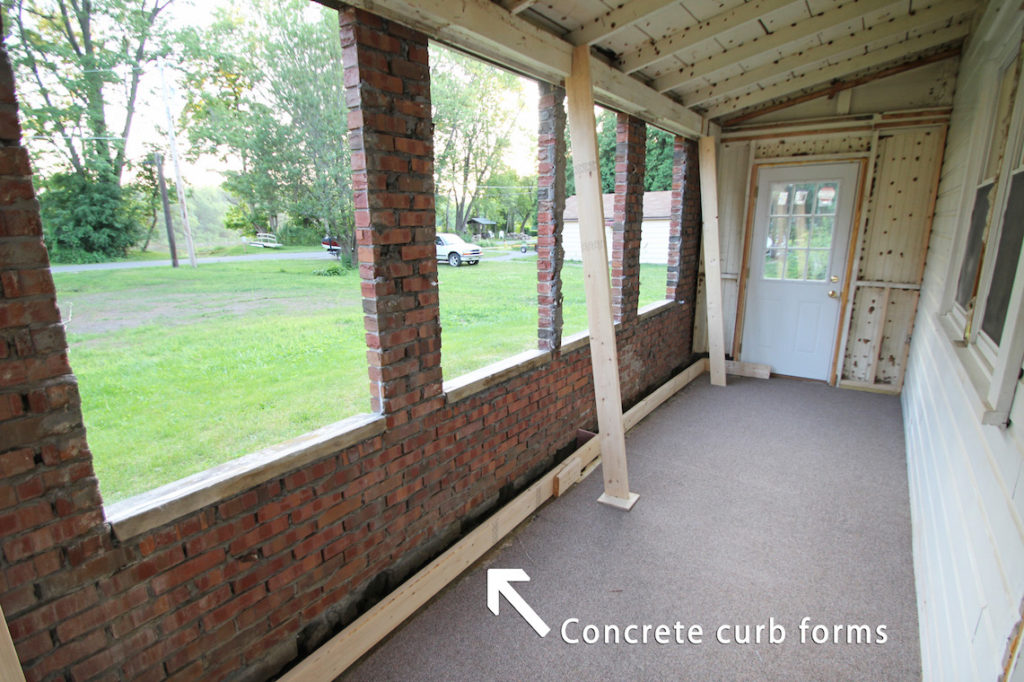
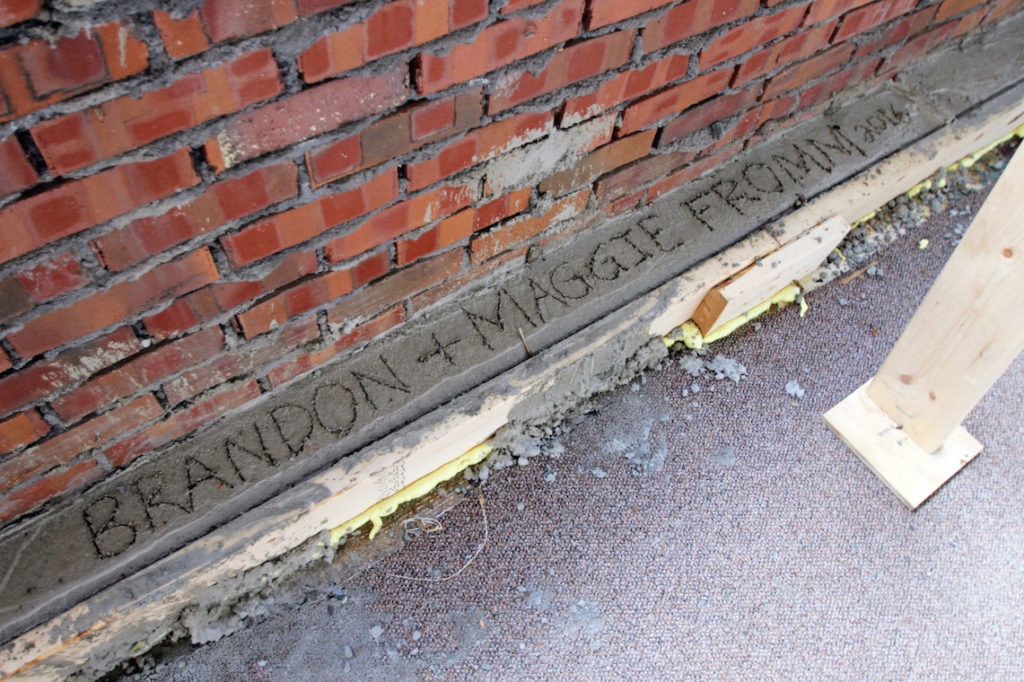
After removing all the studs and the original exterior of the house, the only part of the wall that remained was the brick. Most of the damage from the moisture and rot was toward the bottom of the wall the windows were on. In an effort to avoid similar damage in the future, Brandon thought we should build a concrete curb around the base of the window. This way, the sill plate wouldn’t be resting on the base of the front porch, but several inches higher. Brandon and his buddy Dan built the wood form, and filled it with concrete. He removed the form after the concrete curb cured, and sealed it with a tar tape.
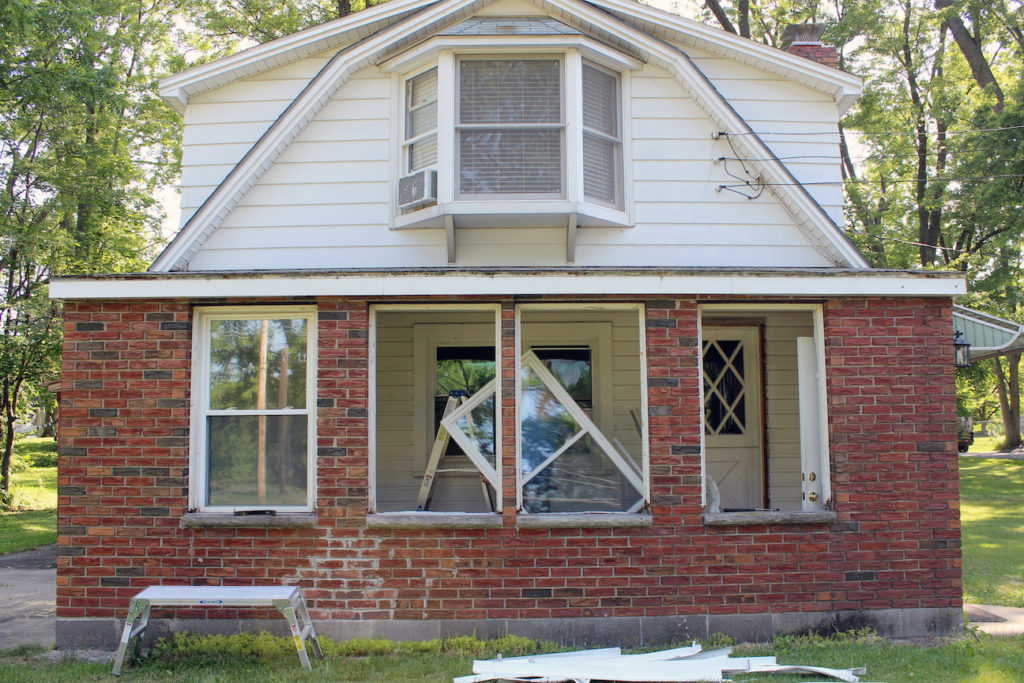
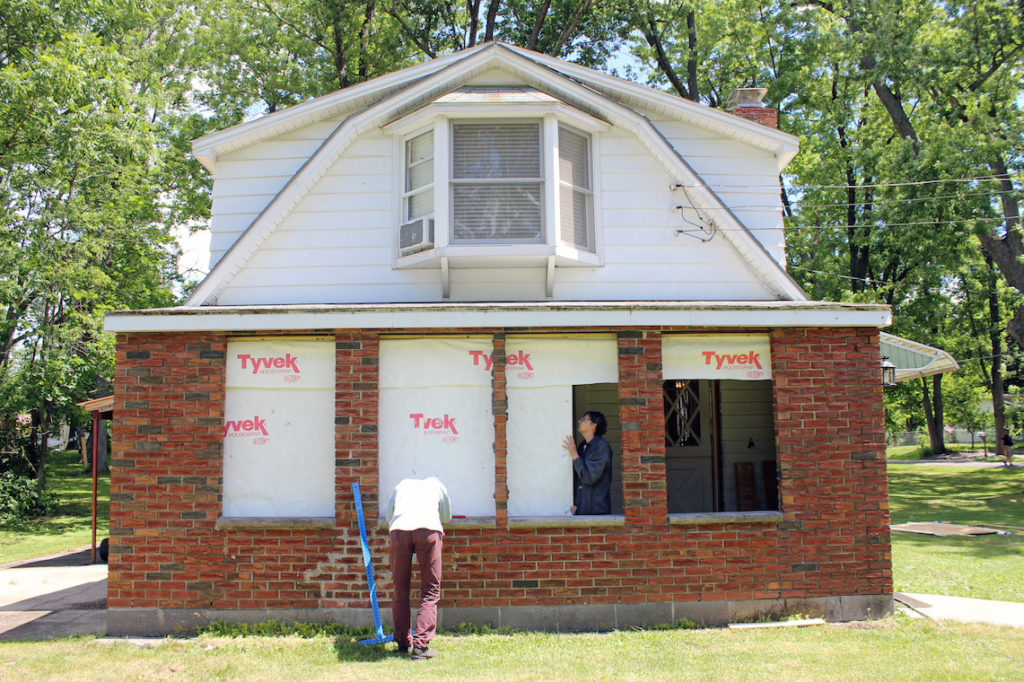
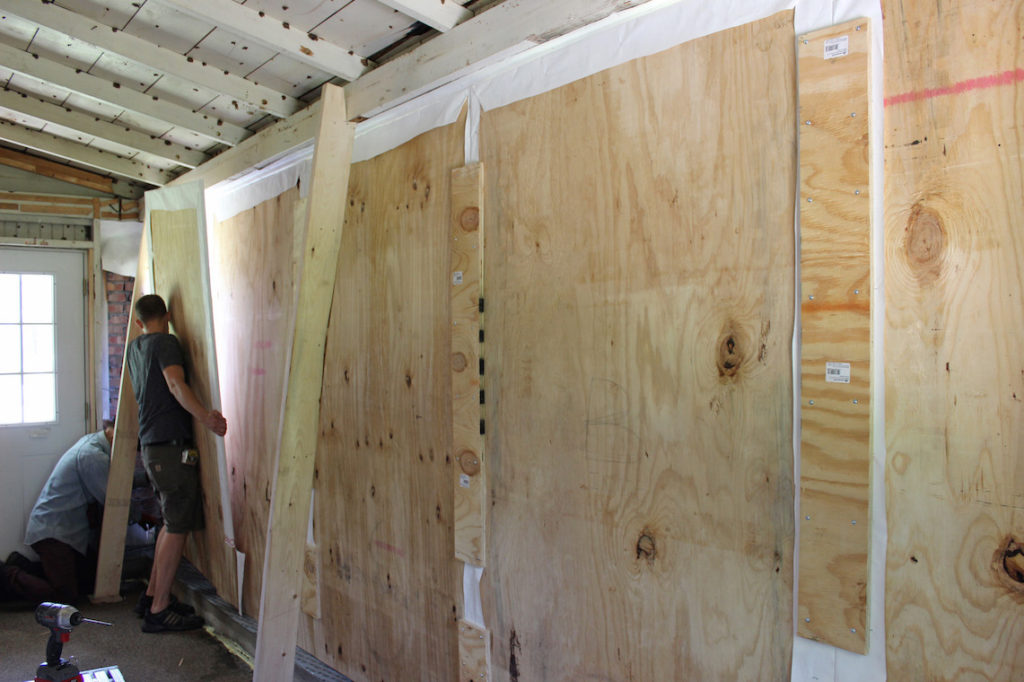
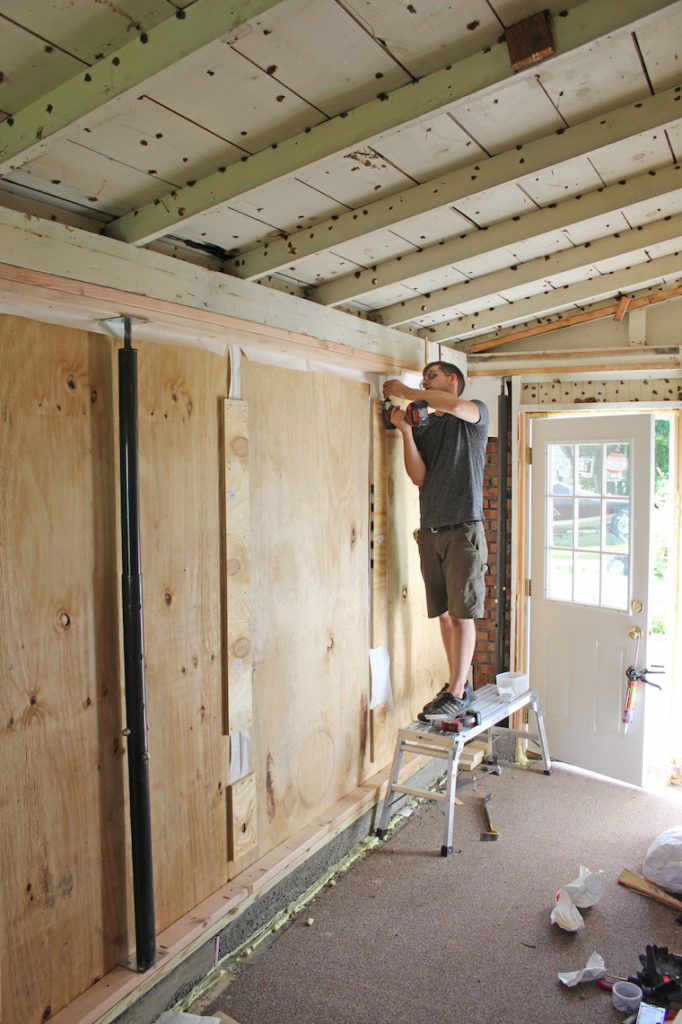
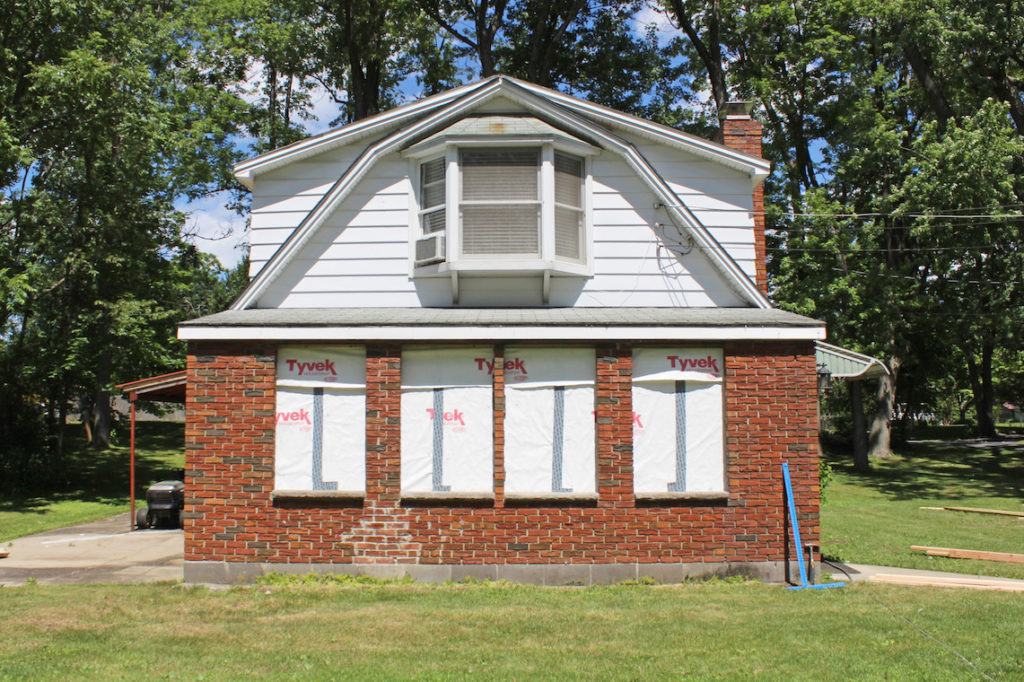
My parents came the following weekend and were a huge help in putting up the new wall. Much like building the fireplace wall, first we needed to wrap the plywood in a vapor barrier such as Tyvek. My mother and I wrapped and stapled the Tyvek to the plywood, then covered all the stapled spots with Tyvek tape. Brandon and my father carried in the wrapped/stapled plywood and affixed it to the wall. Using a concrete drill and concrete lag screws, Brandon then bolted a pressure treated wood sill to the curb as the base for the new wall. To temporarily hold the beam up, we used our trusty adjustable support columns.
In the next house post, I will reveal our brand new windows and porch area. The front of our house looks completely different than before! Stay tuned.


