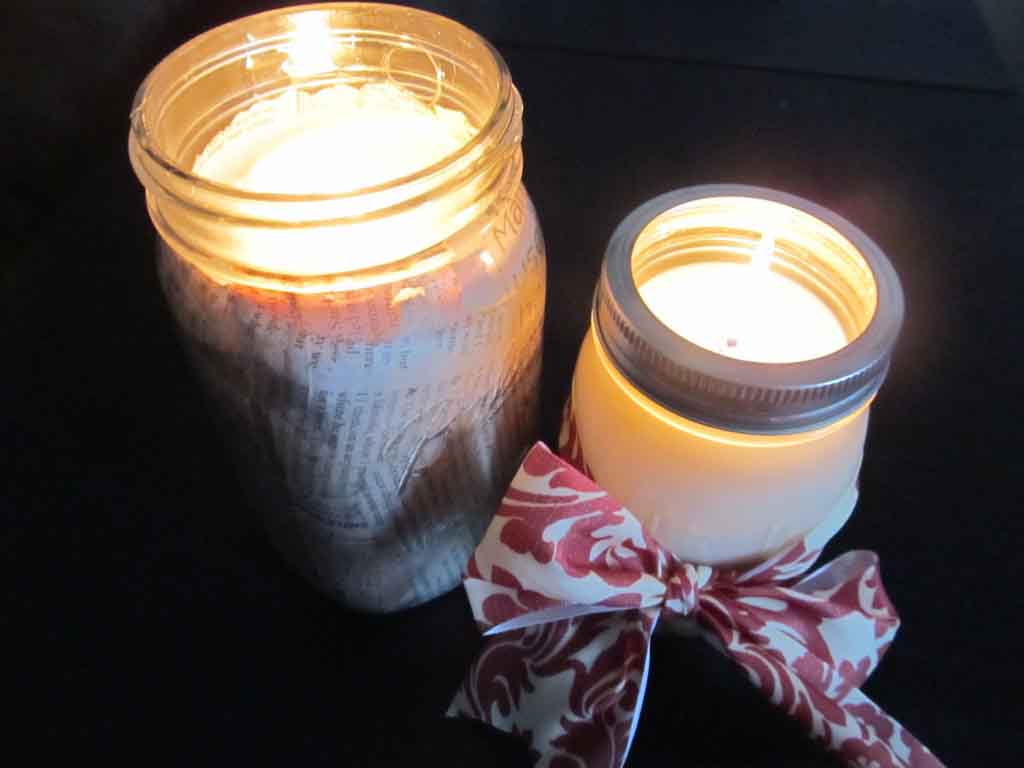
It’s Springtime here in the Northeast! The weather is beginning to get warmer and we will be spending lots of time outdoors with pesky bugs like mosquitos, moths and flies that will soon be buzzing in our ears and attacking our skin. Ick! Instead of purchasing the run-of-the-mill tiki torches or a giant citronella bucket, I wanted to make my own bug repelling candles that were also pretty. If you know anything about me by now, you know I like to decorate. Plus, duh, this is an interior design blog.
So, being the social person that I am I decided to invite some friends over and make this a little candle making party! We gathered our supplies and got to work.
To make these particular candles I use Ball canning jars. If you don’t have any Ball jars, you can pick up a box of 12 at Walmart for about $8. I used the 1 quart size. If you don’t want to buy jars, another idea would be to recycle old mayonnaise jars, pickle jars, jelly jars, etc, any clear jars will work. My friends had some standard votive candle holders that they purchased, and pre-measured wicks that went with them. They also brought some candle dyes with them. You can also use crayons to add color to candles. I chose to leave mine white because I like the look of clear light sparkling through the newspaper.
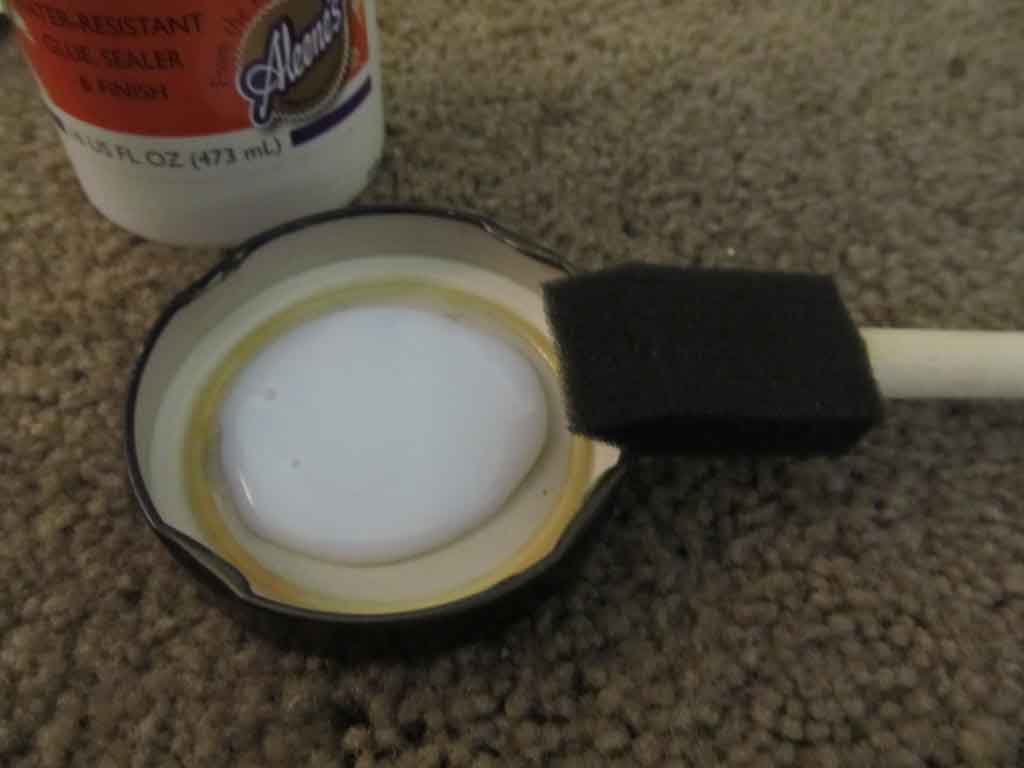
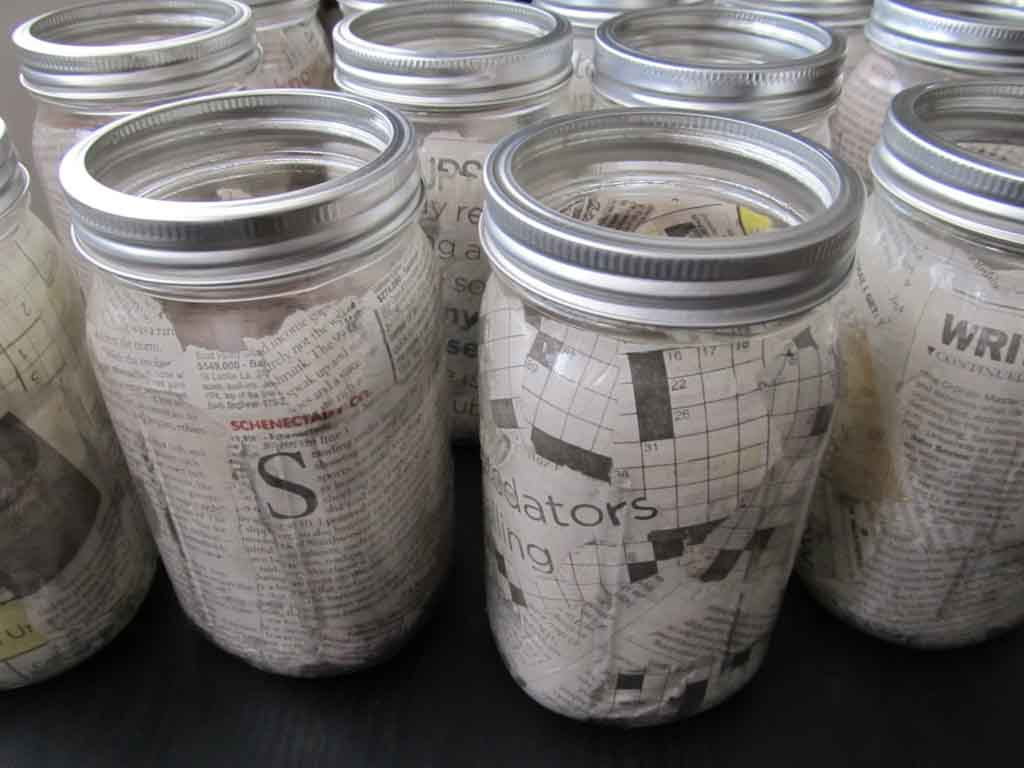
Before starting the candle making process, I wanted to decorate the jars so they didn’t look so plain. I’m a huge fan of collaging things. It’s a great way to add your personality to plain object. All you need are some recycled newspapers, a foam brush, and some crafter’s glossy decoupage to collage the jars. I purchased the decoupage and brush at Jo-Ann Fabrics.
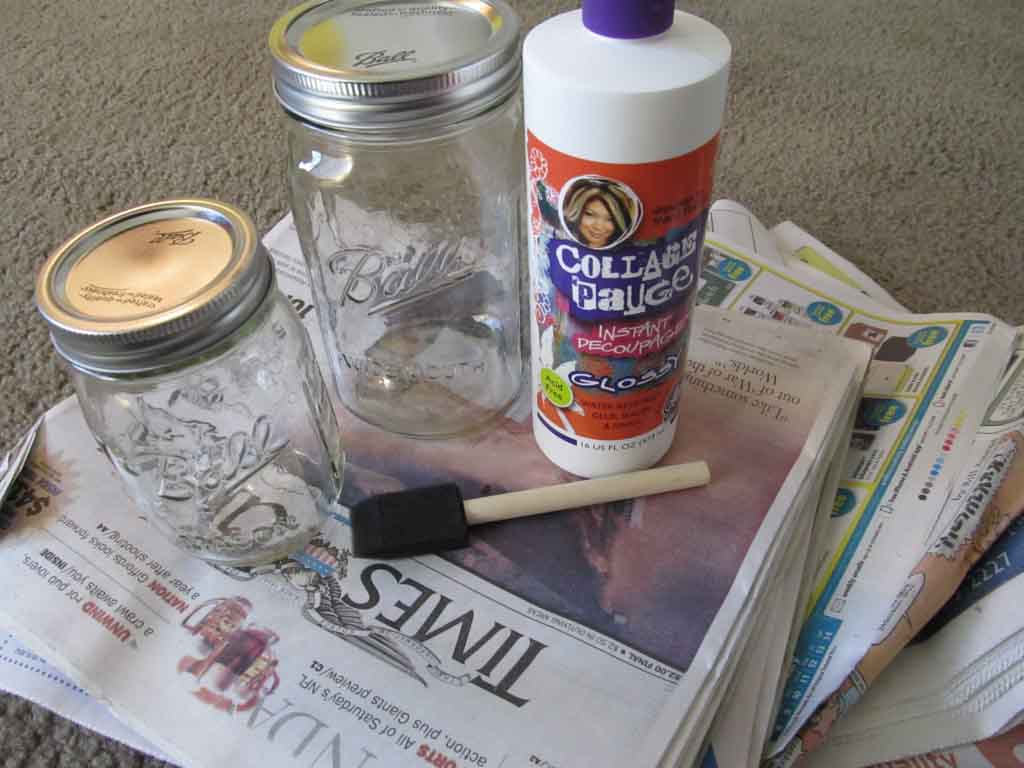
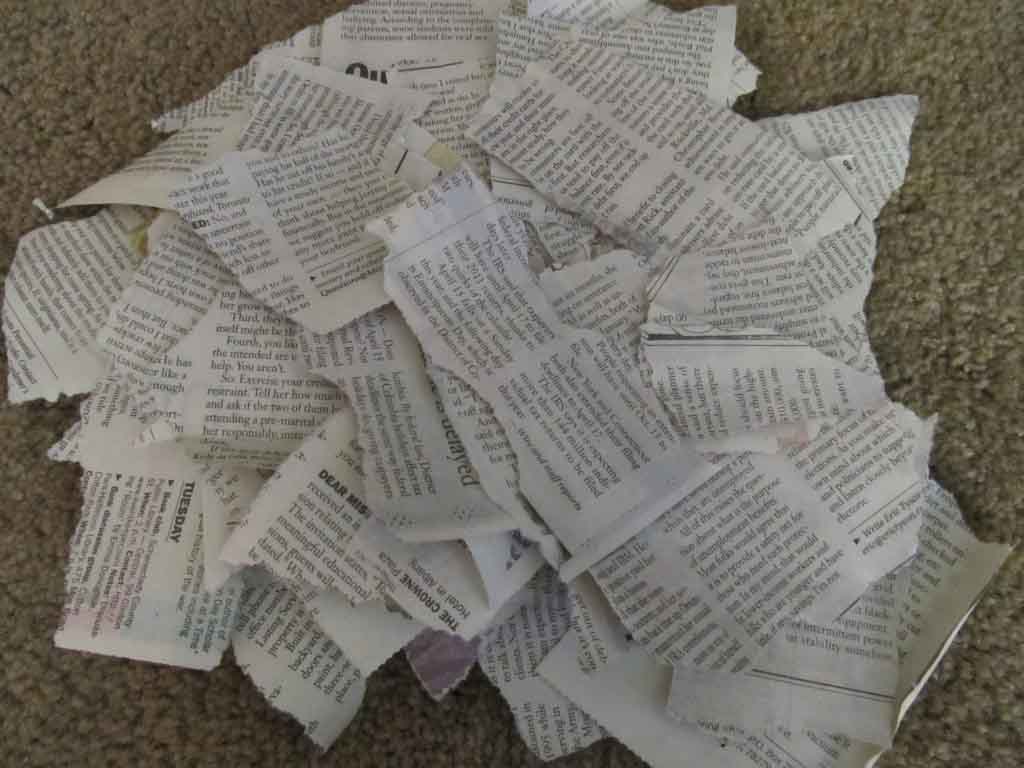
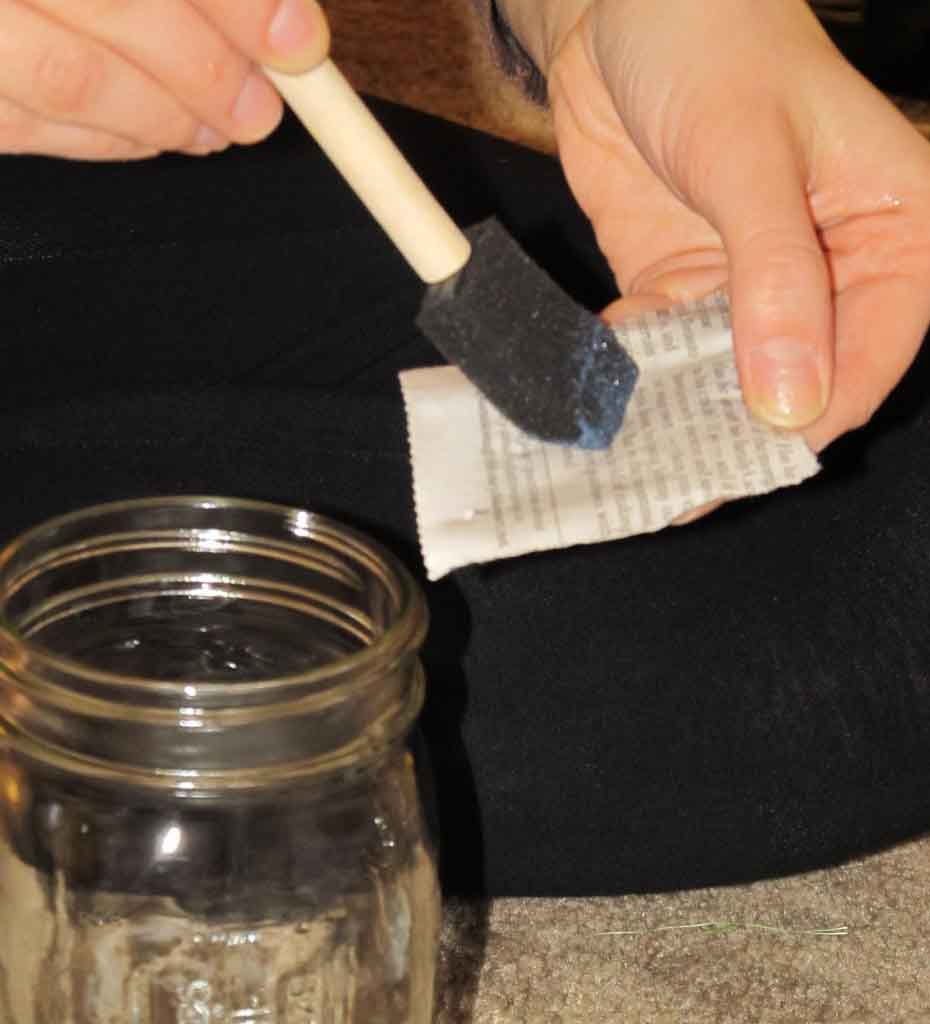
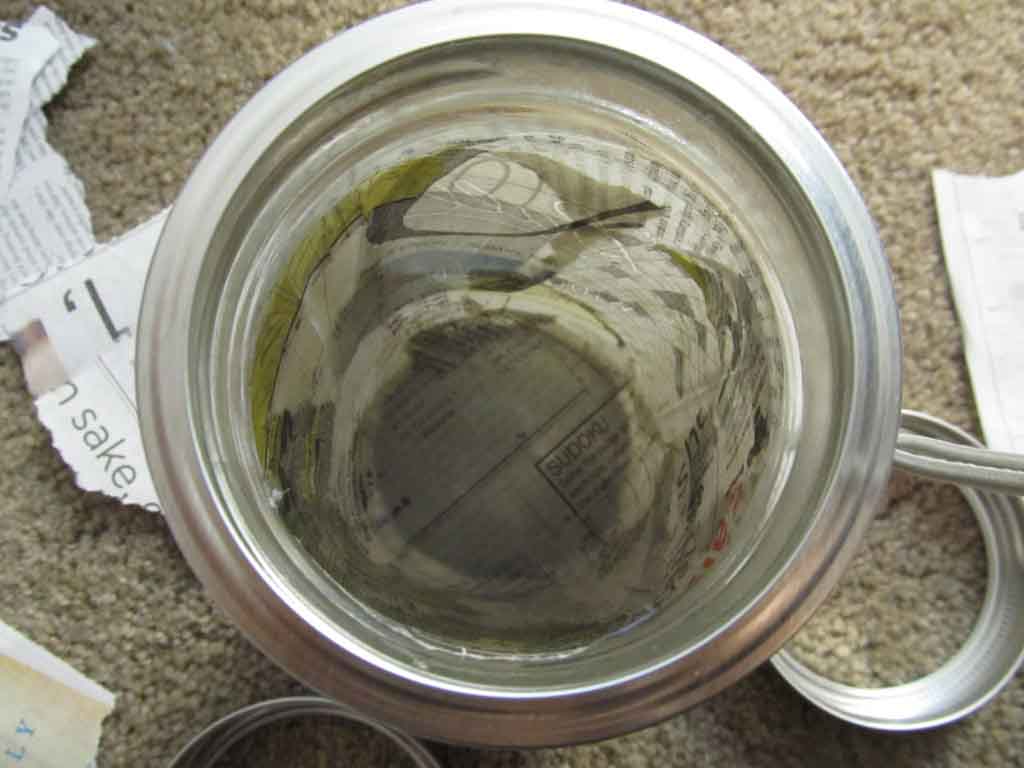
First I ripped up the newspaper small to medium sized pieces. I like to find interesting headlines or small bits of color from the front page to make them stand out. I took an old jar lid and squeezed the decoupage into the lid to dip the brush into. I covered a piece of newspaper completely in decoupage and placed it on the same side that I just covered with decoupage to the inside of the jar.
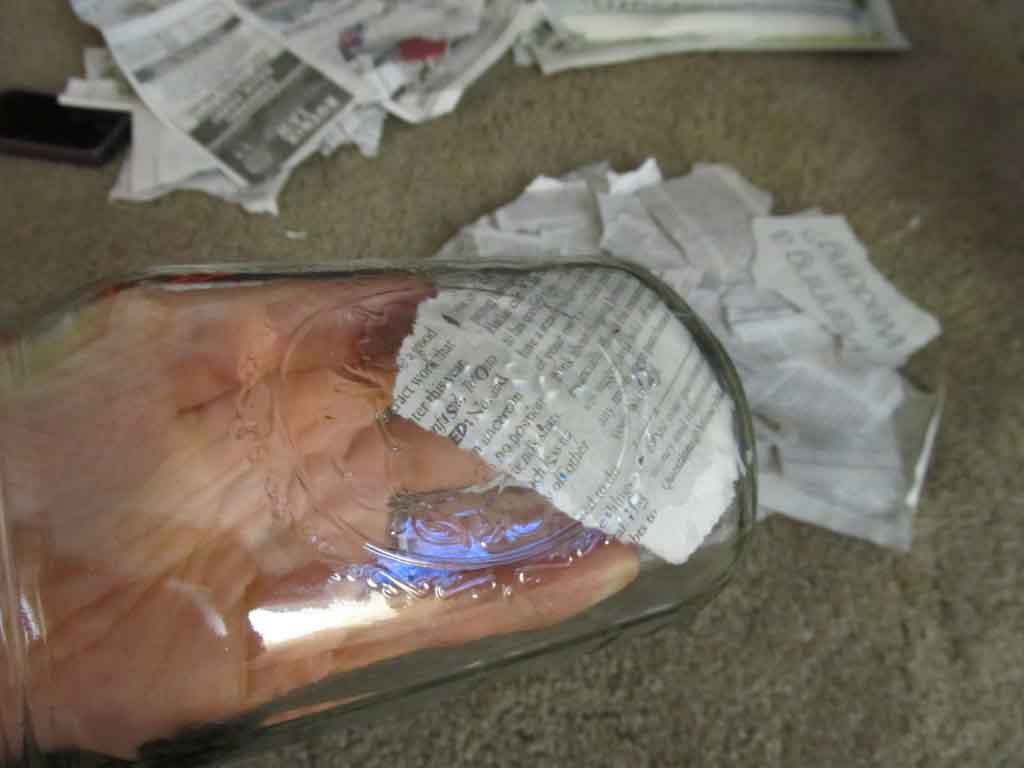
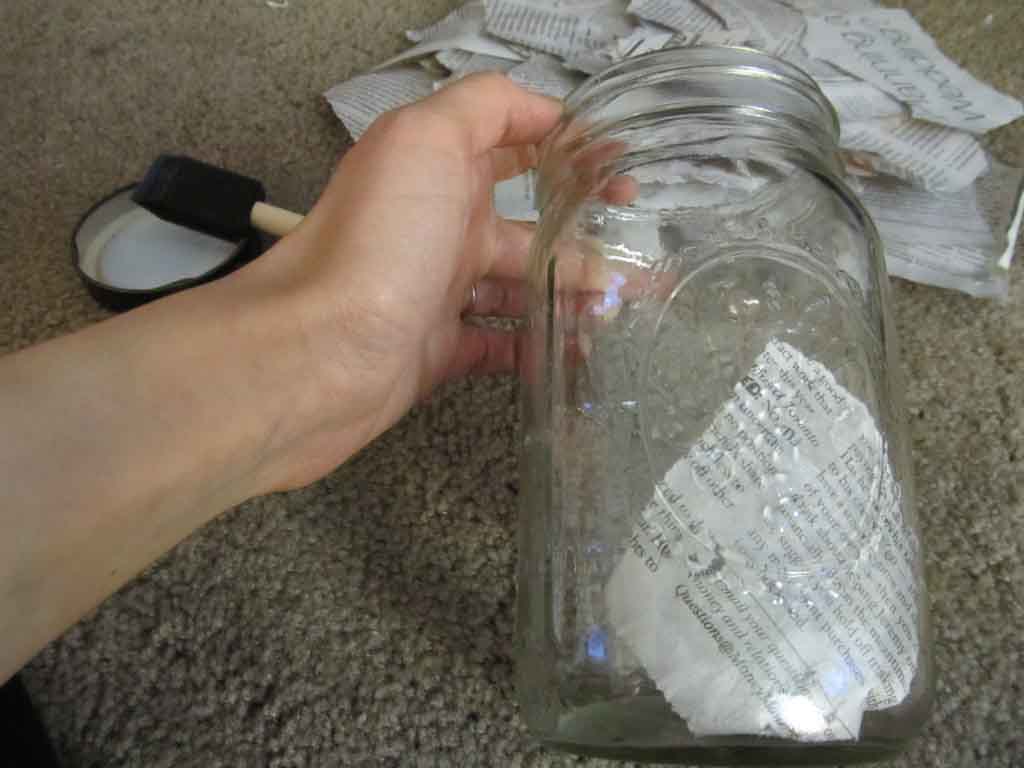
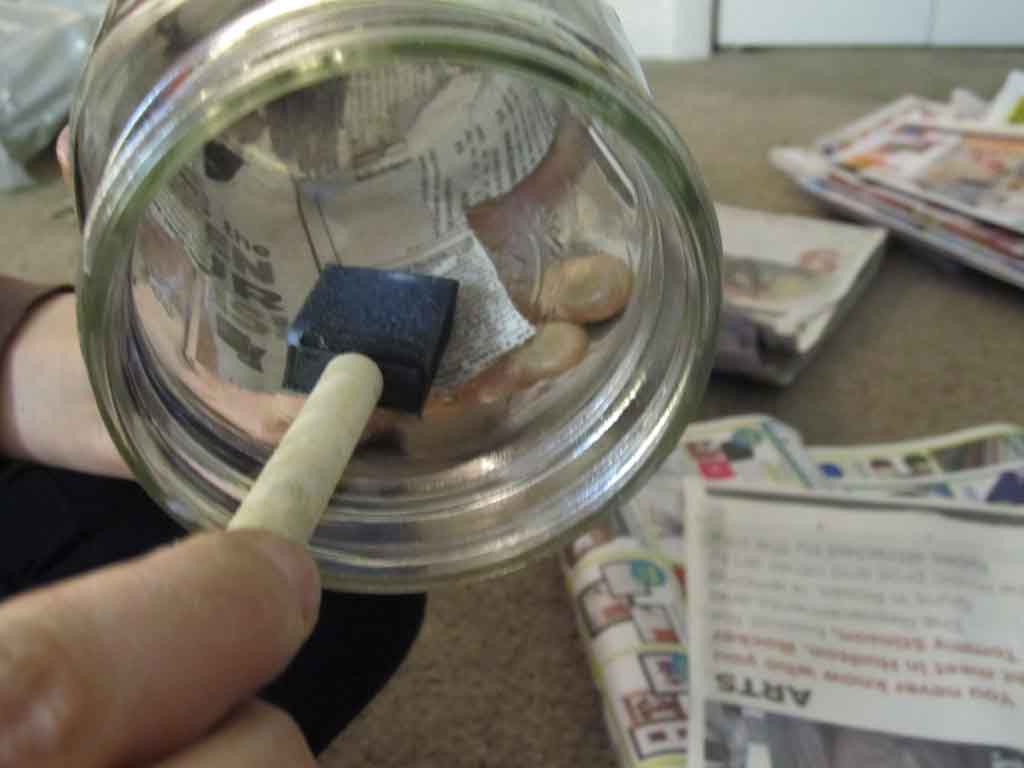
After the newspaper pieces were arranged in the jar, I put another layer of decoupage on top of it to seal it. I left the jars to dry overnight.
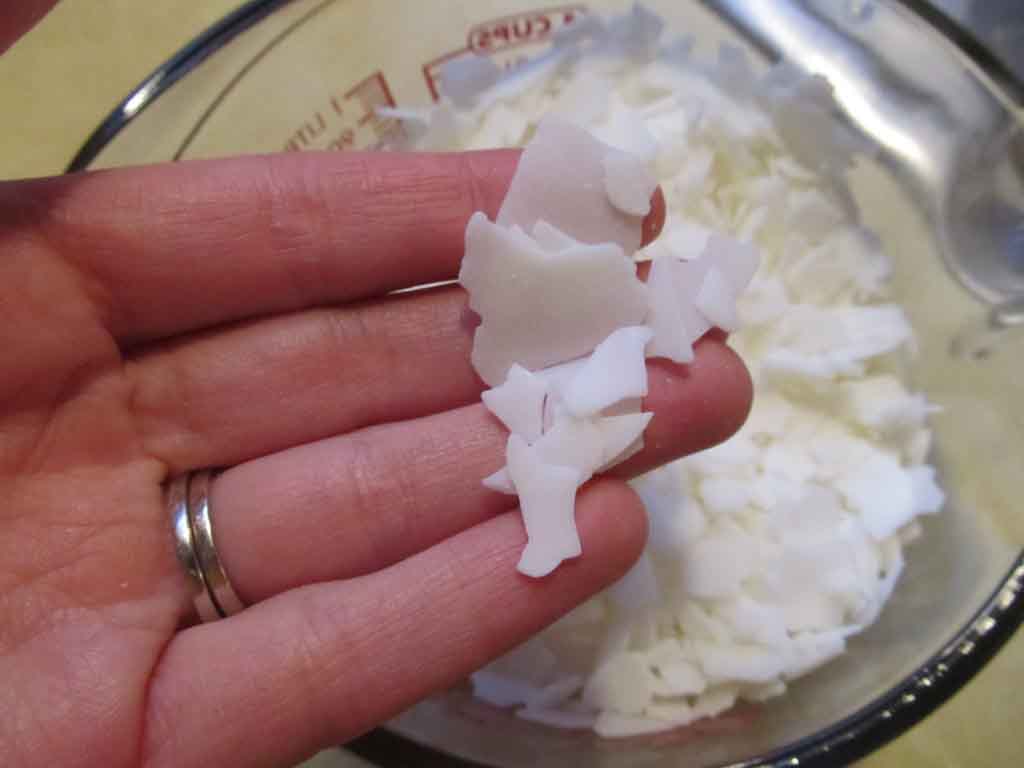
 The next step in this process is melting the wax. For these candles, I used soy wax. The reason I used soy wax because it is much easier to clean out of fabric than paraffin wax which tends to stain. I ordered the wax from Candlewic.com. If you plan on making a lot of candles, I suggest finding a local store to purchase the wax because it is expensive to ship.
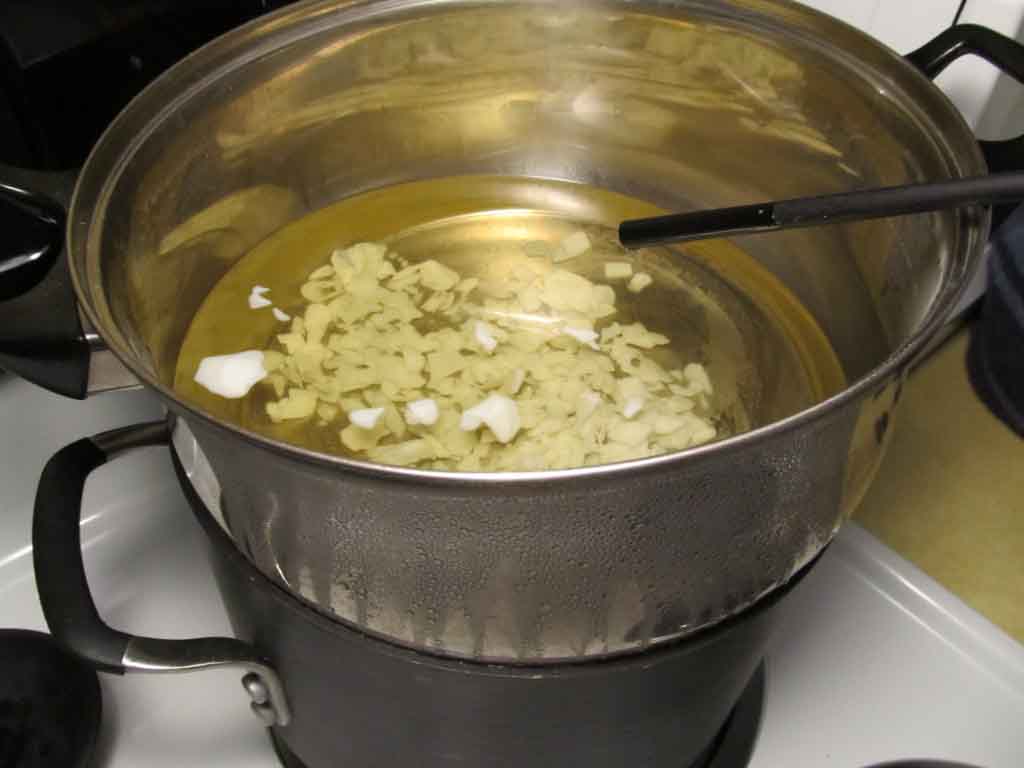
To melt the wax efficiently, I used a double boiling system. A double boiler uses the steam from boiling water from the bottom pot to heat up the ingredient in the top pot. Bakers use it to melt chocolate without burning it. If you don’t have a double boiler, you can do what I did and use 2 pots on top of each other. Fill the bottom with water and let it come to a boil. The top pot should not be placed into the boiling water. It is only supposed to sit on top of the bottom pot. If you remove the top pot use caution because the steam will escape and burn you if you are not careful. My husband learned this the wrong way.
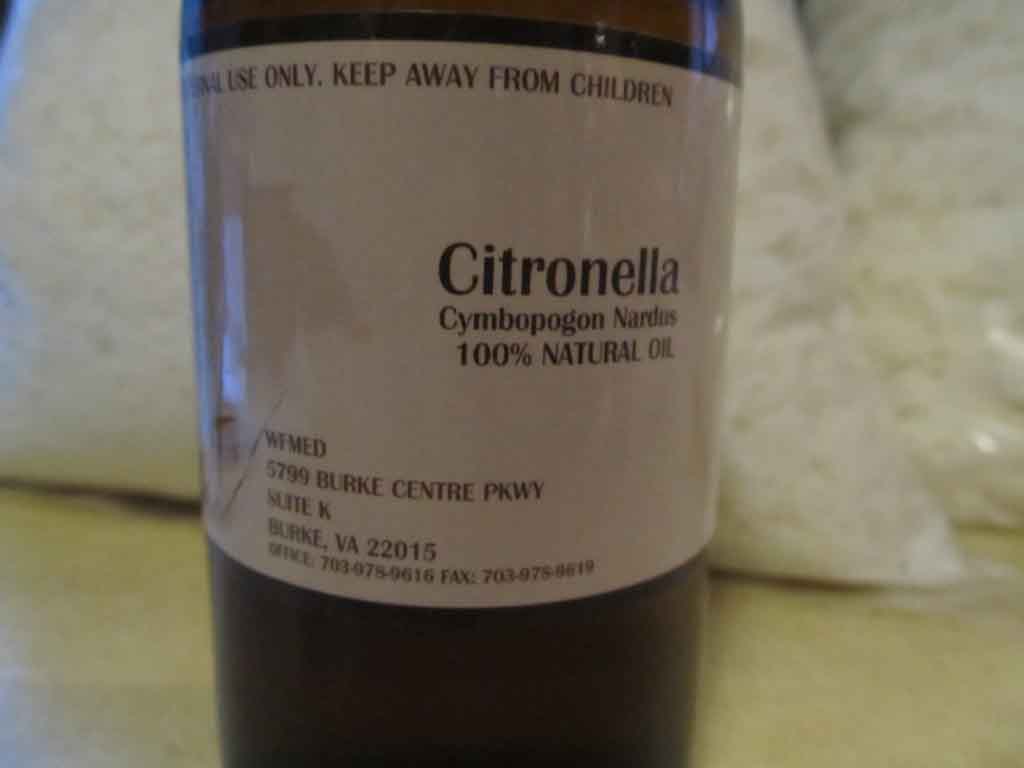
When you are adding the wax to the pot to melt, it is best to add it a few handfuls at a time, rather than a large quantity at once. This will prevent the wax flakes from melting together into a big glob. Once the wax was completely melted to a liquid, I added a few drops of citronella oil. You can use any type of essential oil you’d like. In fact, after I made the citronella candles, I melted more wax and added vanilla oil from Bath and Body Works’ line of home fragrance burning oils to make vanilla scented candles.
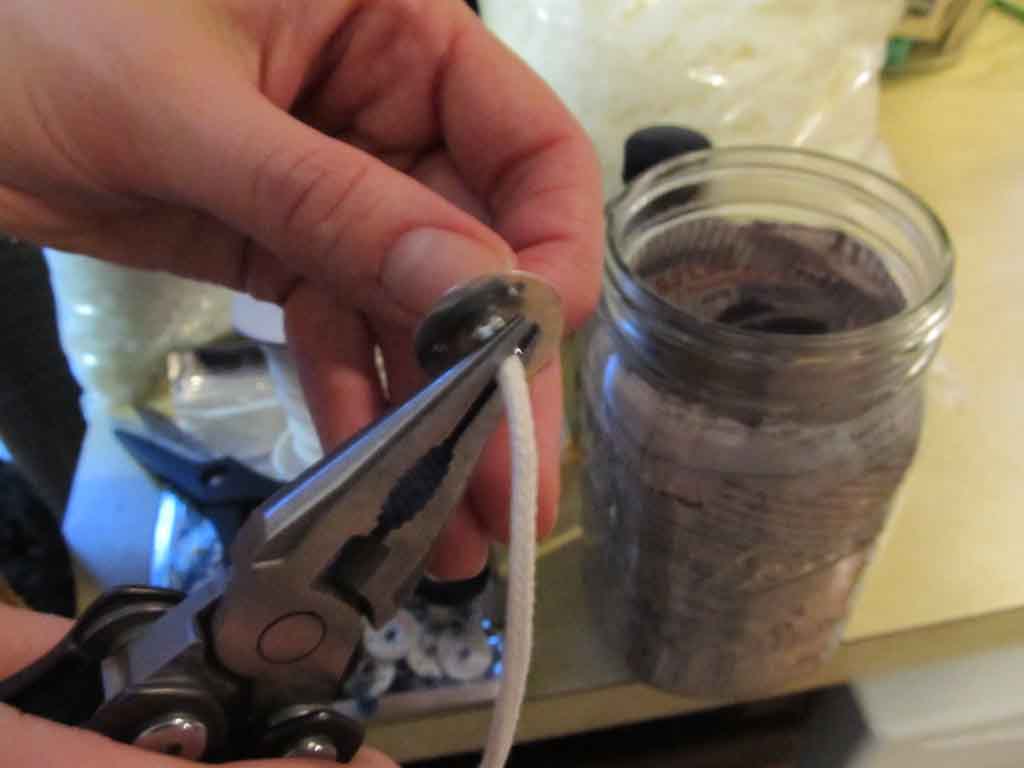
I purchased the wick string and wick tabs from the same company as the wax. The wick string came on a large spool, so when you decide to make candles, you may need to cut the string to the appropriate size to the jar so that it could harden straight. I took one end of the wick and pushed it through from the bottom of the wick tab, pulled it through until only a small part of the string was at the end. Then I used pliers to pinch it tight so the string won’t come out.
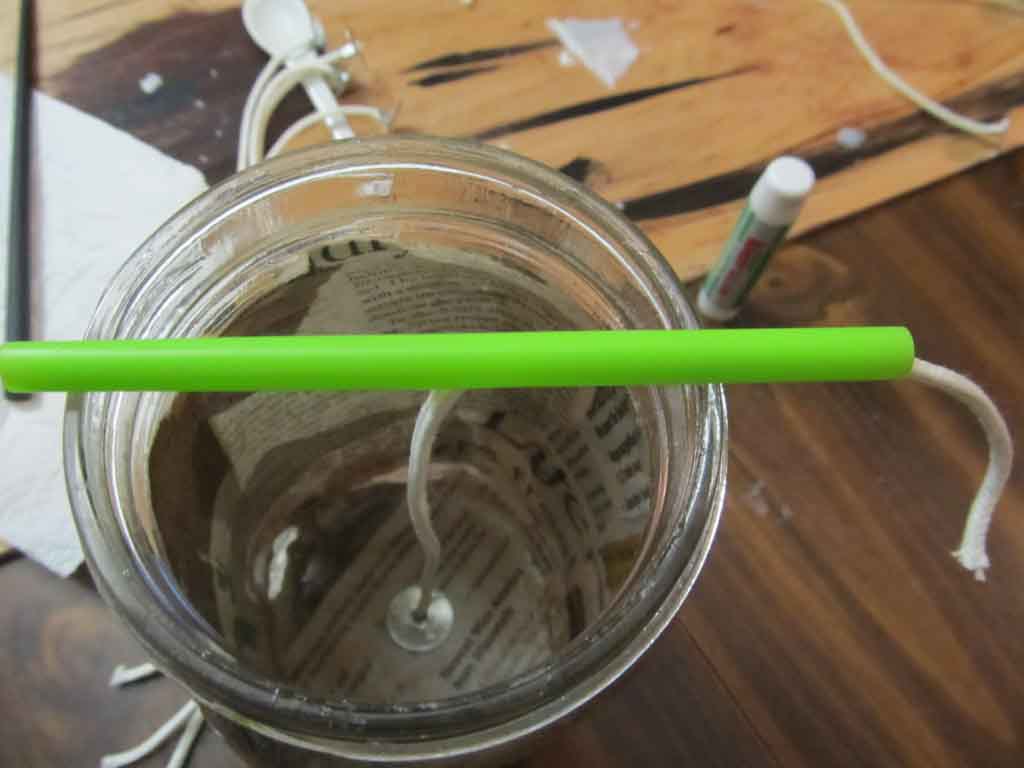
Next, I took super glue and put a few dots on the bottom on the wick tab and set it down to the bottom of the jar. I used a chop stick to hold it down while the glue dried for a minute. The reason I superglued it is because if you pour hot wax over the wick, it moves around in the jar and doesn’t harden straight, and your candle won’t burn evenly. Who wants a crooked wick?
I have tried various methods and attempted many ways to get the wick to stay straight as the wax hardens and I think I found the best way. Take a drinking straw and cut it in half. Then take the half sized straw and cut it again but this time cut it lengthwise stopping halfway through the straw like this:
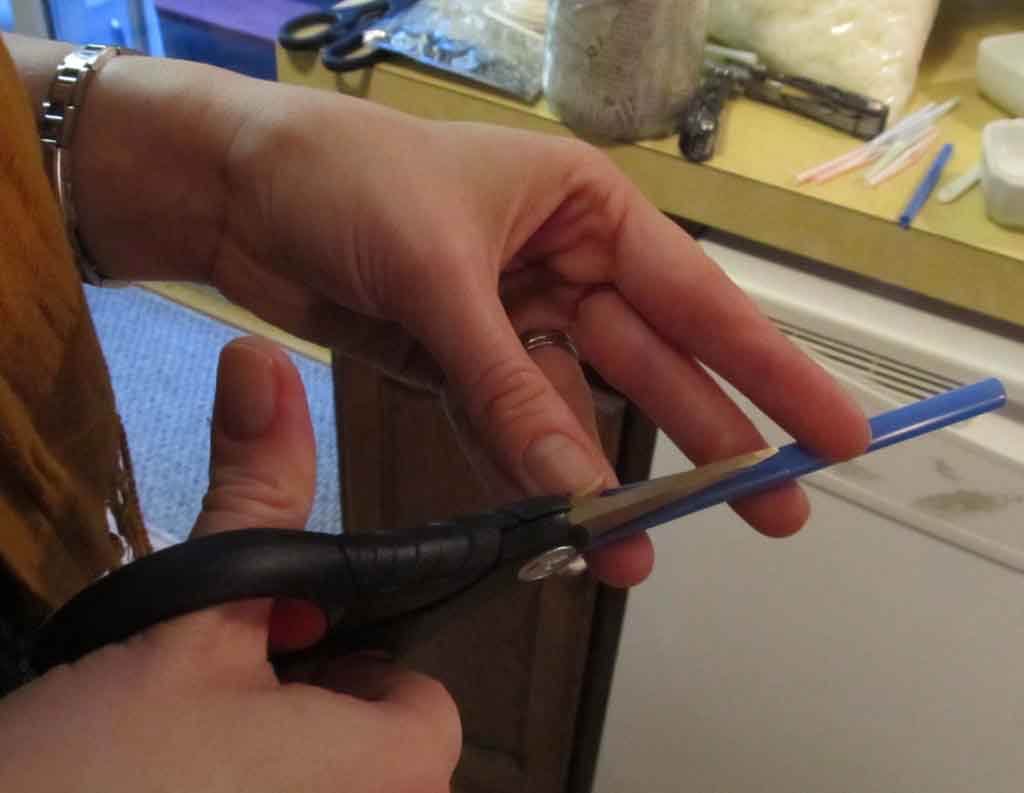 Once the wick is glued down securely on the bottom of the jar, stick the wick through the straw, starting from the side you just cut. Pull the string all the way through the straw until it is tight, and then pull the string through the slit in the straw, and hang the straw over the rim of the jar like so:
When your wax chips have melted completely to a liquid and your scent has been added, you can pour them in your jars! I used a 1 quart Pyrex liquid measuring cup to pour the wax in so I knew exactly how much wax I was using. It takes about a pound and a half of wax flakes to make 1 quart jar.
Here is something important to remember if you decoupaged your jars beforehand. Do yourself a favor and do not make the mistake I did! When I was decoupaging the Ball jars, I didn’t properly prepare them with a thick enough decoupage seal and this is what happened:
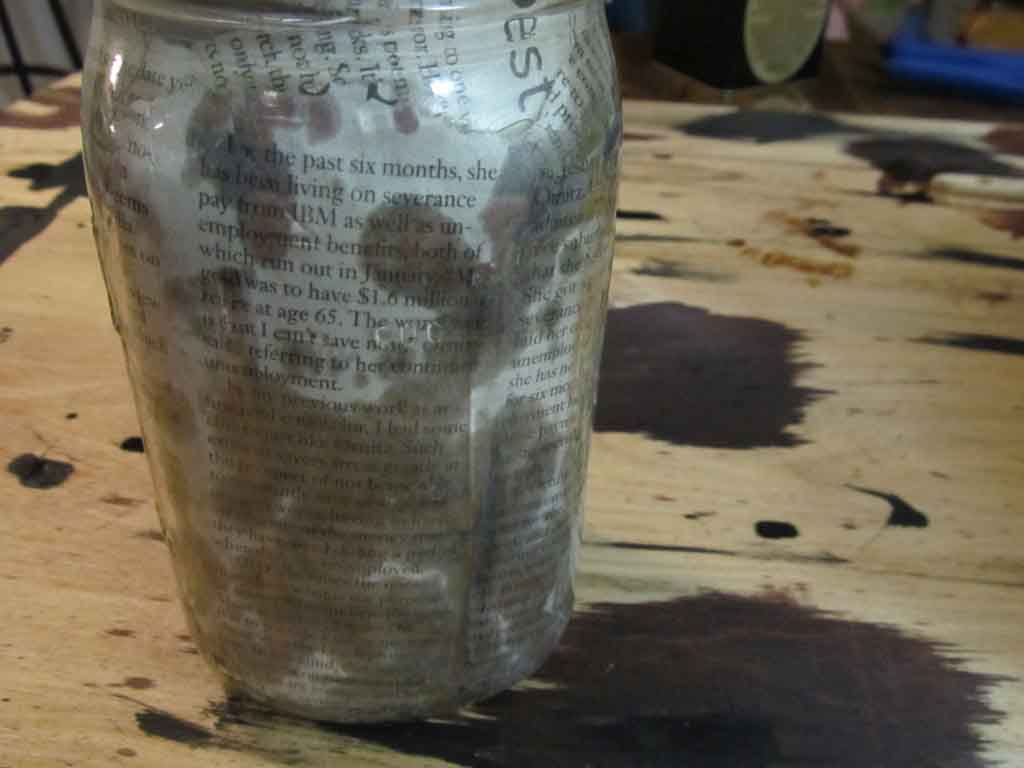
Unfortunately the oils from the wax soaked through the newspaper and made spotches. I actually stopped making candles that evening and added 3 more layers of decoupage to the inside of the jar. Each time I added a layer I let it set for 24 hours.
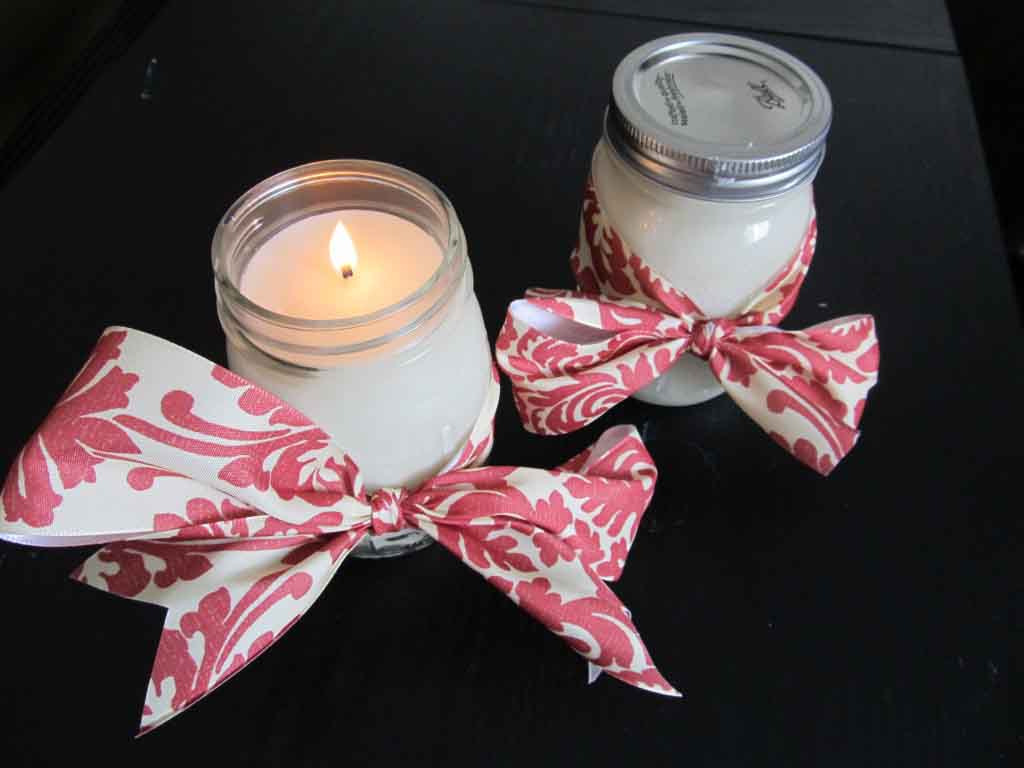
Once I was confident I had completely sealed the inside of the jar, I was ready to fill them with wax again. Here is what the finished candles looked like:
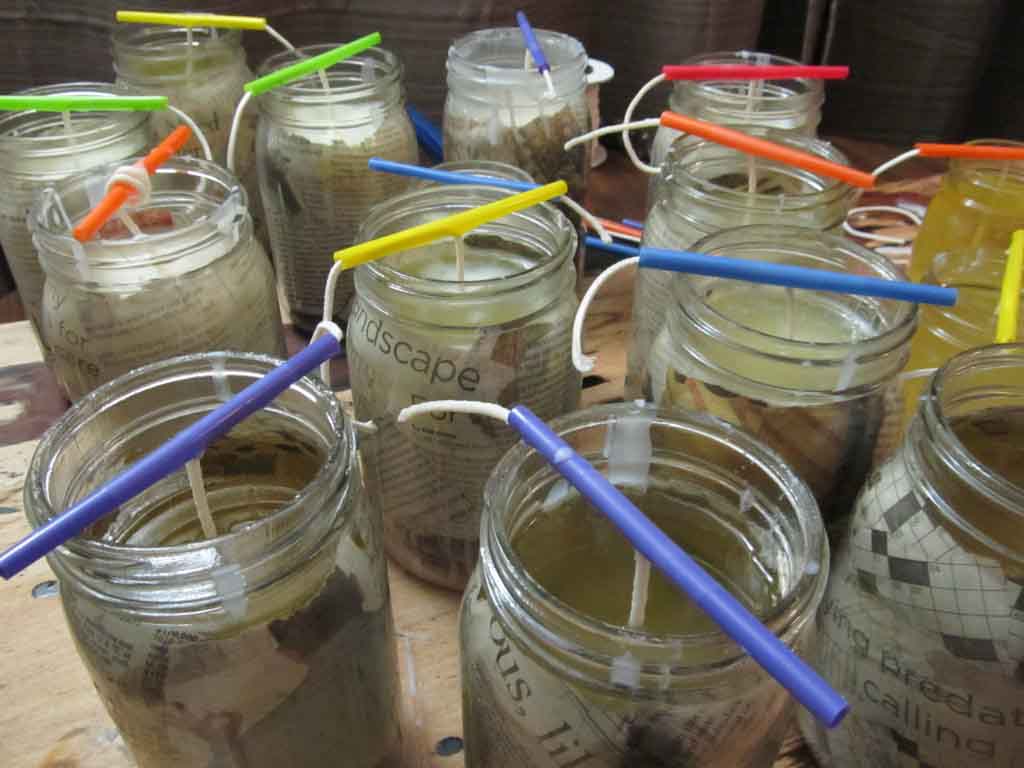
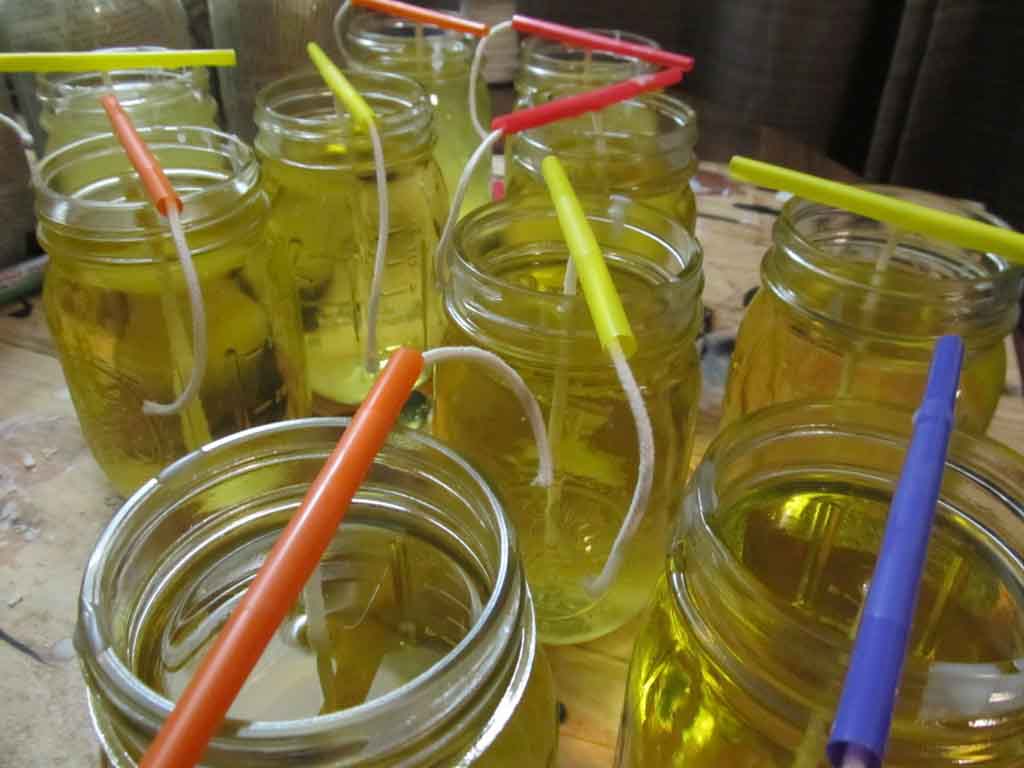 After the candles hardened overnight, I noticed that they developed air pockets at the surface.
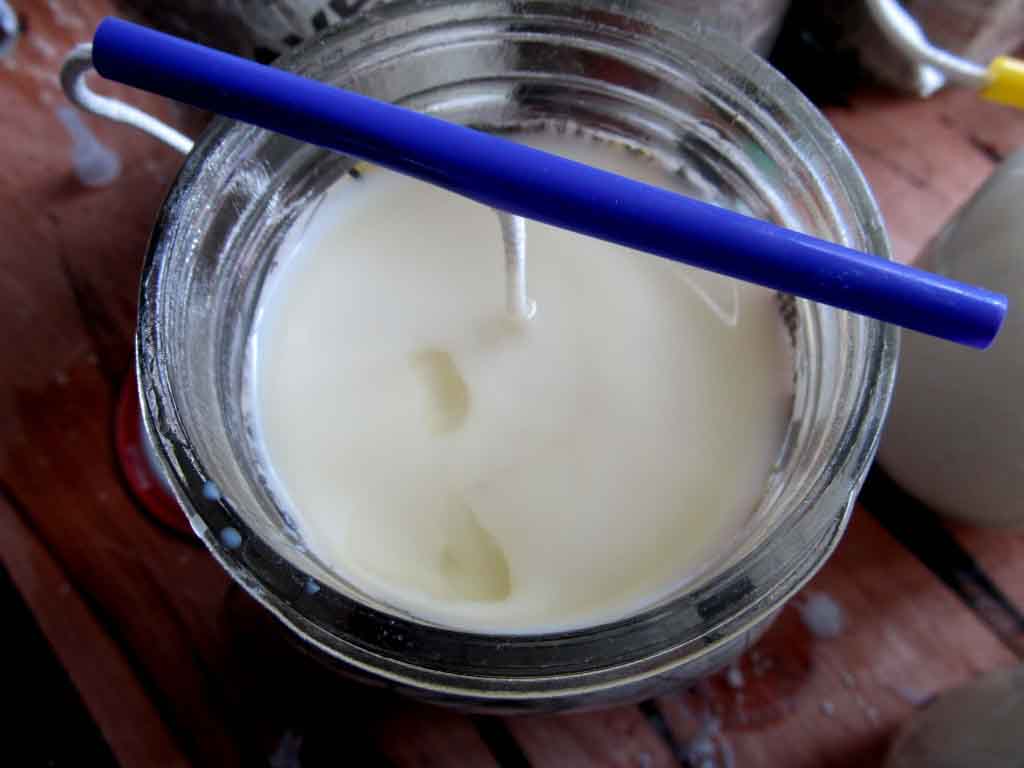 To remedy that, I melted some more wax, and poured a small amount over the top of the surface of the candle just to seal it off and make it look smooth, and used a hot cloth to clean away the excess wax on the rims.
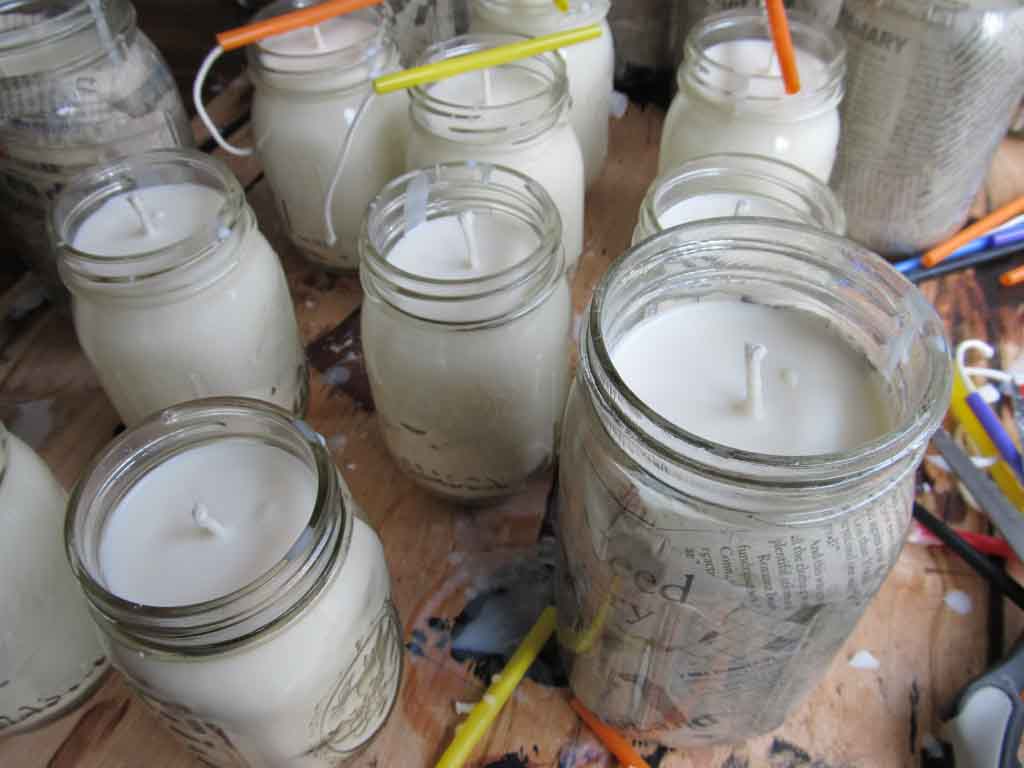
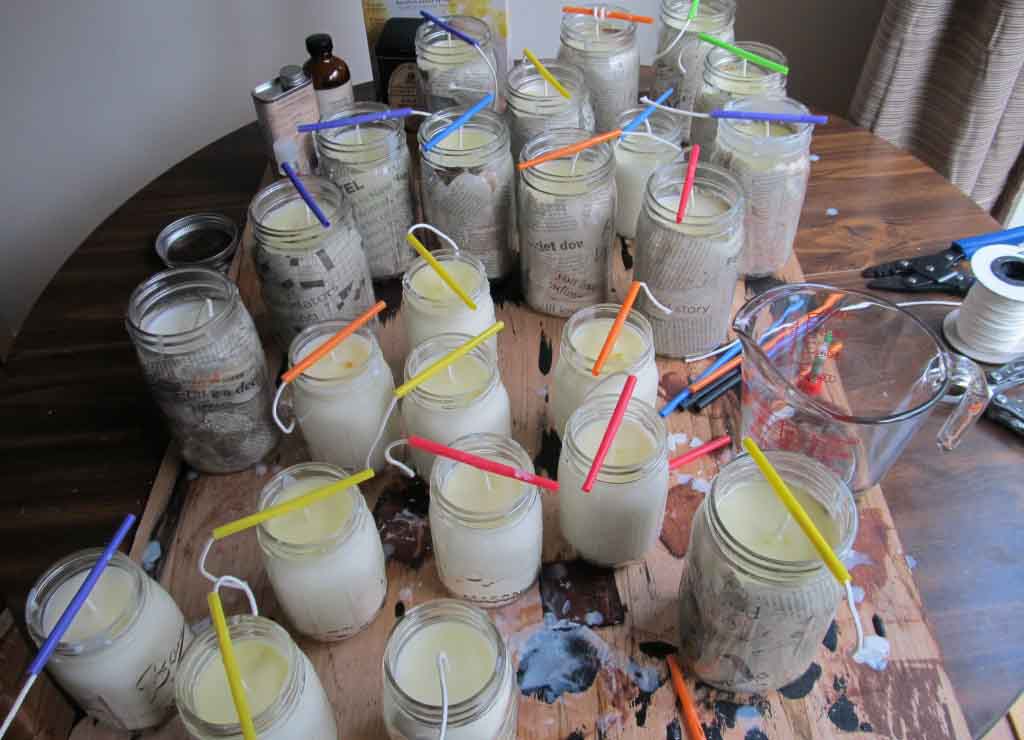
I guess I should have warned you in the beginning, but this project can get really messy! By the time I was done, there was wax on our stove, the floor, the counter tops, some kitchen utensils… you name it. Good thing my husband brought up a piece of 1/4 inch plywood from the basement to protect our table because that was covered in wax as you can see in the picture above. He helped out so much with some of the ideas.
Even though this was a messy project, and my neat freakiness was beginning to make me twitch with all the wax everywhere, I had a lot of fun making them. It’s a great way to get together with friends and be creative. Plus if you decide to use citronella as your scent, it really is the perfect natural bug repellant. AND candles make great gifts or party favors.
I’d love to hear about your candle making endeavors so leave a comment and let me know how it goes!
xo,
Maggie


