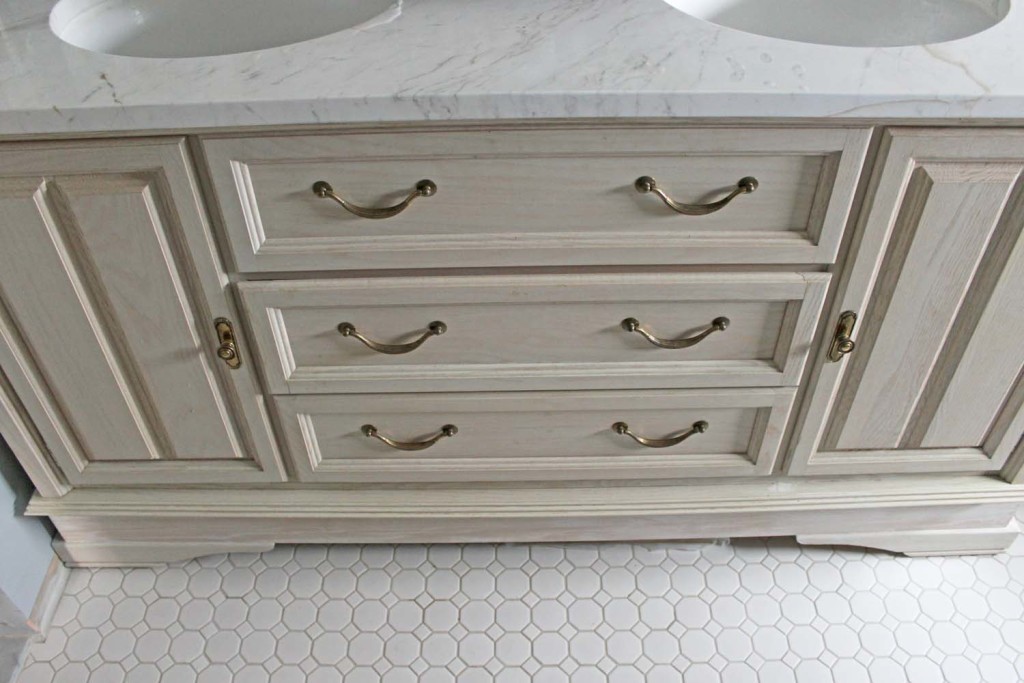
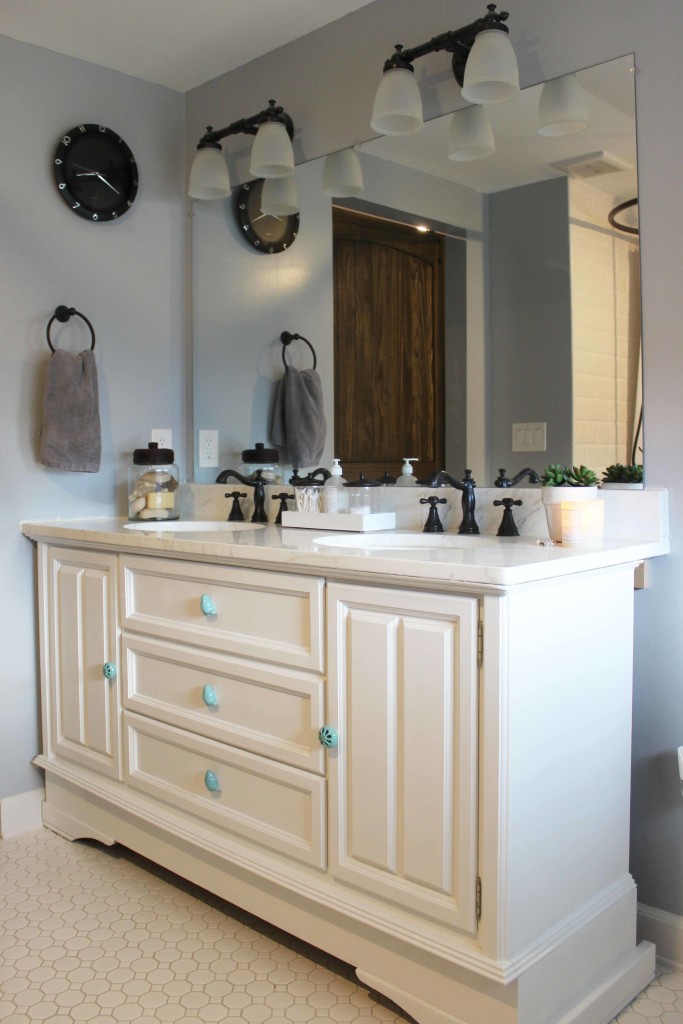
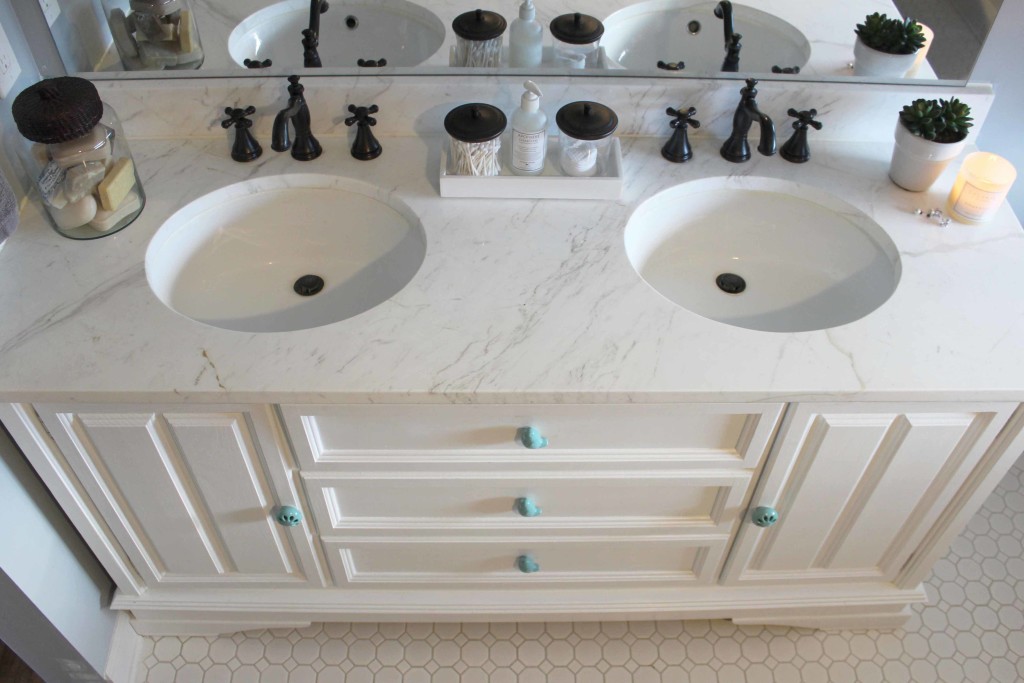
For those of you who are new to Honestly Maggie, Brandon and I purchased a fixer upper house over a year ago. Since day one, we have been rebuilding it from the inside out. Our upstairs did not have a bathroom when we purchased it, so we decided to add one to the layout. Since we were starting from scratch for this bathroom we didn’t have any preexisting fixtures to use in there, like a vanity for example. After searching various websites for a vanity that would suit our needs, we ended up doing what we do best: we made one exactly how we wanted from a buffet we purchased on Craigslist. You can read more on the backstory here. Below is a photo of where we left off last time.
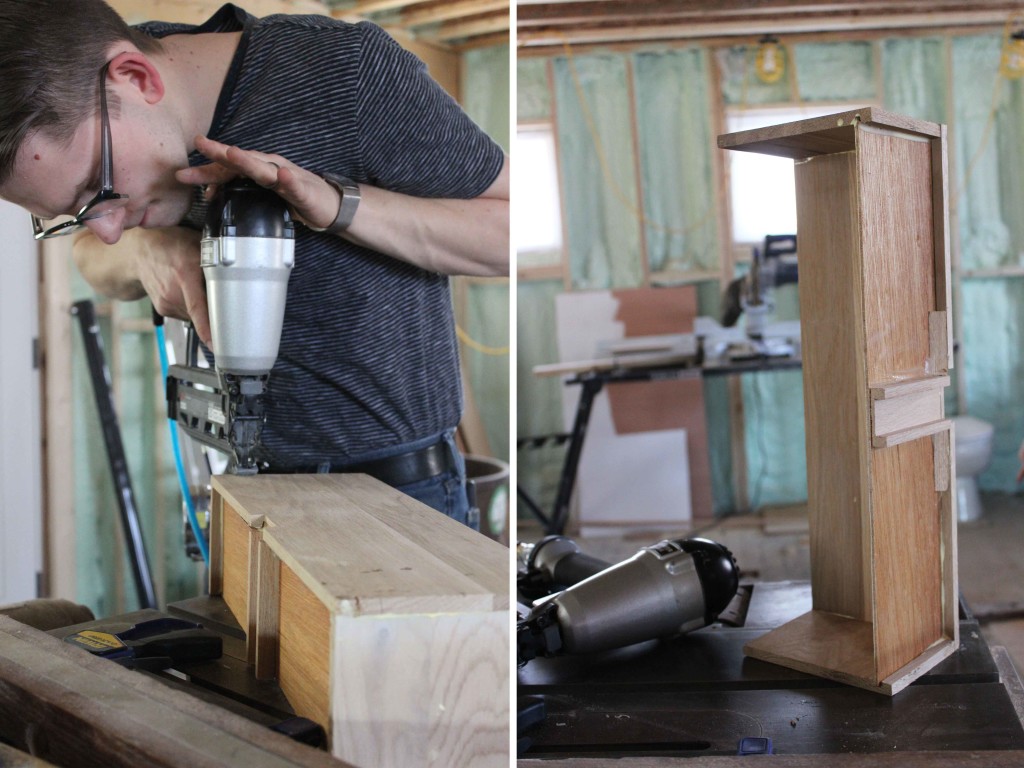
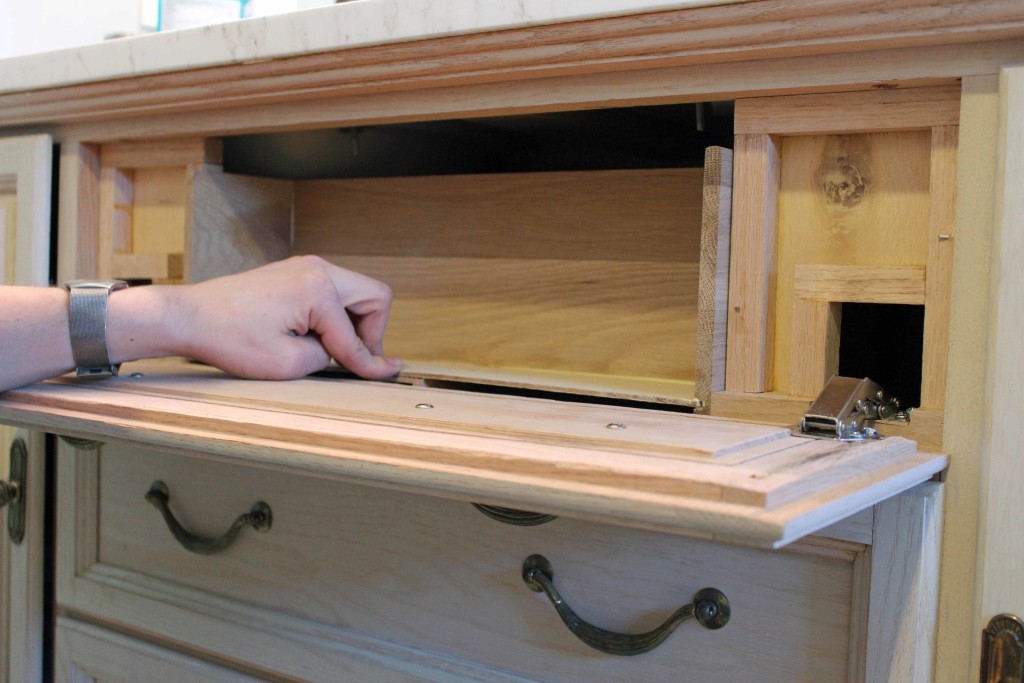
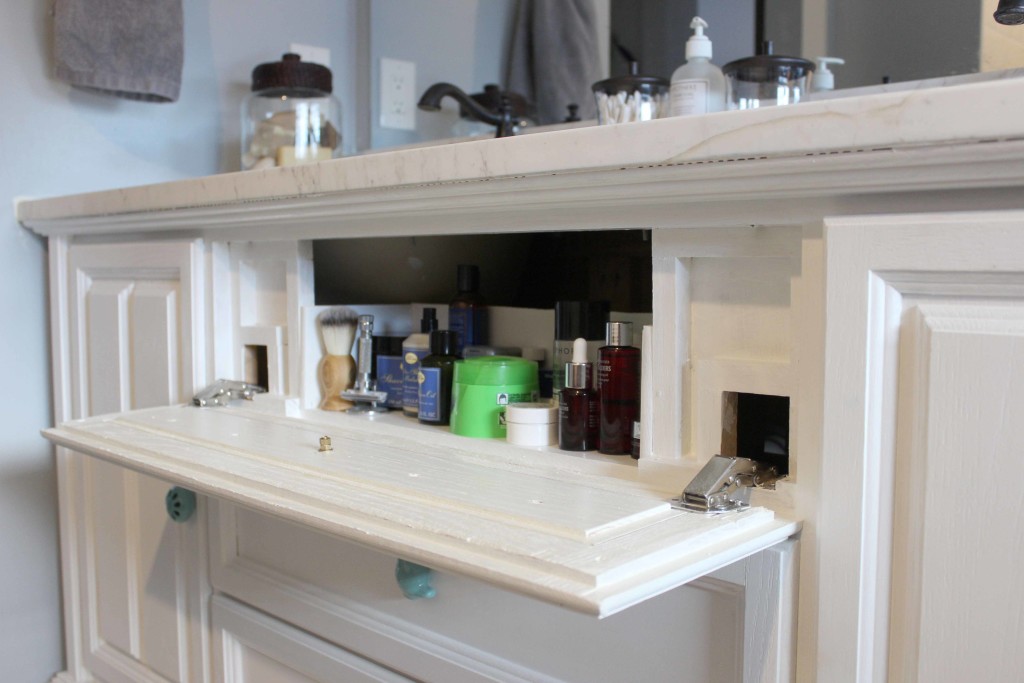
One of the really cool features about our vanity that I didn’t include in the previous vanity post was something Brandon created so that we could still use the space in the top “drawer”. Since the sinks are centered on the vanity, they prevent a drawer from being able to close fully. Brandon removed the top drawer, and successfully created a small fixed boxed in the same area. Instead of pulling it open like a typical drawer, it opens down on two springs.
After we had everything placed and the faucets hooked up, I just wasn’t completely satisfied with the way the vanity looked. I thought it appeared unfinished with the dated hardware, and yellow tone of the wood compared to the white tile and marble. I knew I wanted to paint it white, and that’s when Brandon suggested I used a mold and moisture resistant paint. I agreed, and off we went to Lowe’s.
When painting cabinets, to have the best outcome, its best to remove any door or drawers first. (This will ensure an even application of paint.) I knew I wanted to change out the hardware, so I was prepared to fill in the holes from the previous drawer pulls with wood filler.
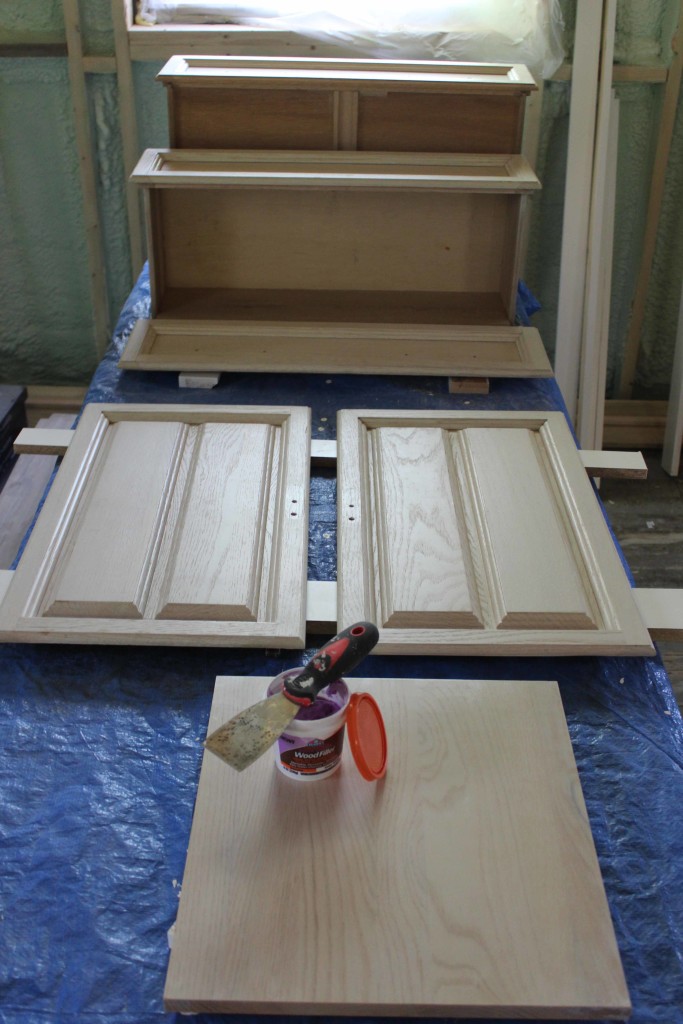
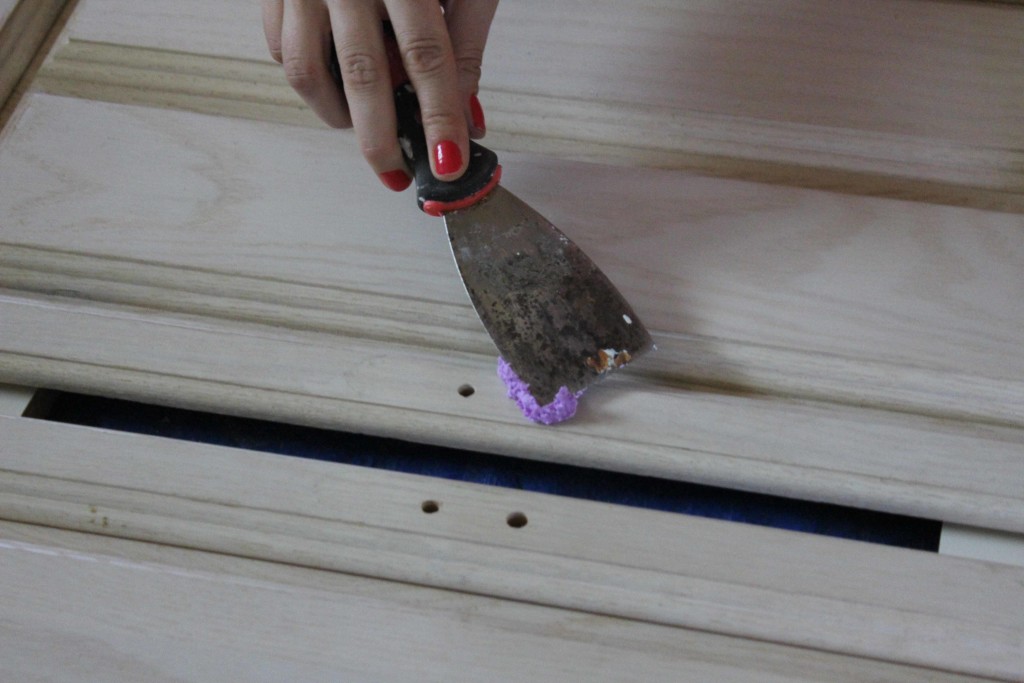
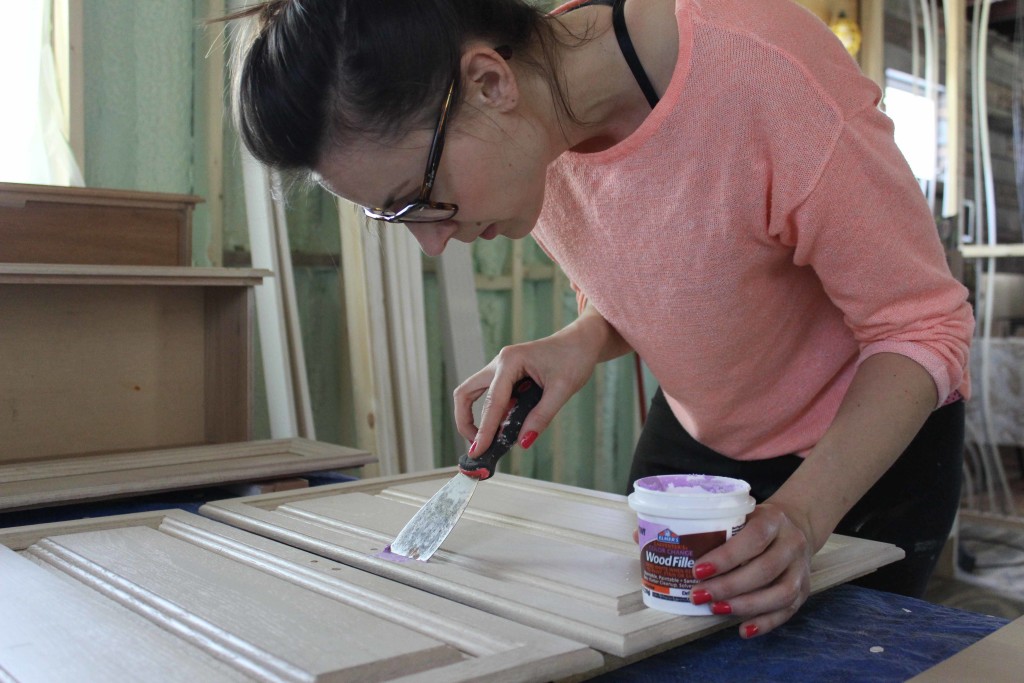
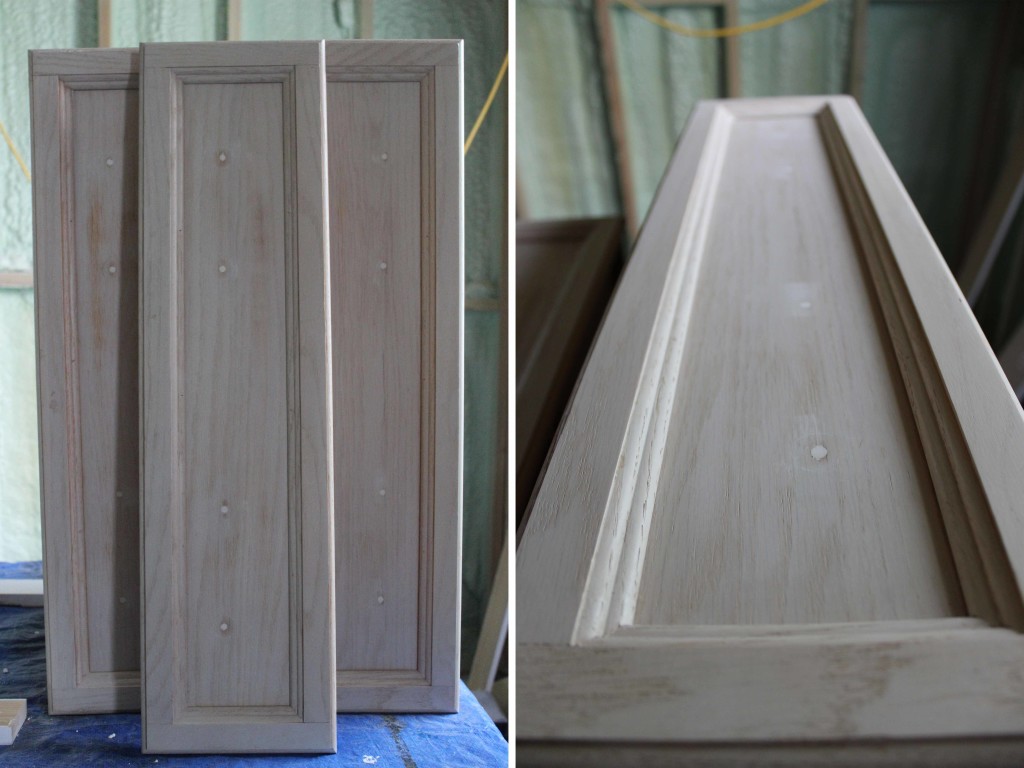
^ The holes filled and ready for paint.
After the wood filler hardened and I sanded it smooth, the drawers and doors were ready for paint. This particular type of paint was very thin, so it actually took about five applications of paint for it to look complete.
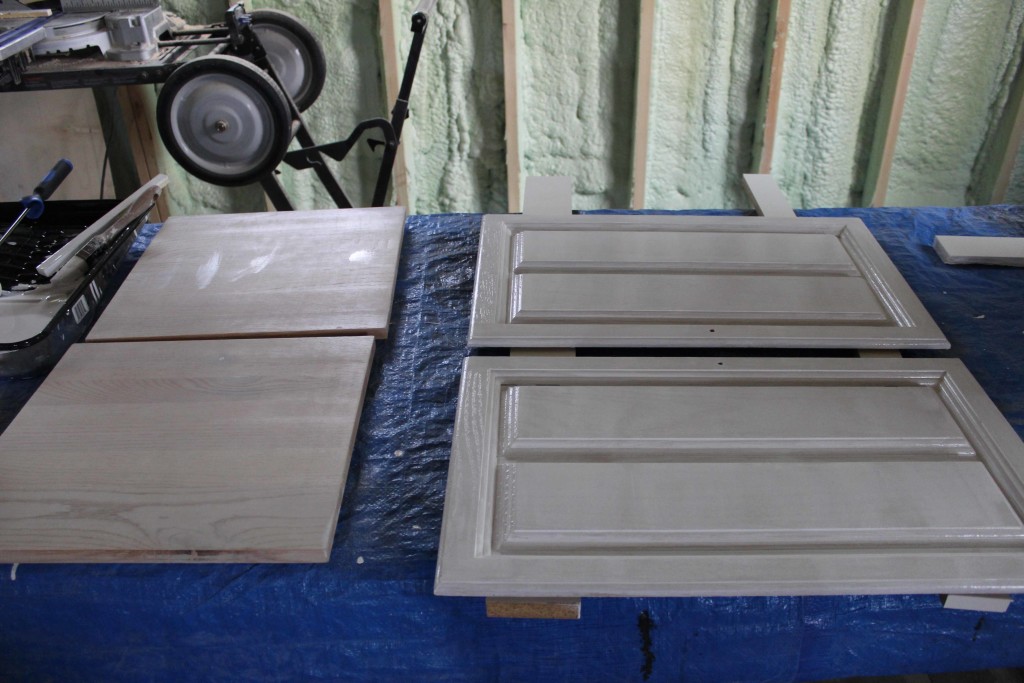
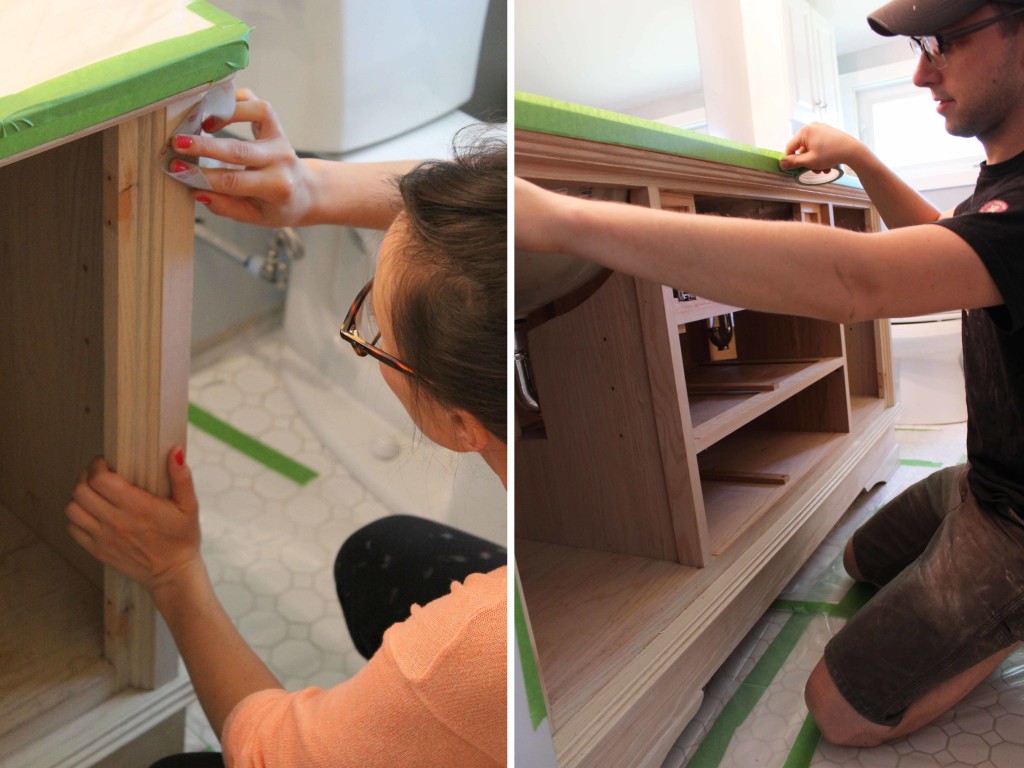
^ Sanding the vanity and taping off the edges, prepping for paint.
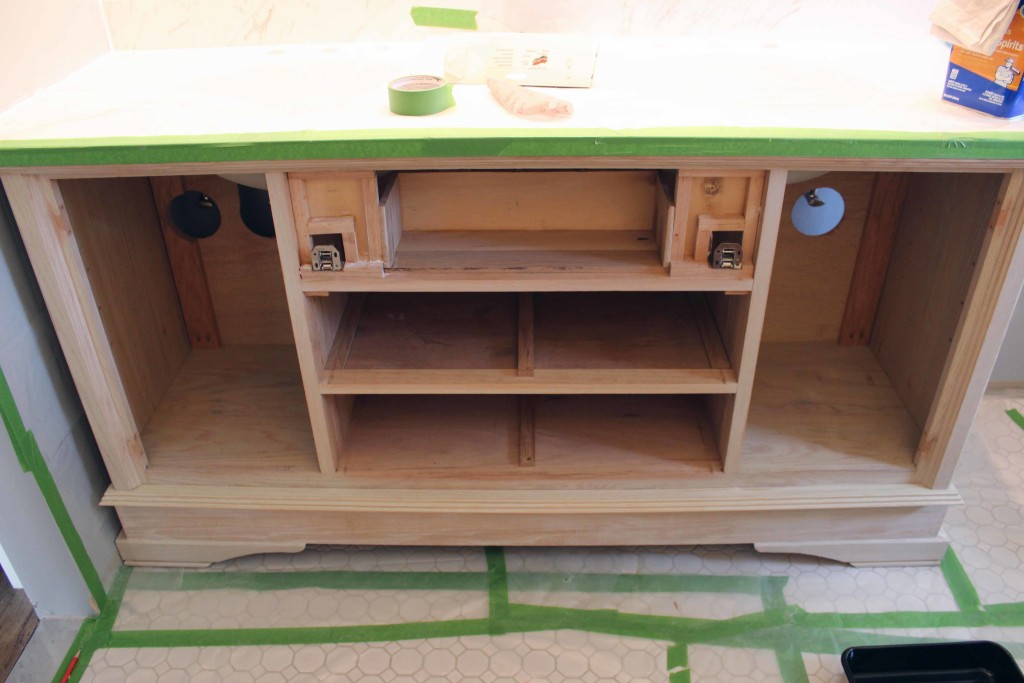
^ Pre-paint, complete with plastic cover to protect the tile.
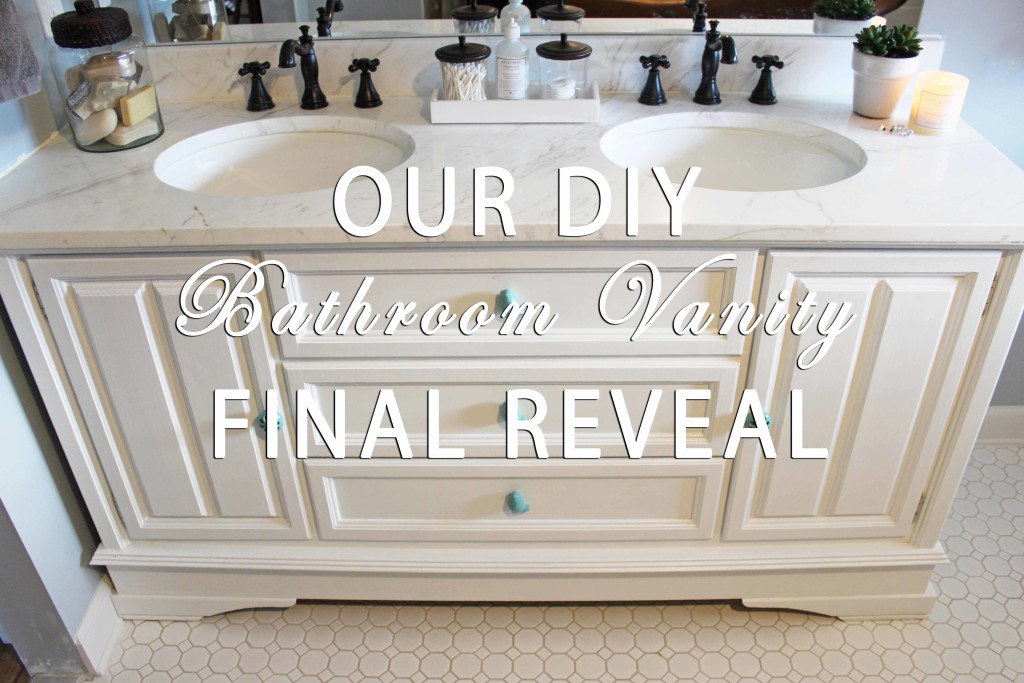
After several weekends of painting, and carefully working around the plastic covered tile, below is the final product!
As most projects, I’m discovering that this took much longer than I expected it to, but the outcome was certainly worth the wait!
More house updates to come…


