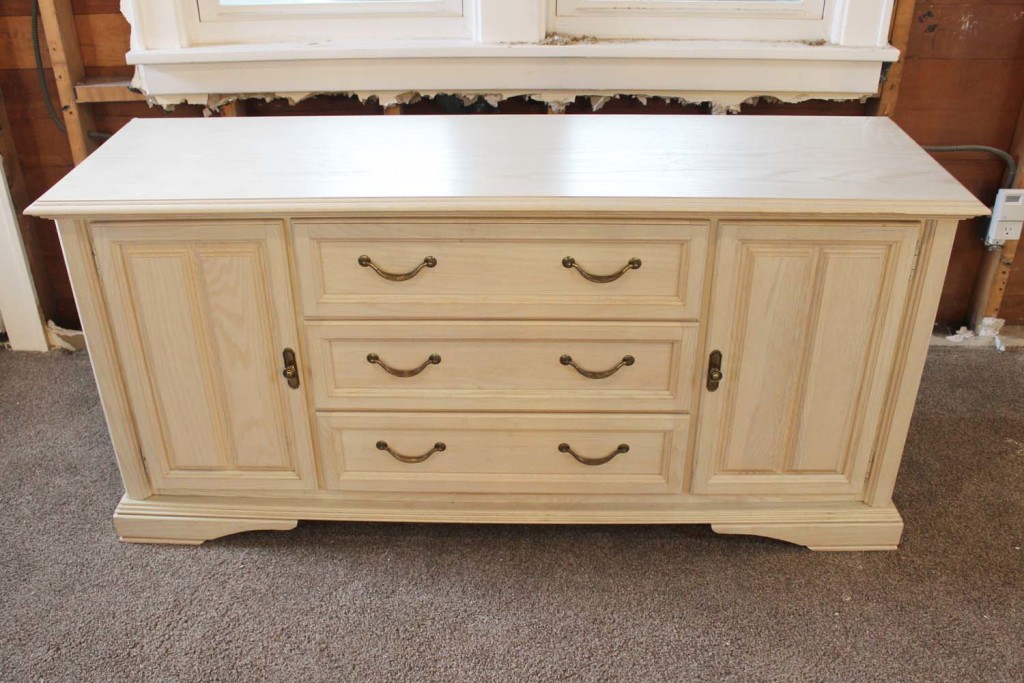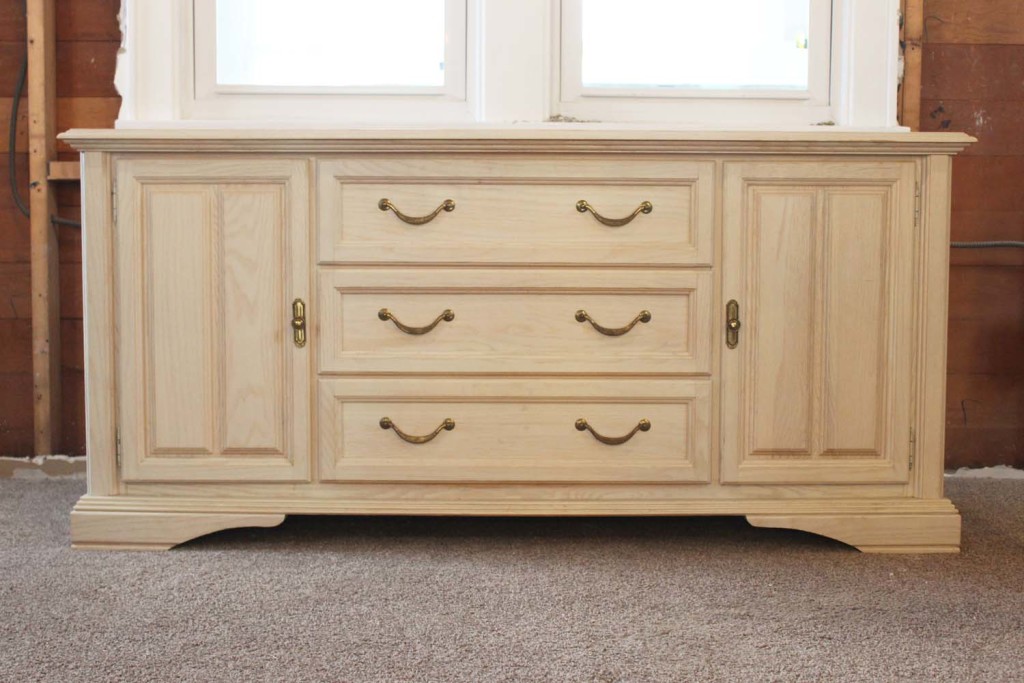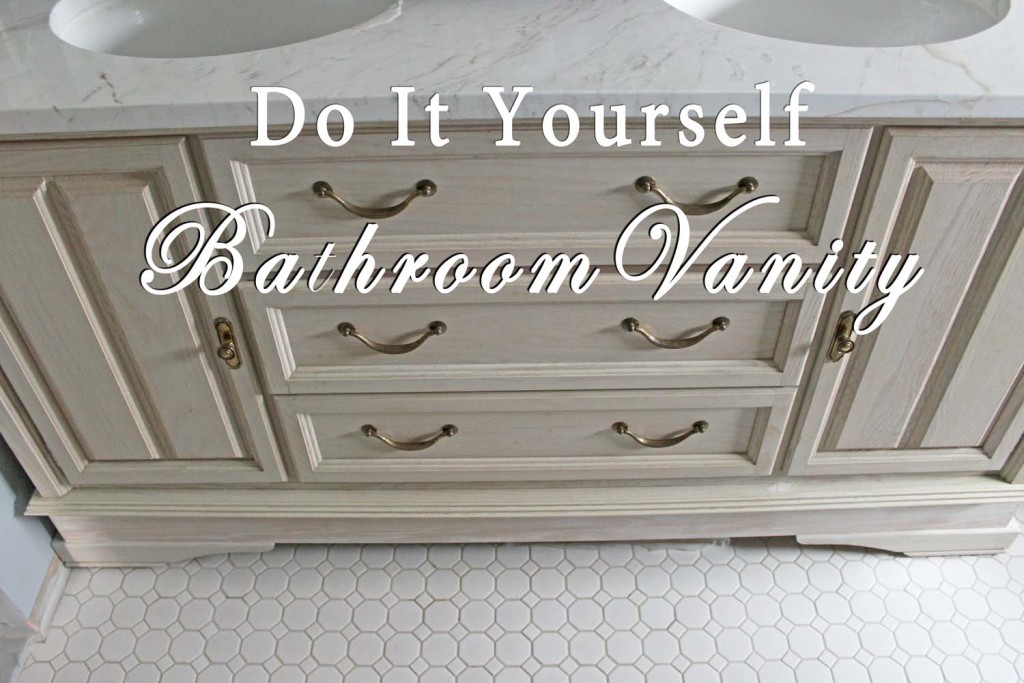
As you may know, when Brandon and I moved into our house, there was only one small bathroom in the back of the downstairs part of the house. When we began working on the house, we decided right from the start, besides lowering the floor, that we were going to add a second bathroom to the top level of the house. Once we agreed on the layout, we needed to find the perfect double vanity that would fit. After weeks of searching online and in big box stores, we couldn’t find anything that we liked, or that was in our price range. So of course, we did the only reasonable thing we knew we could do: we made our own bathroom vanity. Brandon searched on Craigslist, and we found the perfect buffet piece that we would turn into our perfect bathroom vanity. We drove to their house, inspected the buffet, and made a deal.
Now that we knew the exact size of vanity that we were working with, we contacted Albany Marble to find a piece of stone for the top. I found the most beautiful piece of Calcutta Crema marble there. I told them the dimensions of the top we needed, and where we wanted the holes cut for the sinks and faucets. Albany Marble was amazing, I highly recommend them! If you ever go there, ask for Frankie 3.
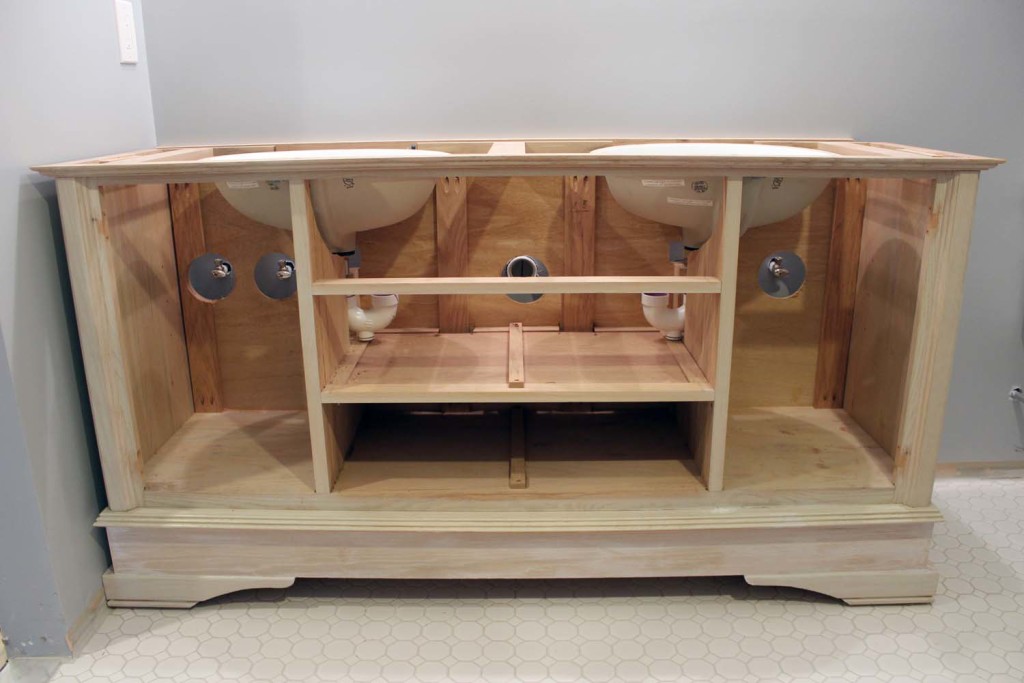
Here is how our vanity looked when we began:
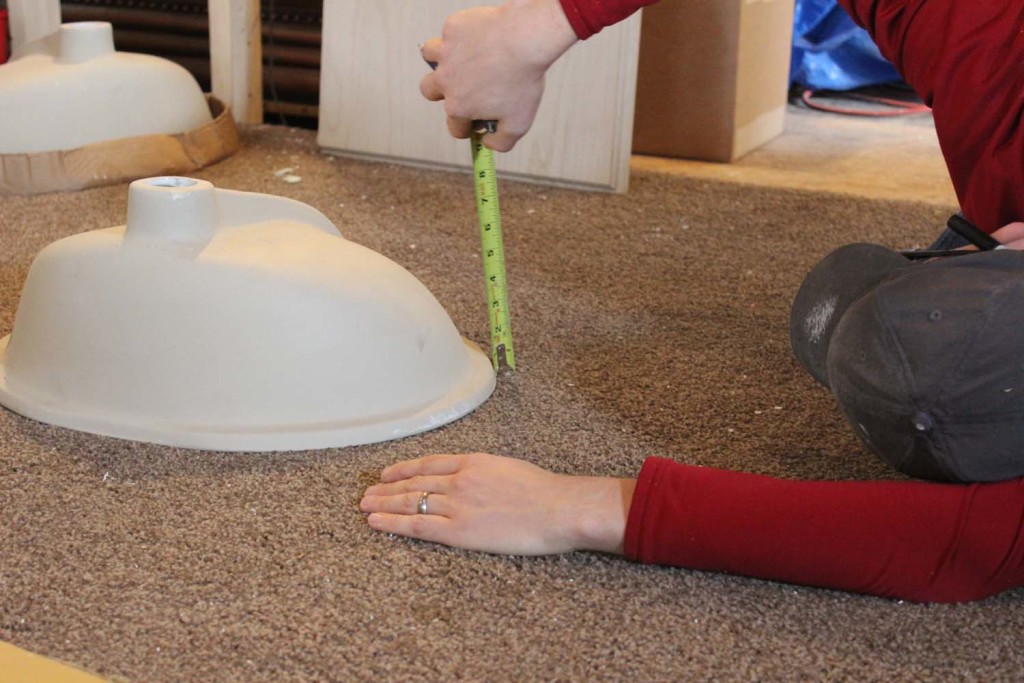
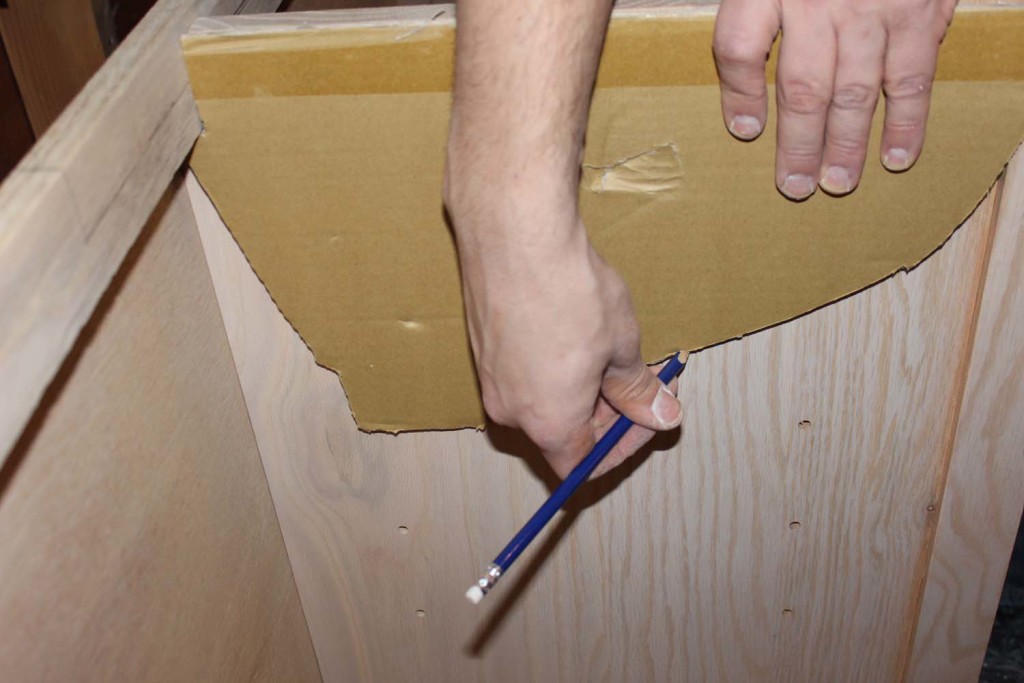
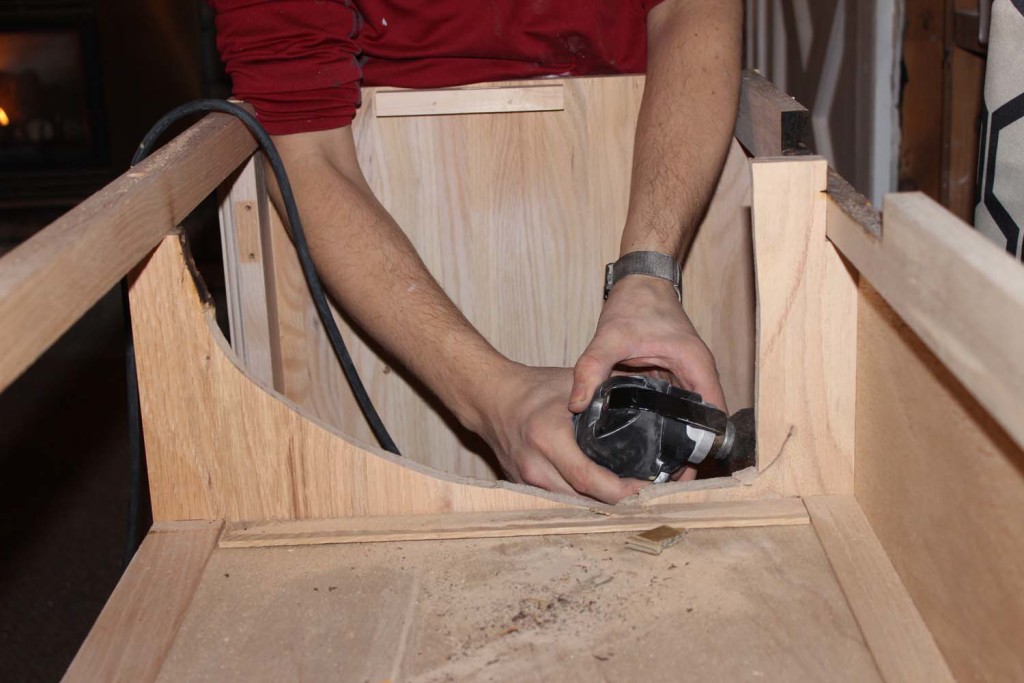
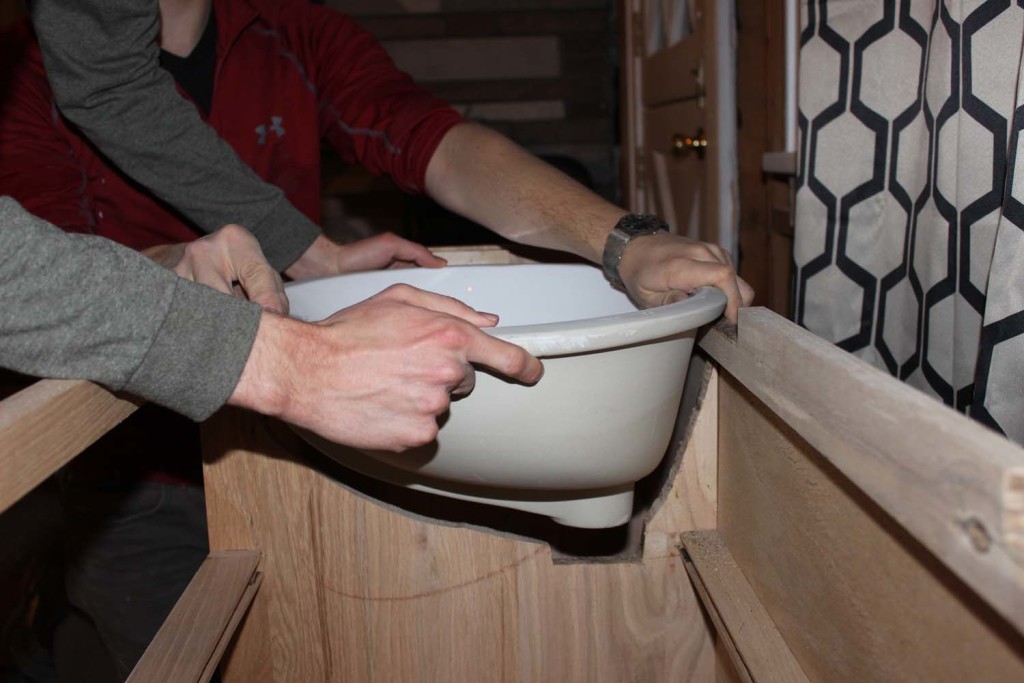
The first thing we did was remove the buffet top (which we saved for another project), and the door and drawers. Using one of the undermount sinks as a template (also from Albany Marble) Brandon plotted out where we would need to cut in order for them to fit using a stencil he made from cardboard. He then cut out the exact amount of wood needed times 2 for each sink.
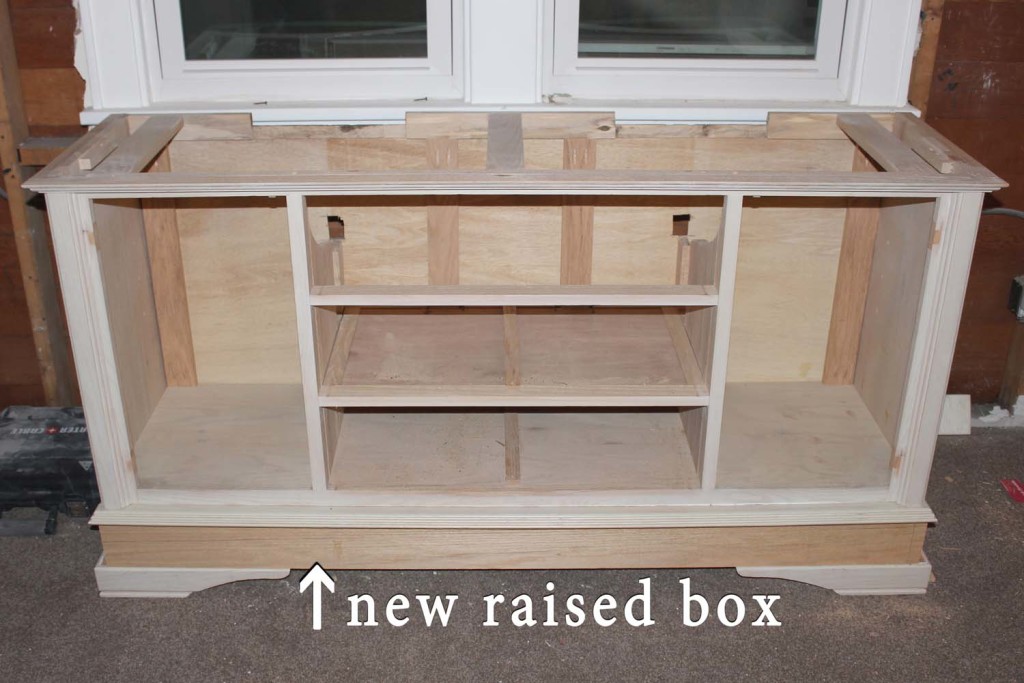
Once we knew the sinks would fit, we moved onto raising the vanity. Oh yeah- we raised it too. The buffet was just a little too short for comfort, so we purchased some oak board, and inserted into the bottom portion on the vanity so it would be a more comfortable height. First, we removed the buffet legs and set them aside. Then Brandon measured and cut accordingly. Then, we drilled holes where it would be reattached to the vanity and the legs. Once the raised box was attached we then whitewashed it to match the rest of the vanity.
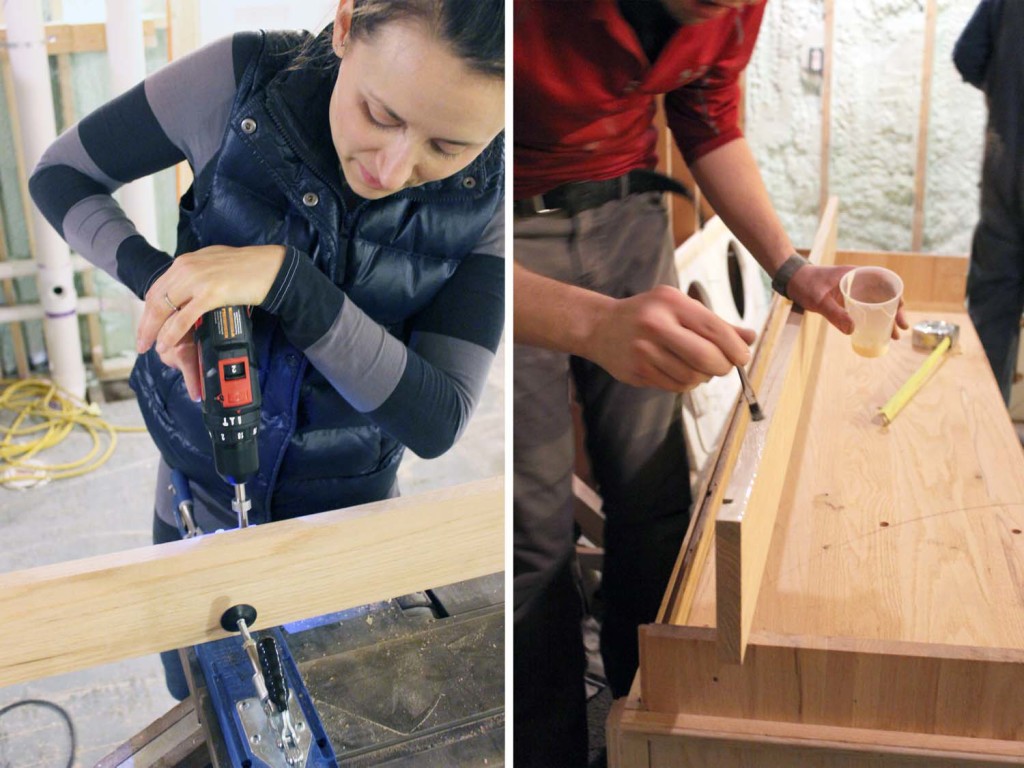
^ Drilling holes to attach to the vanity, and Brandon applied wood glue before screwing.
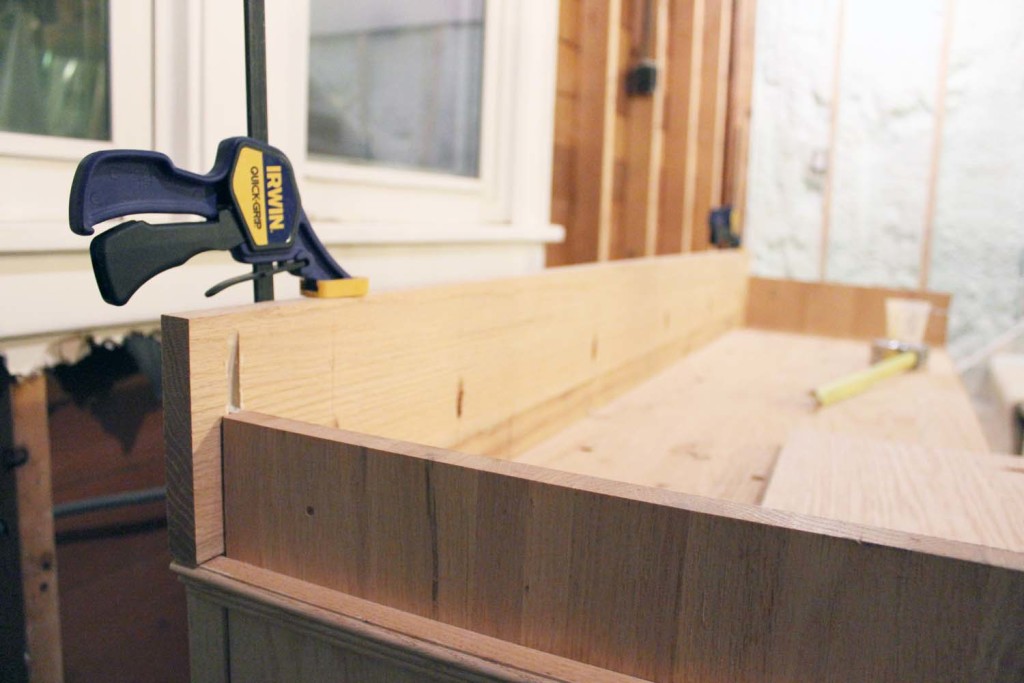
^ the raised box of the vanity clamped together while it cures and settles.
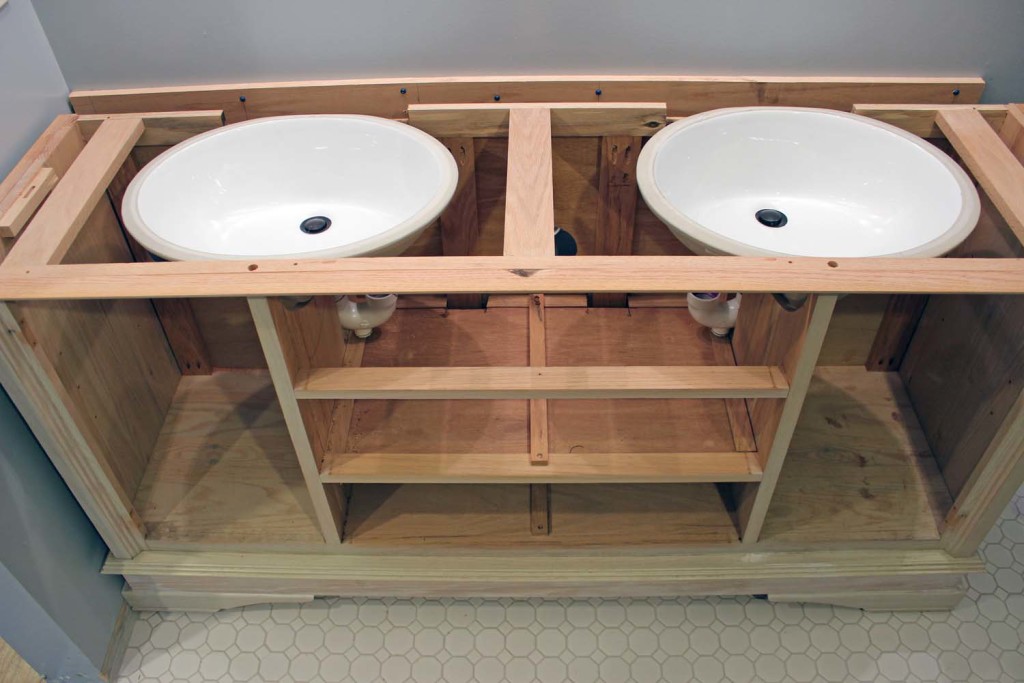
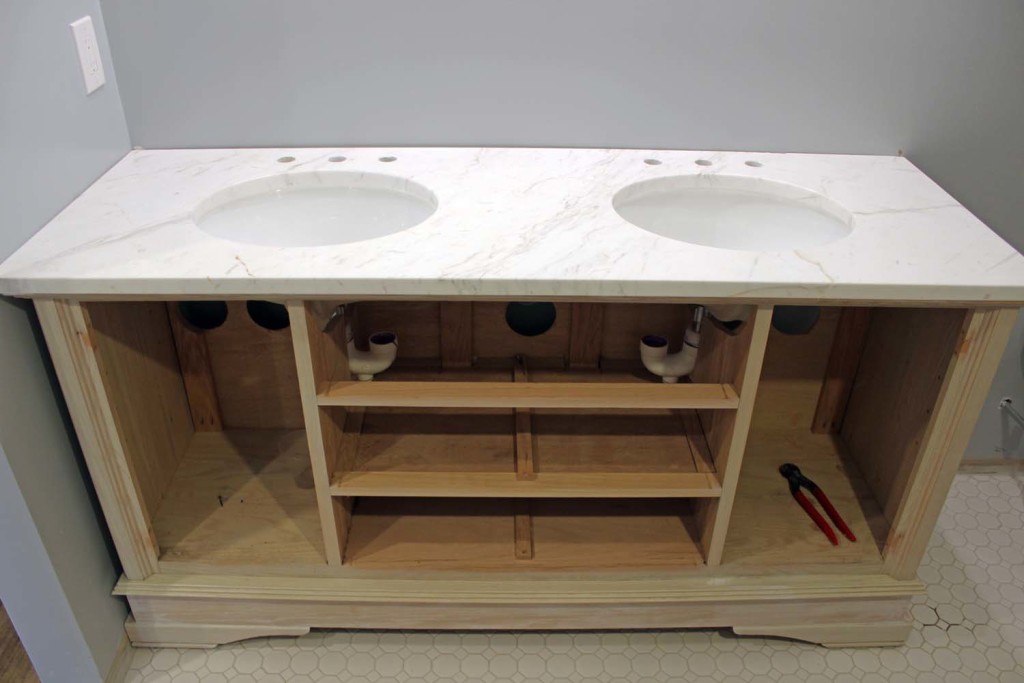
Next, we brought the vanity upstairs, and Brandon cut holes in the back for all of the plumbing to go through. He also installed custom fit pieces of 1×3 vertically in the back to reinforce the vanity so it would hold the weight of the marble top, and well as a 2×4 horizontal piece of blocking the width of the vanity screwed into the wall for it to rest on. You can never have too much reinforcing. When in doubt, reinforce.
Here is what it looks like so far: (I am sooo happy with the way it turned out!!)
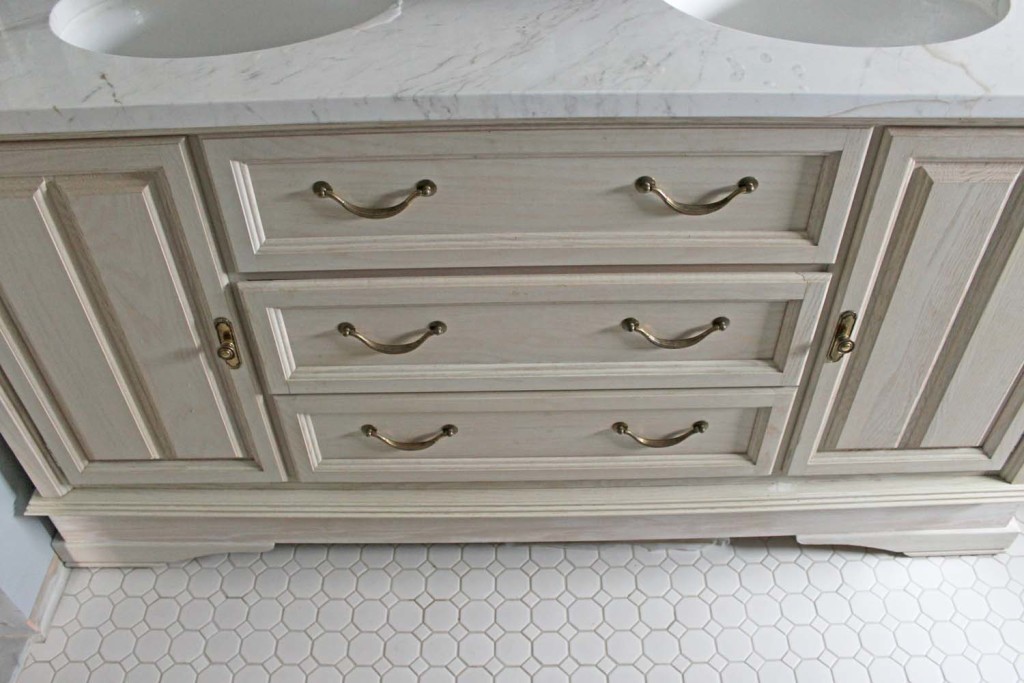
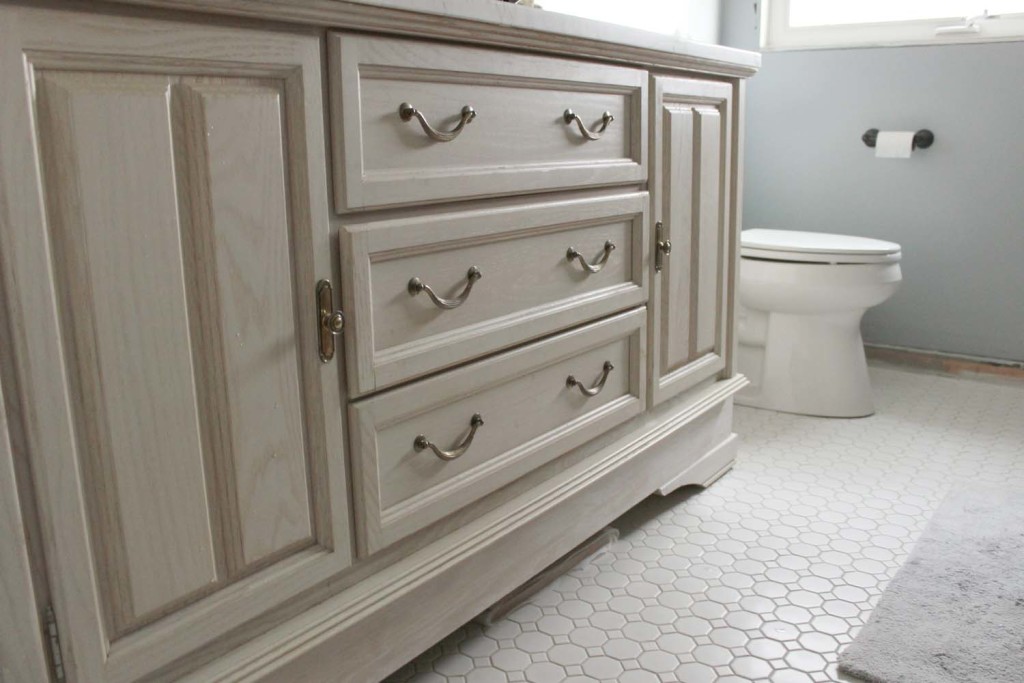
There are still a few more things I’d like to do before it’s completely finished, but just haven’t had the time to do it yet. We installed the most gorgeous faucets too, but I will reveal those and the final finished look in the coming weeks when it’s done!
Stay tuned!!


