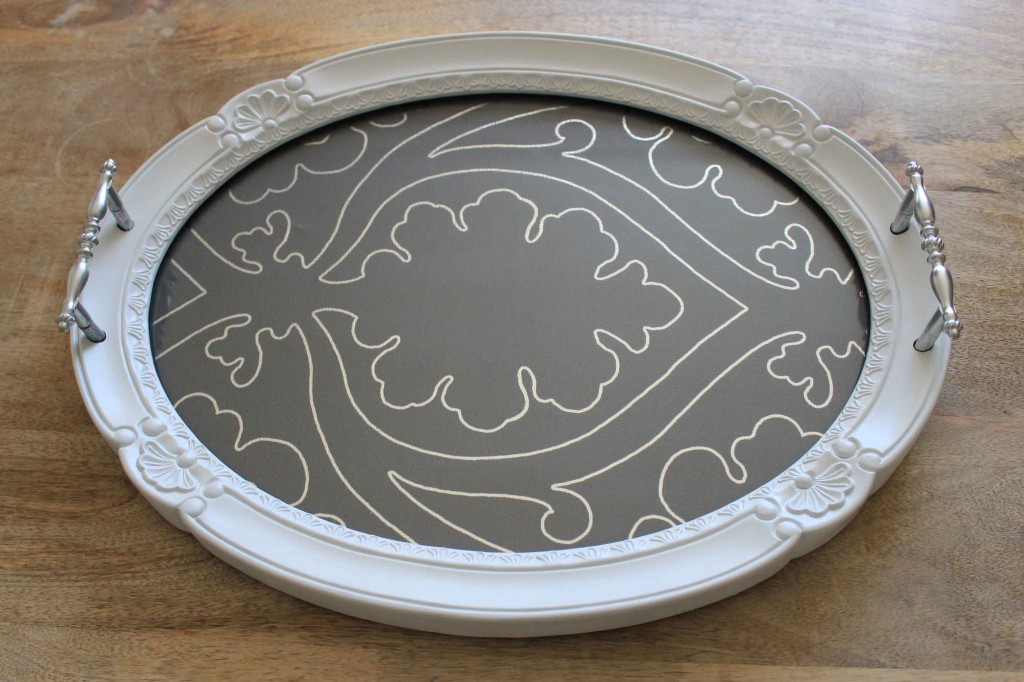
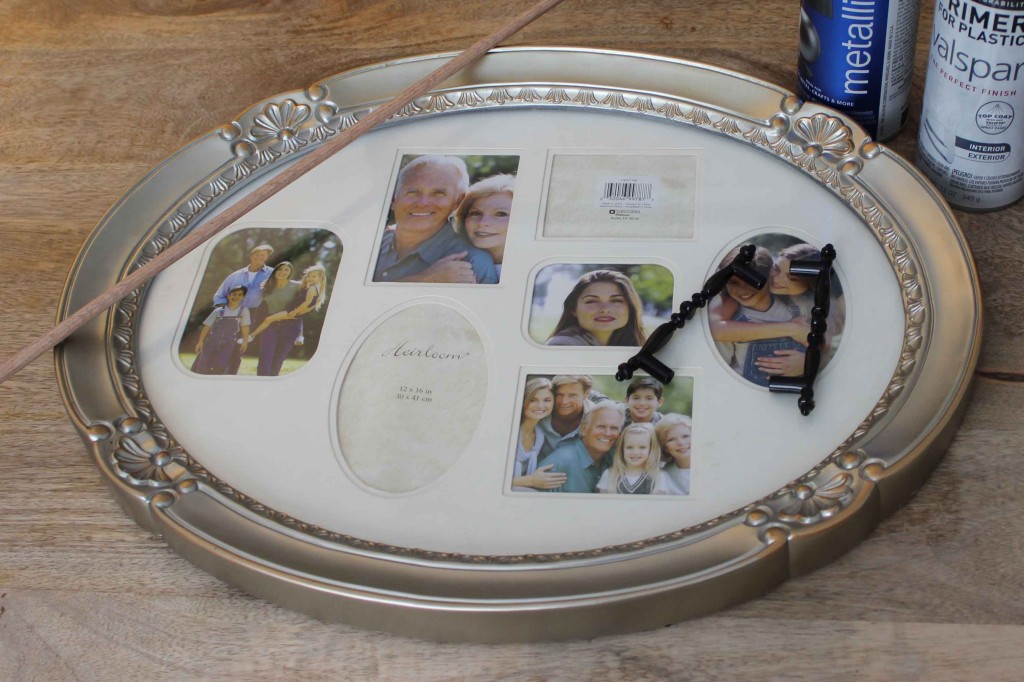
A few years ago, I received a big tacky frame as a gift in a white elephant office Christmas party. It’s been sitting in my basement for over 2 years now, and almost made its way to our garage sale pile until I thought of another DIY use for it: turning it into a tray! The next problem was finding the time to do it!
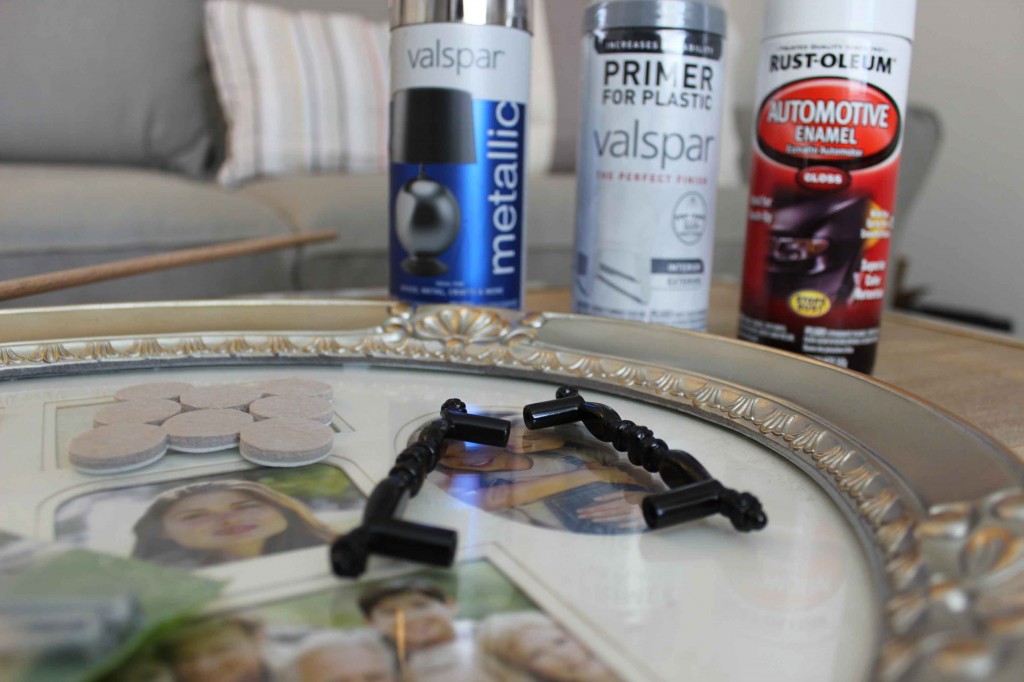
This past fall, my sister Abi got me a Lowe’s gift card for my birthday and just a few weeks ago my husband and I collaborated together to figure out a way to make this photo frame into a tray. We drove to Lowe’s, frame in hand, and made great use of my gift card buying supplies to turn my frame in to a tray. I bought spray paint, plastic primer, cabinet door handles, a 5/16″ wooden dowel, 1-1/2″ screws, and felt pads for the bottom of the tray.
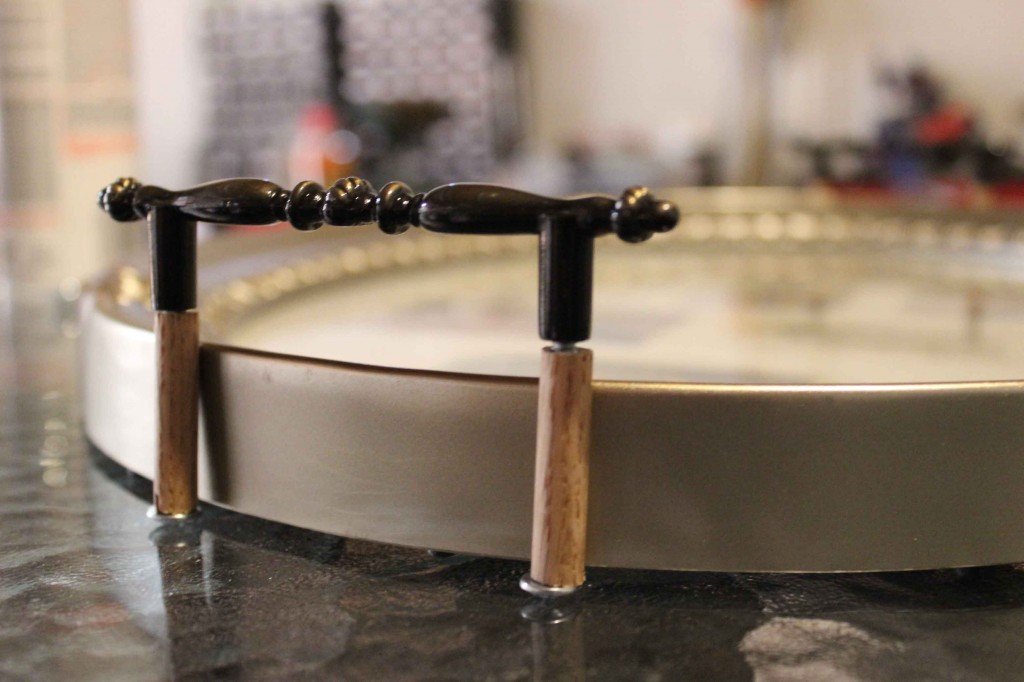
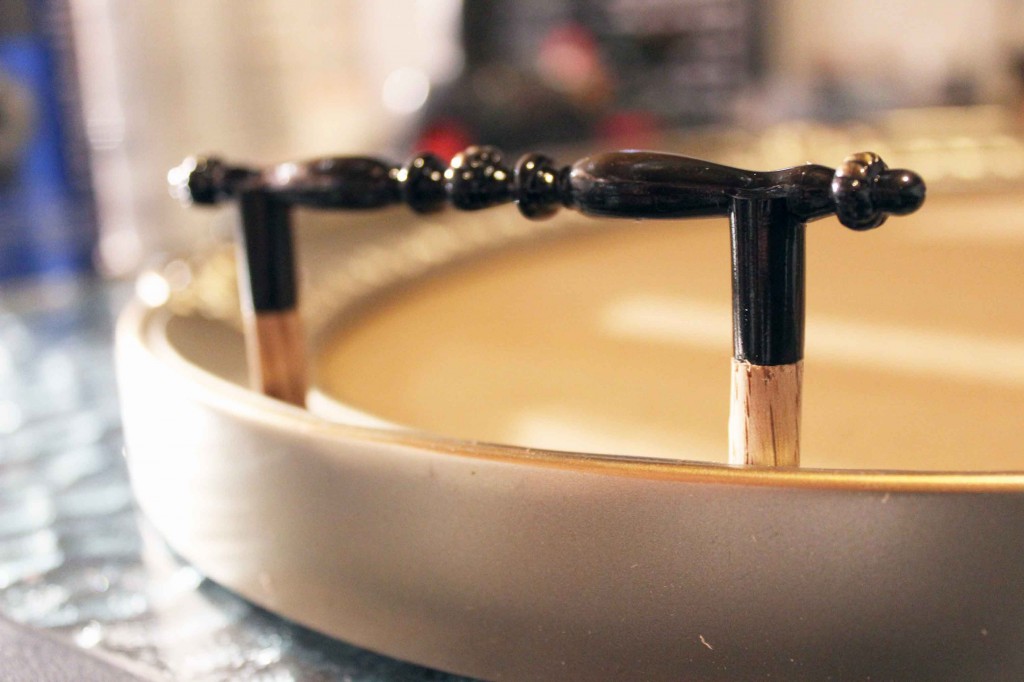
This project took a fair amount of planning, and I must confess it was Brandon who was the brains behind this one. (If it were up to me I would have just slapped some J.B Weld epoxy on the handles to glue them on, and call it a day!) The biggest problem with this project was figuring out a way to fasten the handles on the rounded ends of the frame. We decided to use wooden dowels the same diameter as the handles to extend the length of them so they could be securely fastened to the frame. I had to choose handles that were straight so that the dowels would sit flush to them.
We measured 1 1/4″ inch increments, and used a saw to cut the dowel until we had (4) 1 1/4″ inch pieces. Then, my husband set up his drill press with a 1/8″ drill bit and drilled a hole completely through the dowel. The same thing can be achieved by carefully using a hand drill with the same size drill bit.
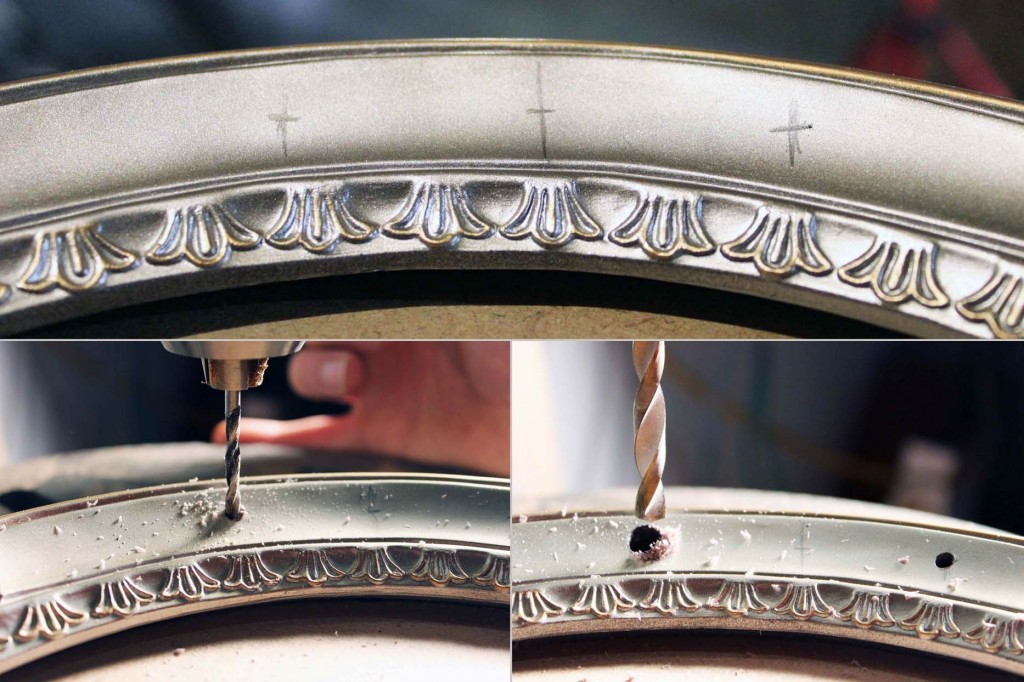
Next, figured out the center of the tray at the location of where the handles would go. We measured the length between the holes on the bottom of the handle, divided that in half, and marked points on the frame where it was. Brandon drilled a hole into the marks with the 1/8th drill bit, then drilled another hole on top of the same hole with a 5/16th drill bit- the same size as the dowel which would go through that hole. Since the frame is plastic, drilling the small hole first ensured that the frame wouldn’t crack or break under the pressure of such a large drill bit. Once the small one went through, it made it much easier for the larger 5/16th bit to go through the plastic.
After all the drilling was done, we tested out the handle with the dowels and 1-1/2″ screws on the frame as a dry run.
The fun part came next- spray painting everything! I used a plastic spray paint primer on the frame before using the actual paint so that it would be more durable and last longer. I attached yarn to the screws and hung the handles with the dowels screwed into them from the ceiling in my basement as I spray painted them to ensure an even coverage. I did about 3 coats of paint for both the frame and the handles.
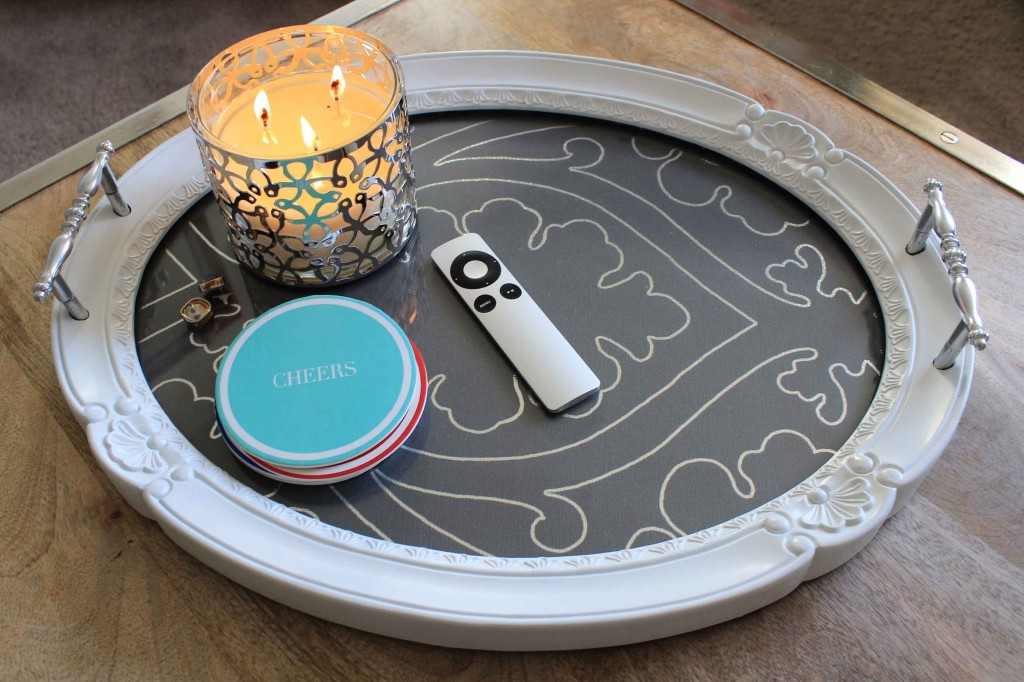
The coolest part about having a photo frame tray is that you can basically use any material as the center, and switch it up season to season. I had some beautiful canvas material I was dying to use for a project (another item sitting in my basement) and decided to use that as the frame center. I removed the glass from the back of the frame, and traced around the canvas with a Sharpie using the glass as my stencil, then cut along the line of the material with scissors.
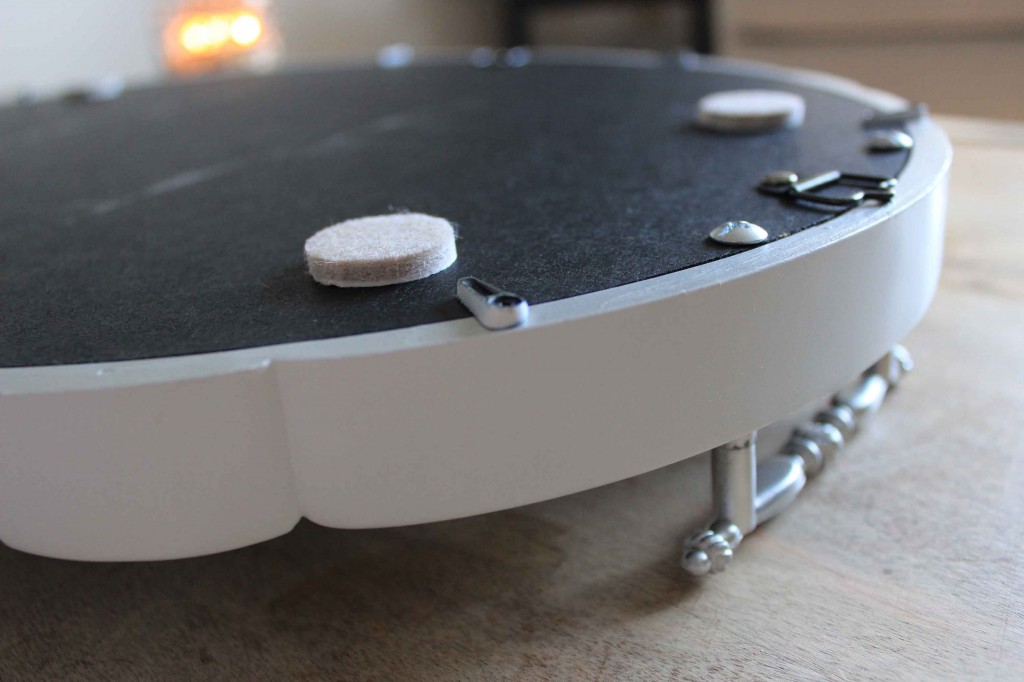
The last step after the assembly was to stick felt pads to the bottom of the photo frame tray so that it wouldn’t scratch our beautiful coffee table!
I absolutely love the end result of this DIY project. The tray looks gorgeous in our living room, and compliments the metallic edges of our coffee table perfectly.
Do you have any projects laying in the basement waiting to be completed? (Trust me, I have like 37 more!)


