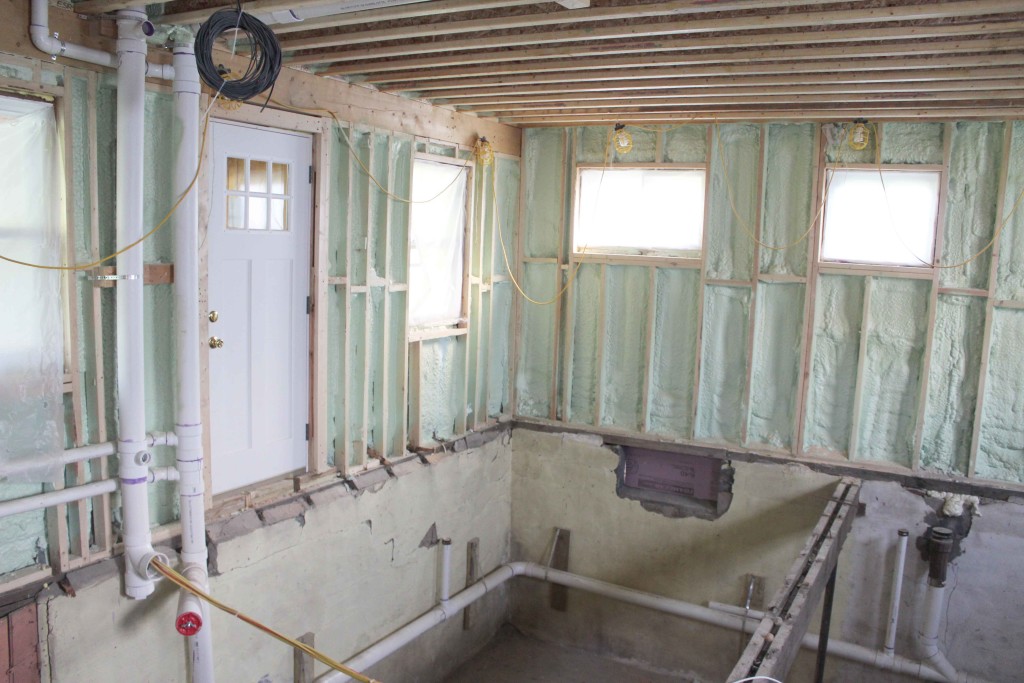
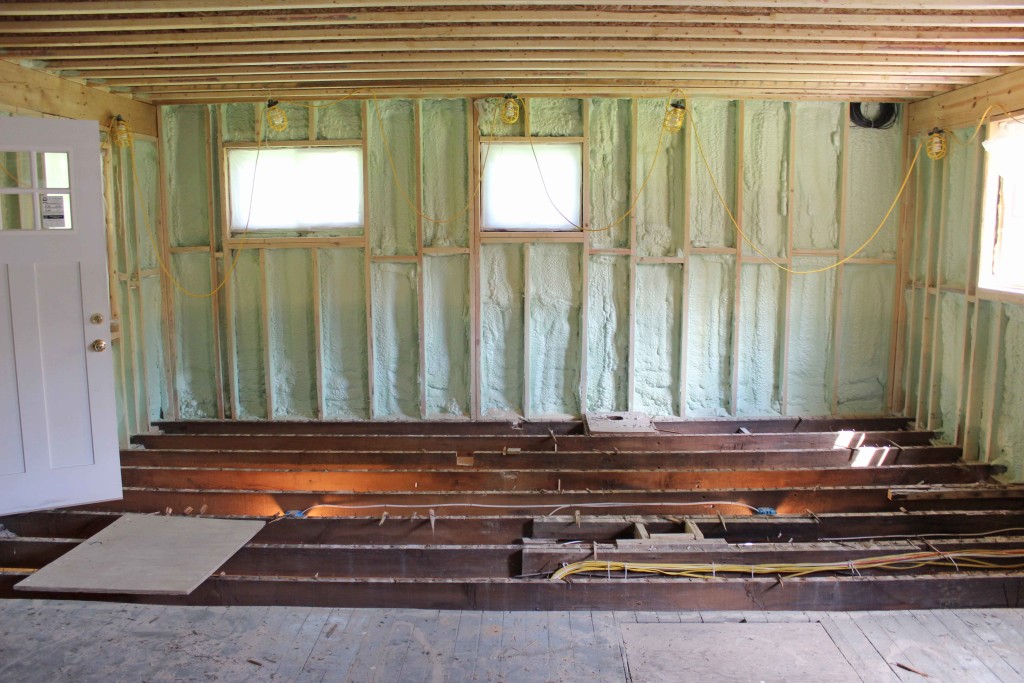
The last time we left off on our house update, Brandon and I completely ripped out the first floor. It’s been a long crazy couple months here, but I’m pleased to tell you we can now walk around freely on the brand new joists and subfloor on our main level. The prior floor joists were in really rough shape. They were sagging in the center, and in some places had been notched out and even cut completely and then “sistered” together with another piece. When you walked around you could literally feel the floor drooping as you moved closer toward the center. Here is a quick reminder of what the previous floor joists looked like as we began to remove them:
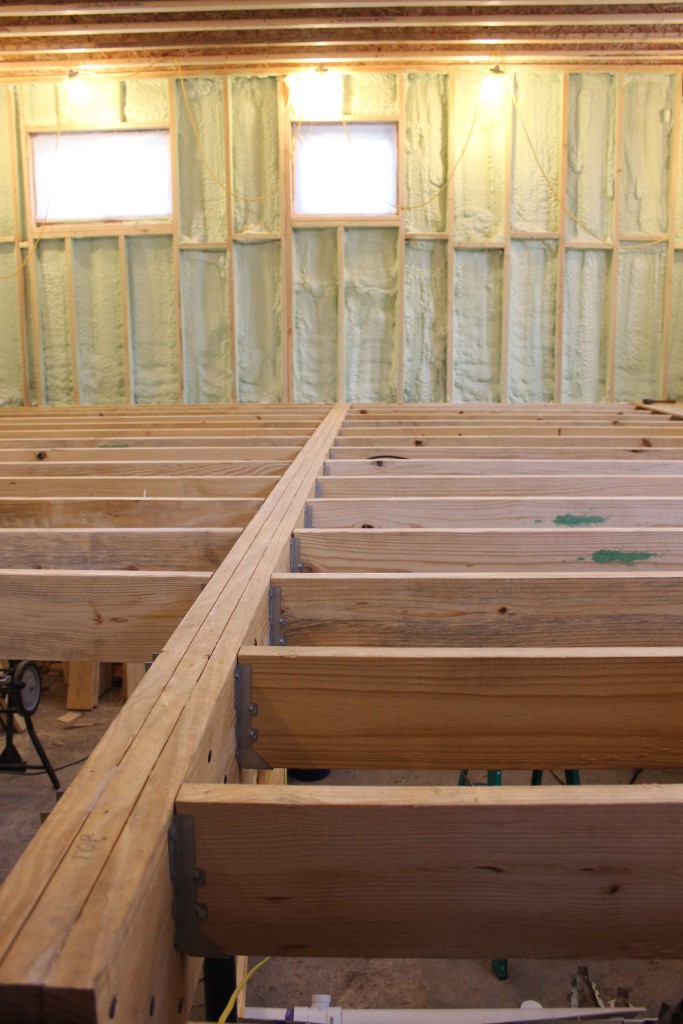
Before we installed the brand new joists, we first needed to replace the center beam that supported the joists, which spans about 18 feet. (At this point, we figured we were this deep into it, we might as well replace that too) Brandon and I assembled the beam together using (3) 2×12 beams glued and screwed together using Fastenmaster TrussLok screws. The beam was so large and so heavy, it took 4 grown men to carry it from the garage into the house and install it.
After the center beam was in, Brandon, his good friend Dan and I worked together to measure, cut and install the joists one by one. The joists are 2×8’s cut to length attached to the beam with Simpson Strong-Tie hanger specified fasteners. To ensure that the joists were evenly spaced 16 inches apart, Brandon created a jig that measured the exact lenth. He would nail in a joist hanger, put the jig in the one he nailed down, and use the other side to determine the placement of the one proceeding. While Brandon nailed the joists hangers in, Dan and I measure the span of the joists, cut and placed them in the hangers. Once they were in, Brandon went back and nailed them in place using our impact palm nailer.
Once the joists were secured in place, we were able to get the subfloor down pretty quickly. With the help of another good friend, we managed to get the subfloor down in an afternoon. My job was to put liquid nails on the joists and the guys would carry over the subfloor and nail it down with the nail gun.
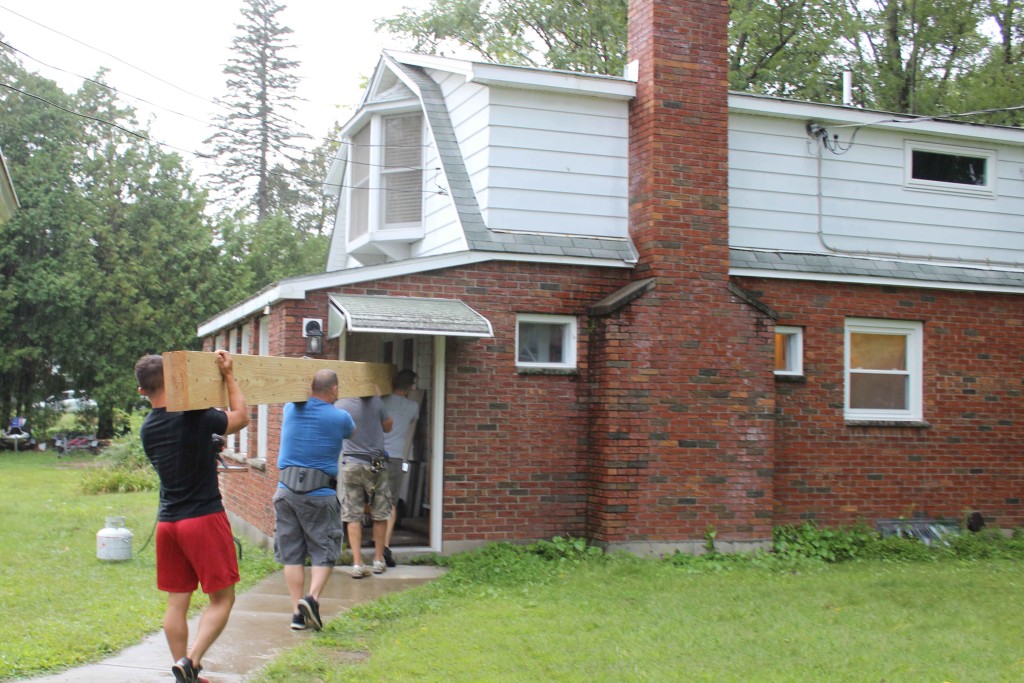
^ Carrying in the center beam
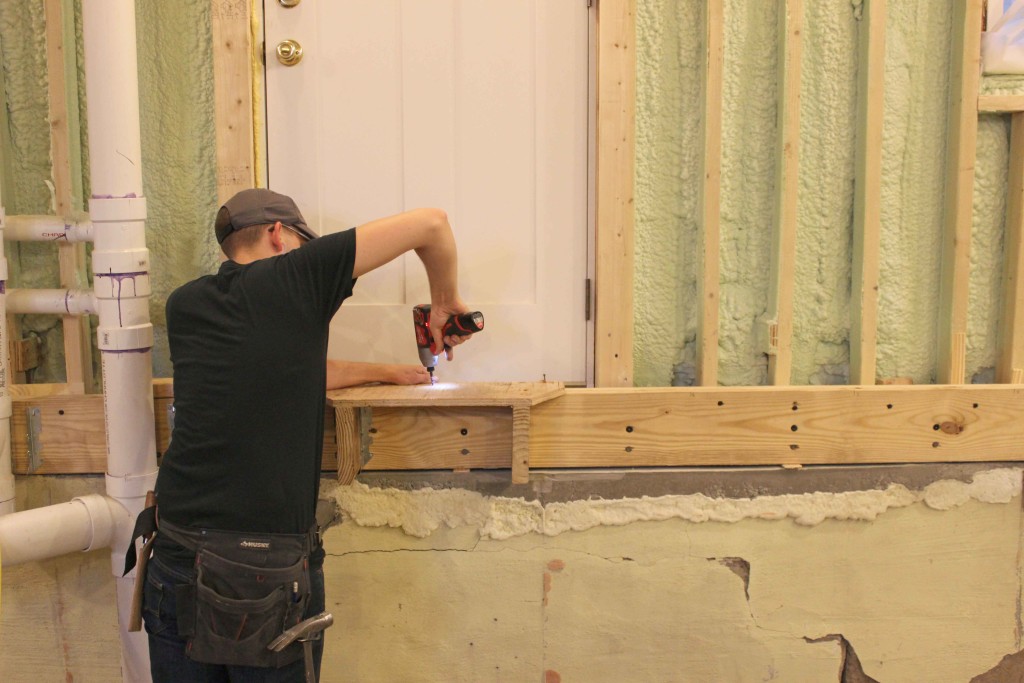
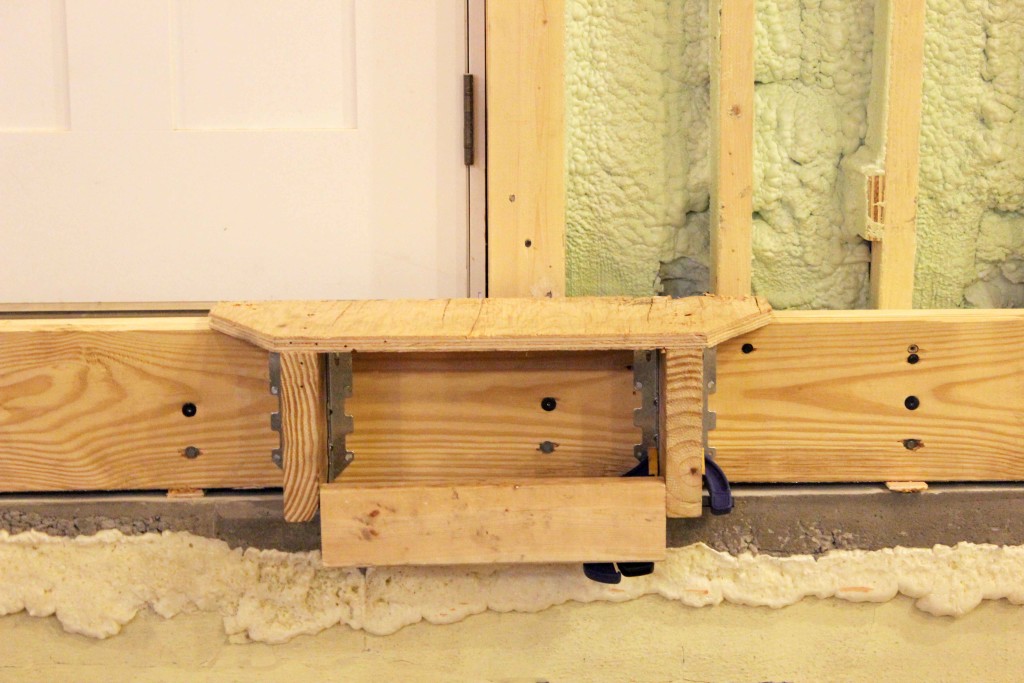
^ The jig is up.
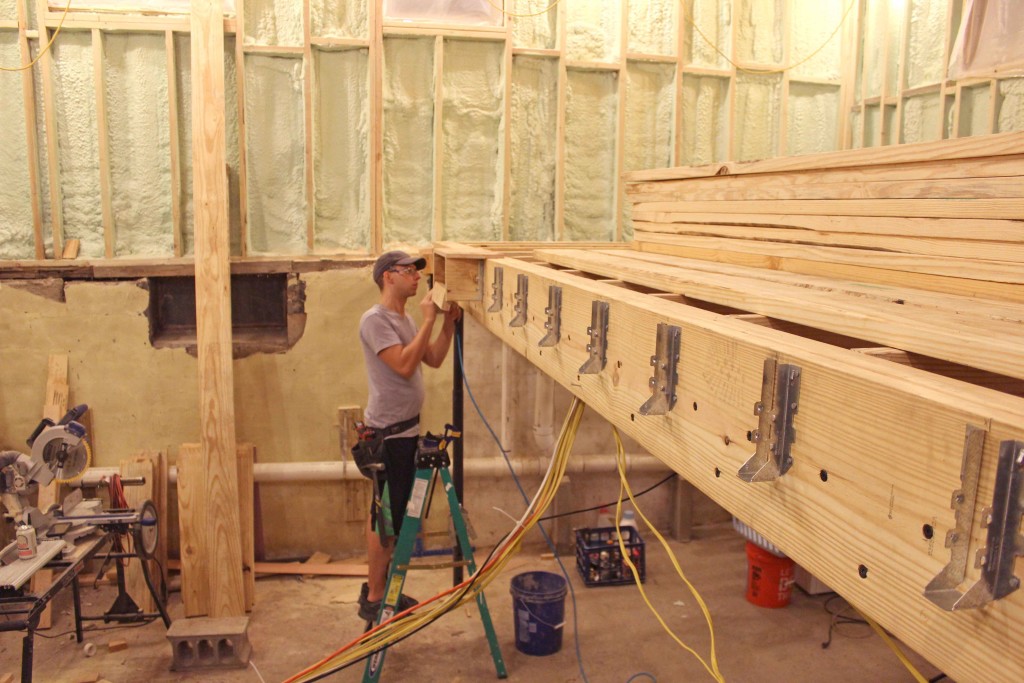
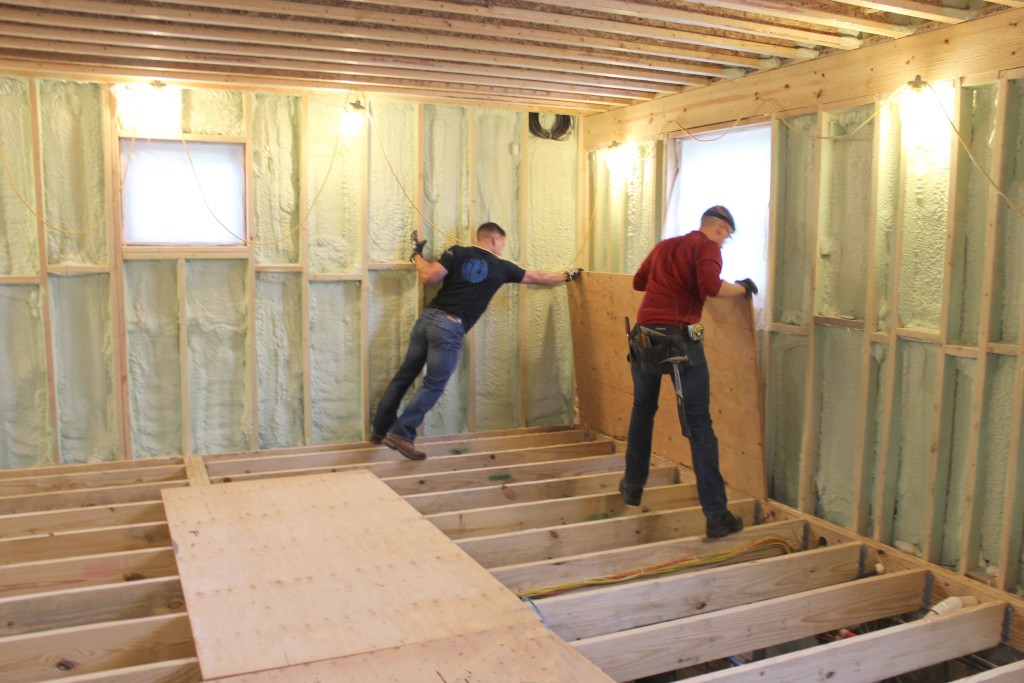
^ Putting down the first sheet of subfloor
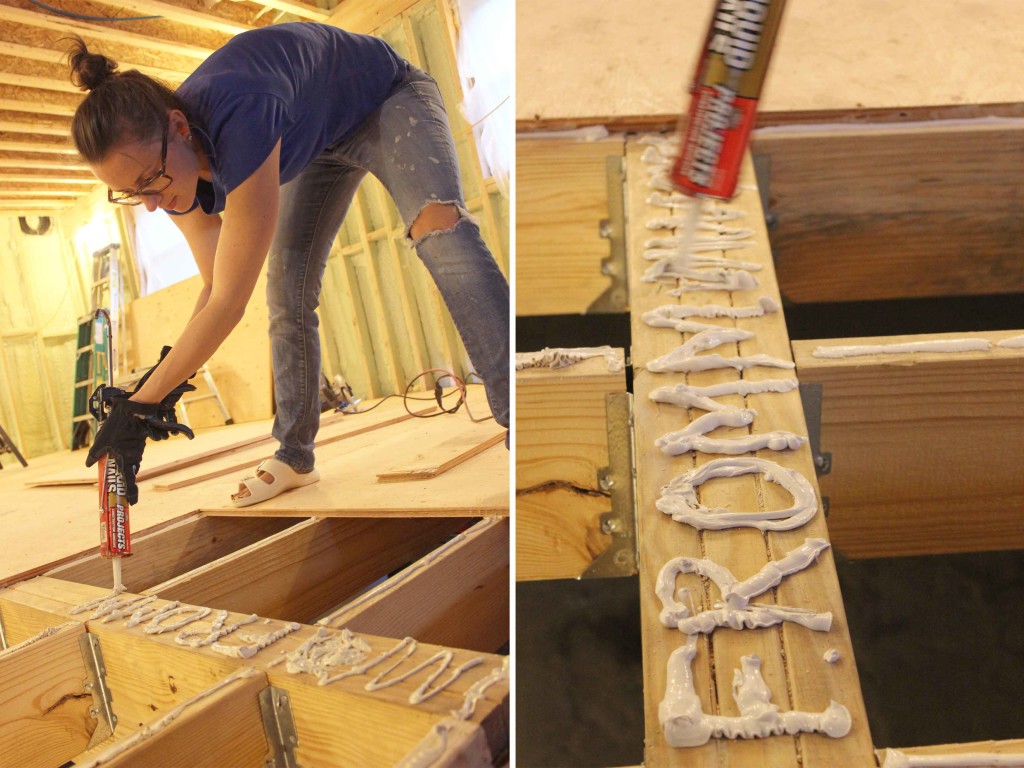
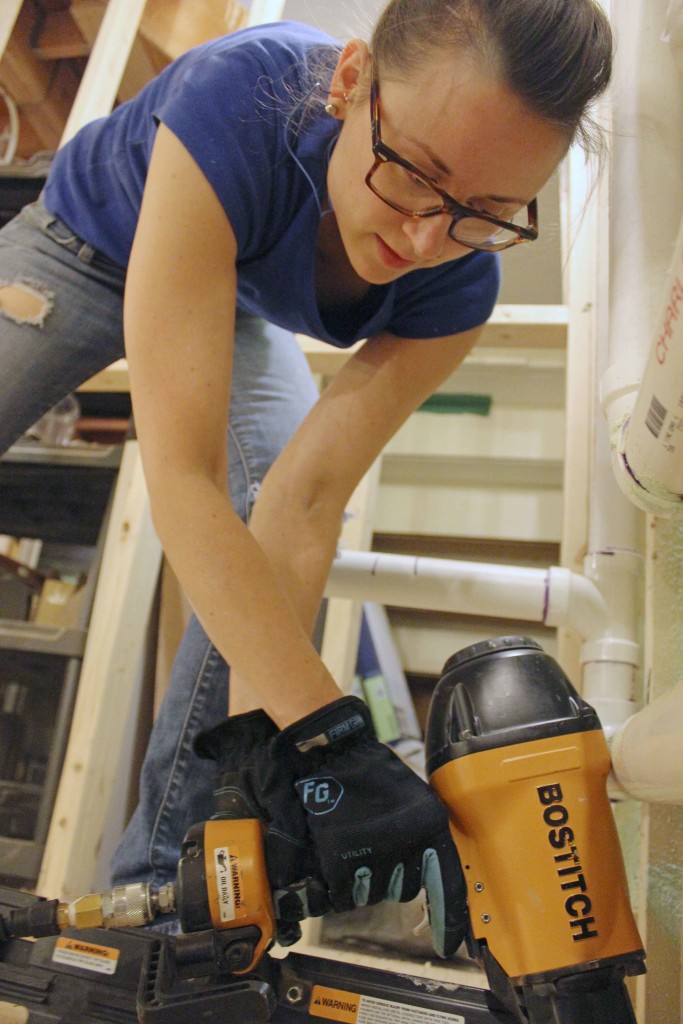
^ #nailedit
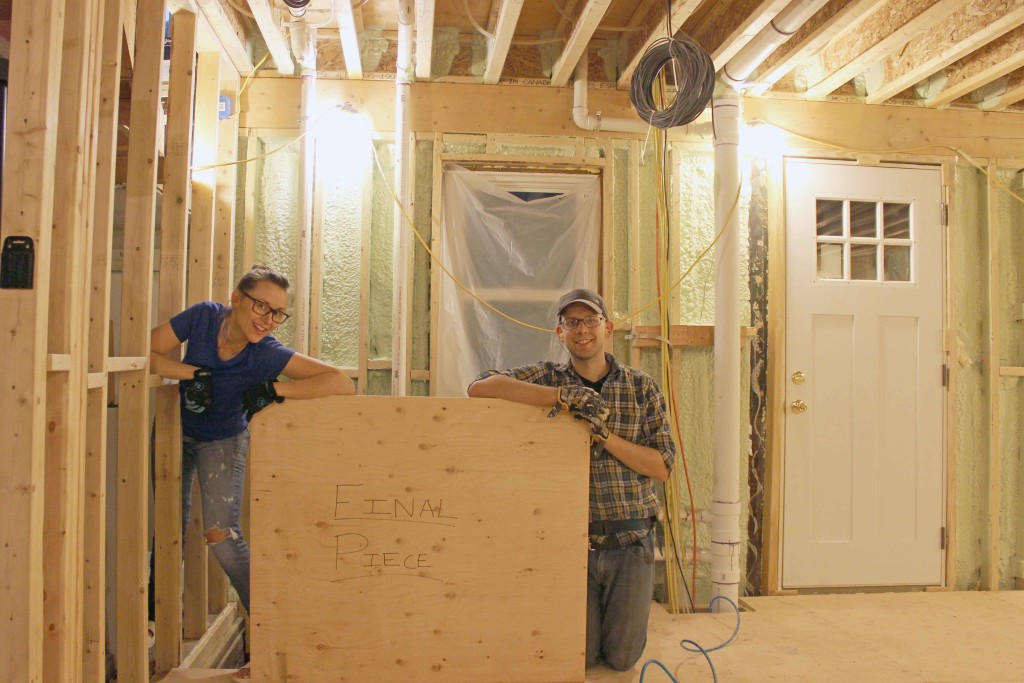
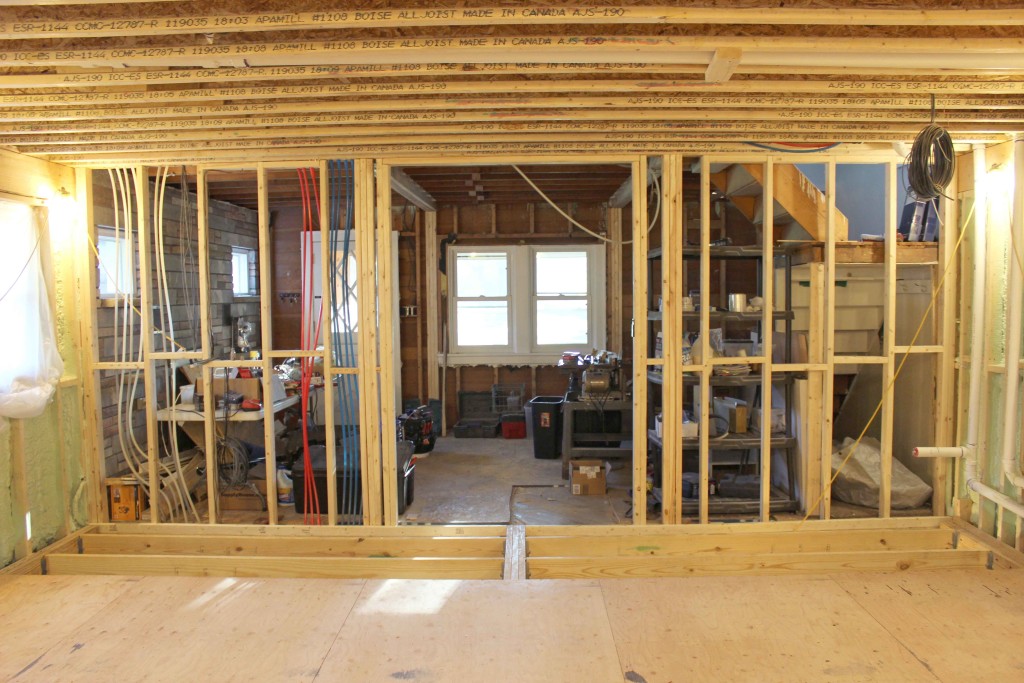
^ Final piece of subfloor
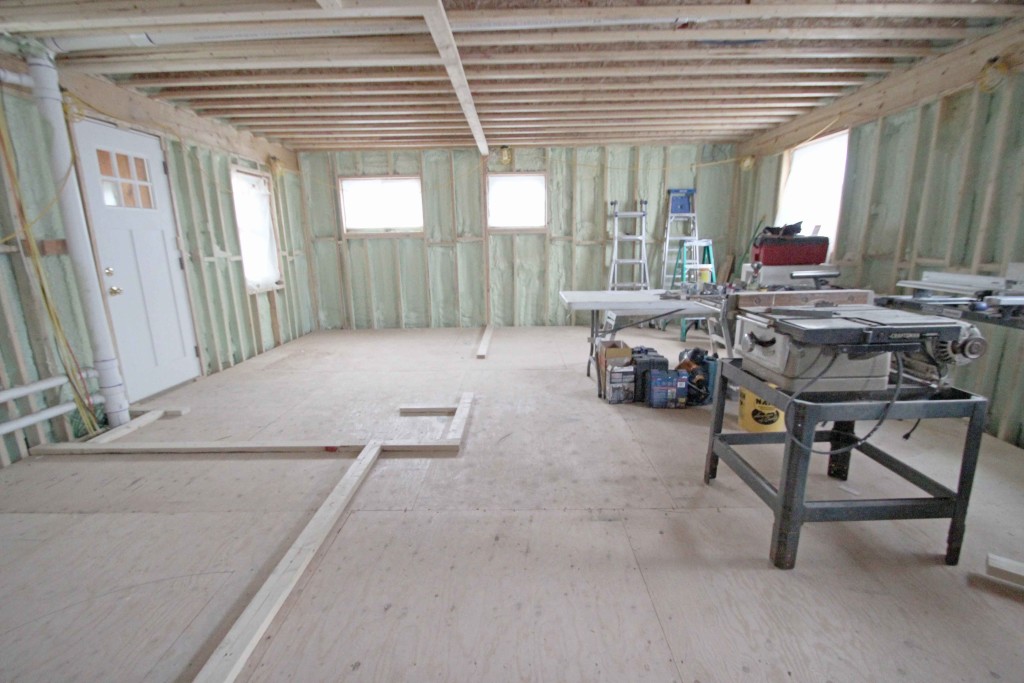
^Our main floor currently
It took a lot of hard work to get here but we did it! The current status for the downstairs is we have just started framing. We put in the base plates and top plates for the studs this past week. This weekend we will be putting up the studs for the walls!! It actually feels a bit unreal to me. Its been over a year since we’ve been living here, and its finally beginning to sink in that we will have a real functioning first floor soon. I’m so excited to continue with our progress, and of course there will be more updates to come!!


