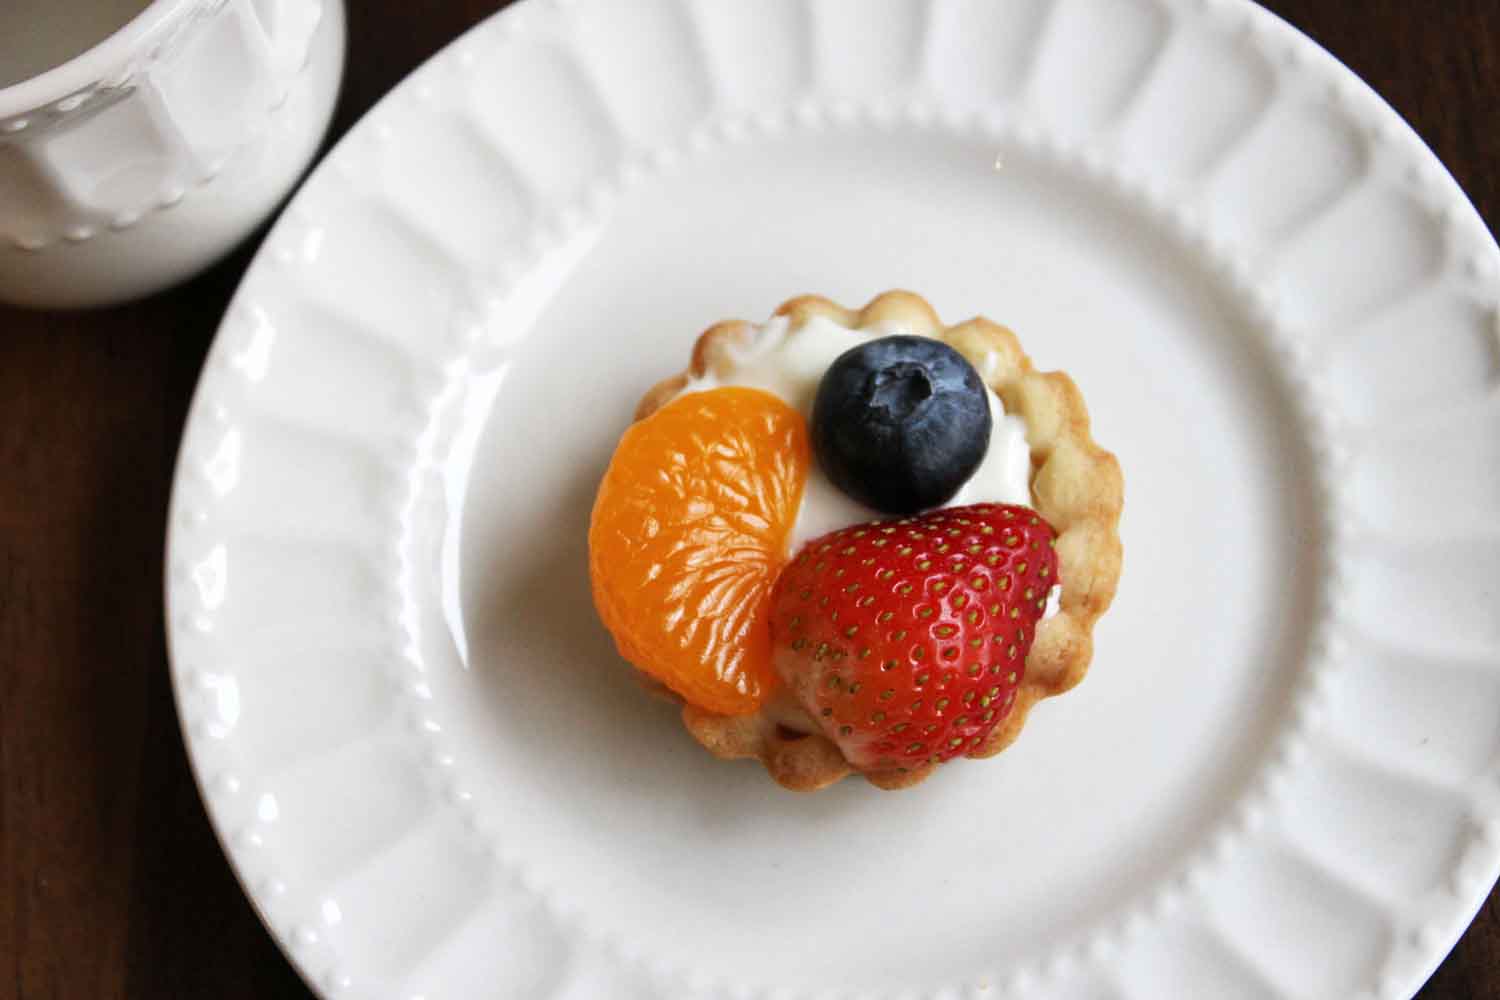
I enjoy baking from time to time. For the most part, it can be relaxing. This quiet Saturday morning I decided to do bake some fruit tartlets- an exquisite (and necessary) snack, perfect for a lazy Saturday.
The recipe for the crust I found on the back of the box of the tart baking pan. (I purchased the pan from Williams-Sanoma, it comes with a tart cutter and tamper.) I adapted the recipe a little- using more sugar and less butter, as seen below.
2 1/2 cups of flour
1/3 cup of sugar
1 1/2 stick of butter
2 tsp salt
6-8 Tbs water
You don’t need to have a food processor to mix the ingredients, but it helps. Combine the dry ingredients. Then process or use a fork to knead in the butter. Then add the water one tablespoon at a time, mixing after each one. Let dough sit for about an hour in the fridge.
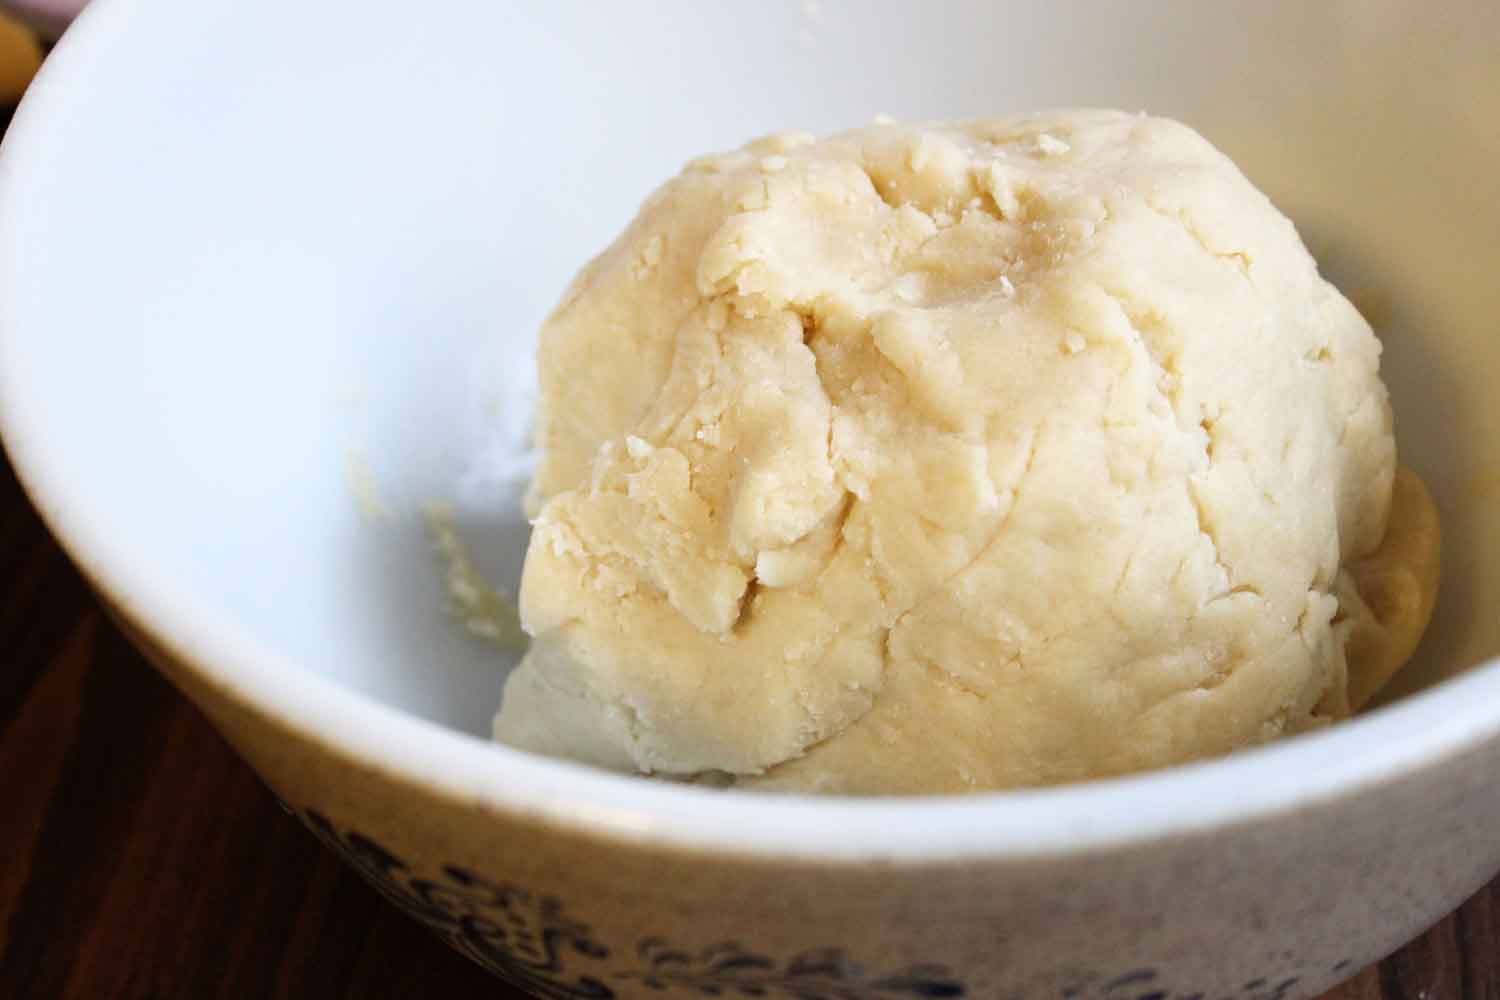
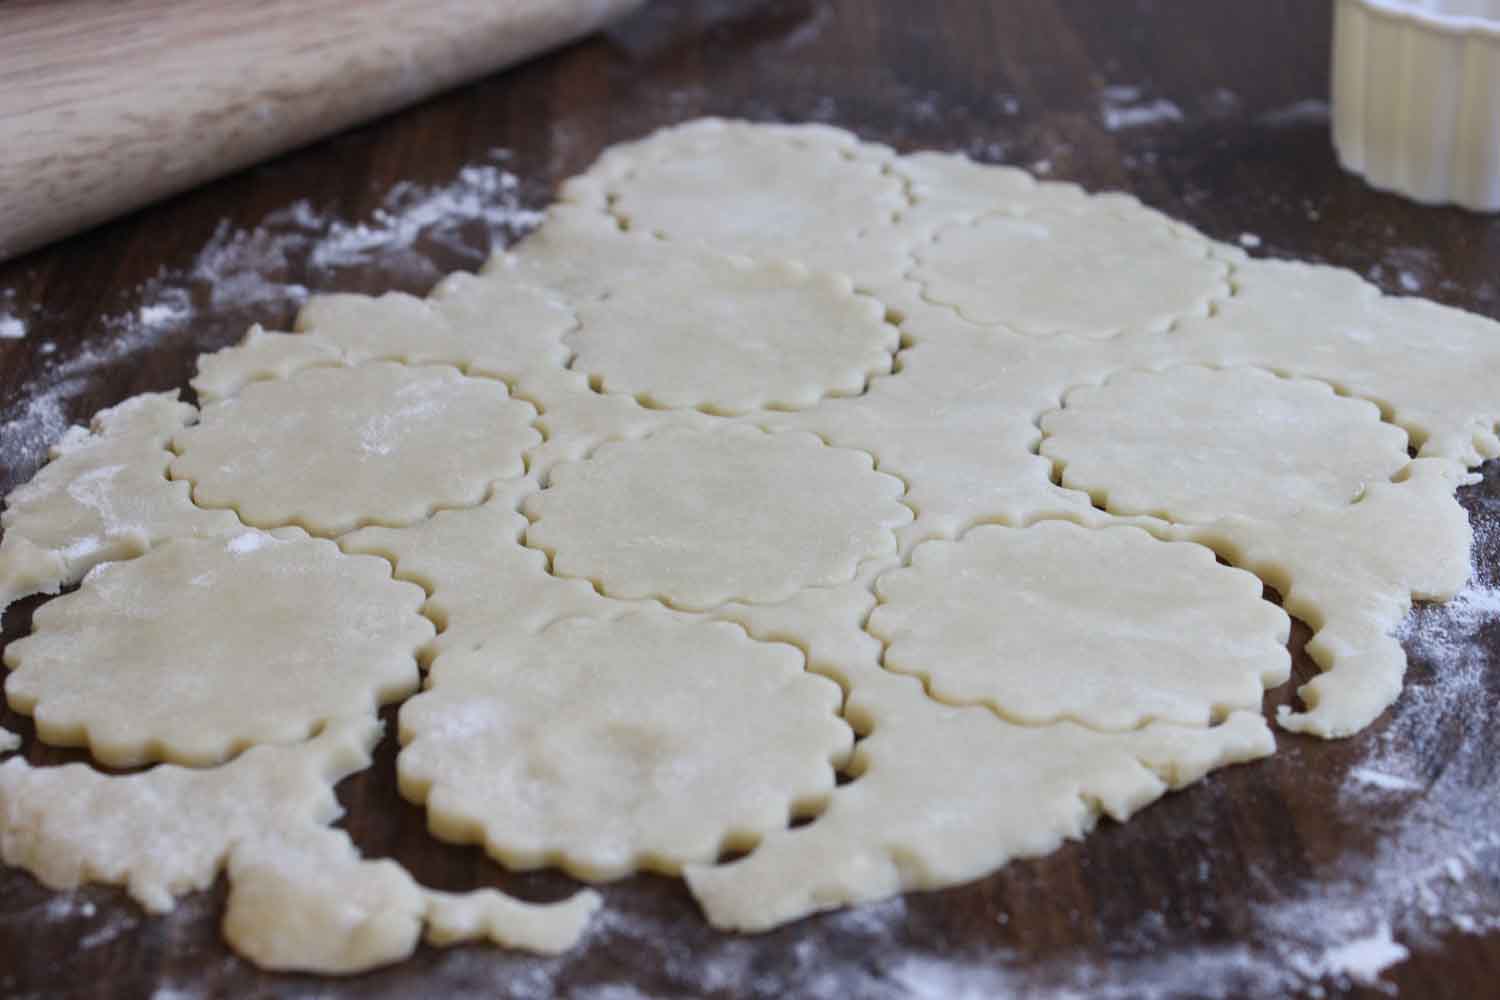
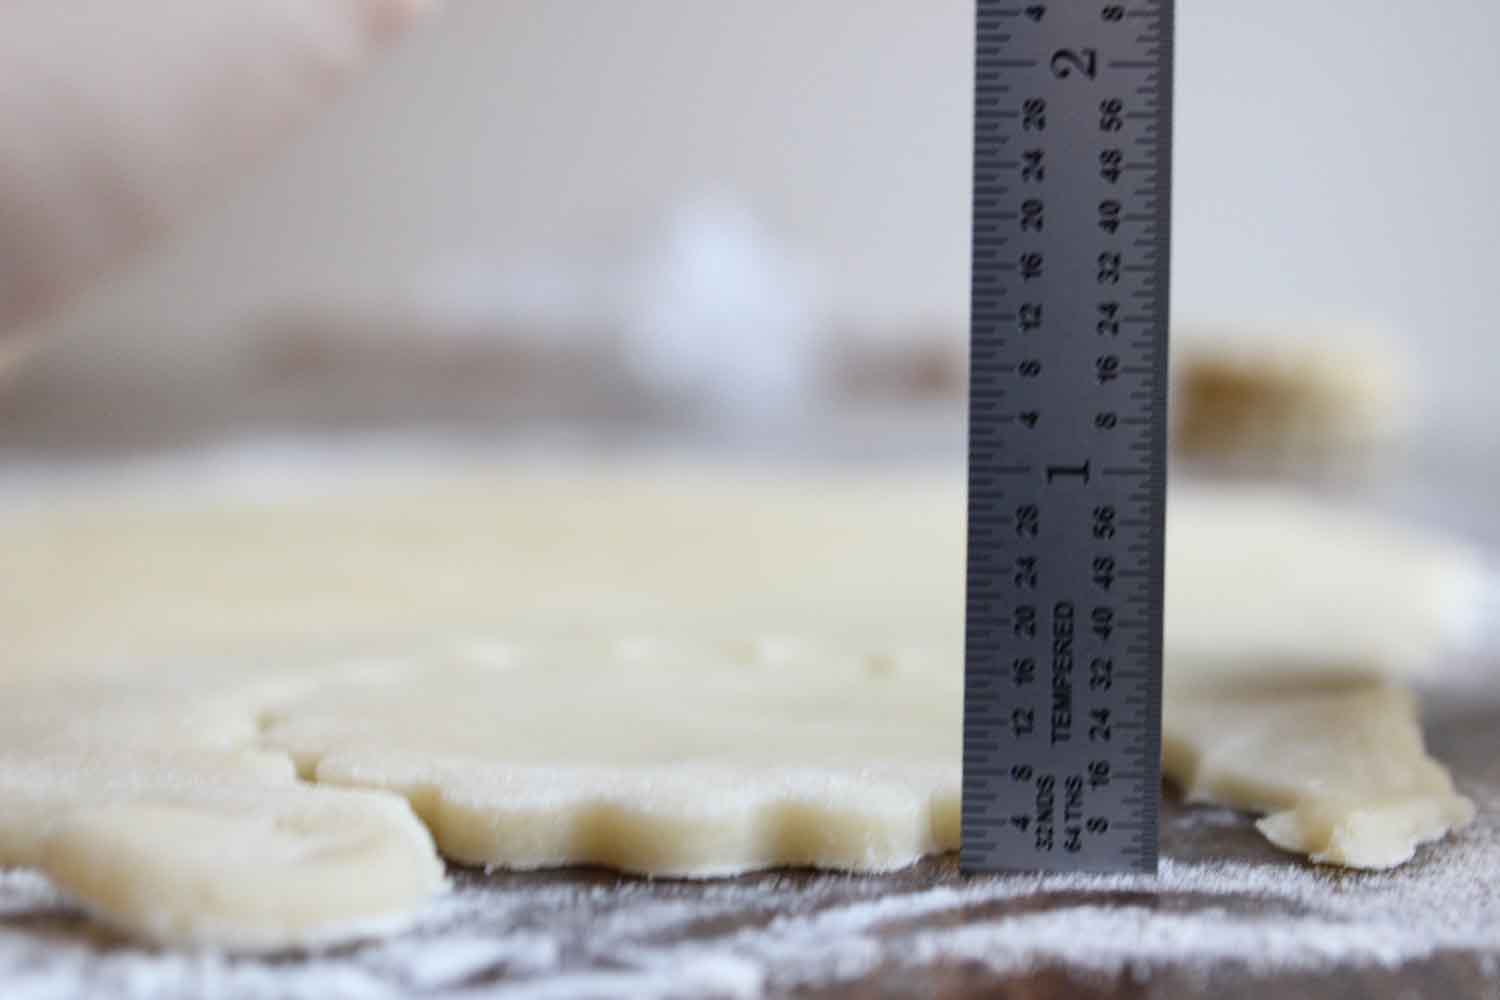
Each tartlet should be about 3/16 inch thick. When I first started making tarlets, I would always make them too thin and they would burn, or break after they were baked. Don’t be afraid to make the crust thick.
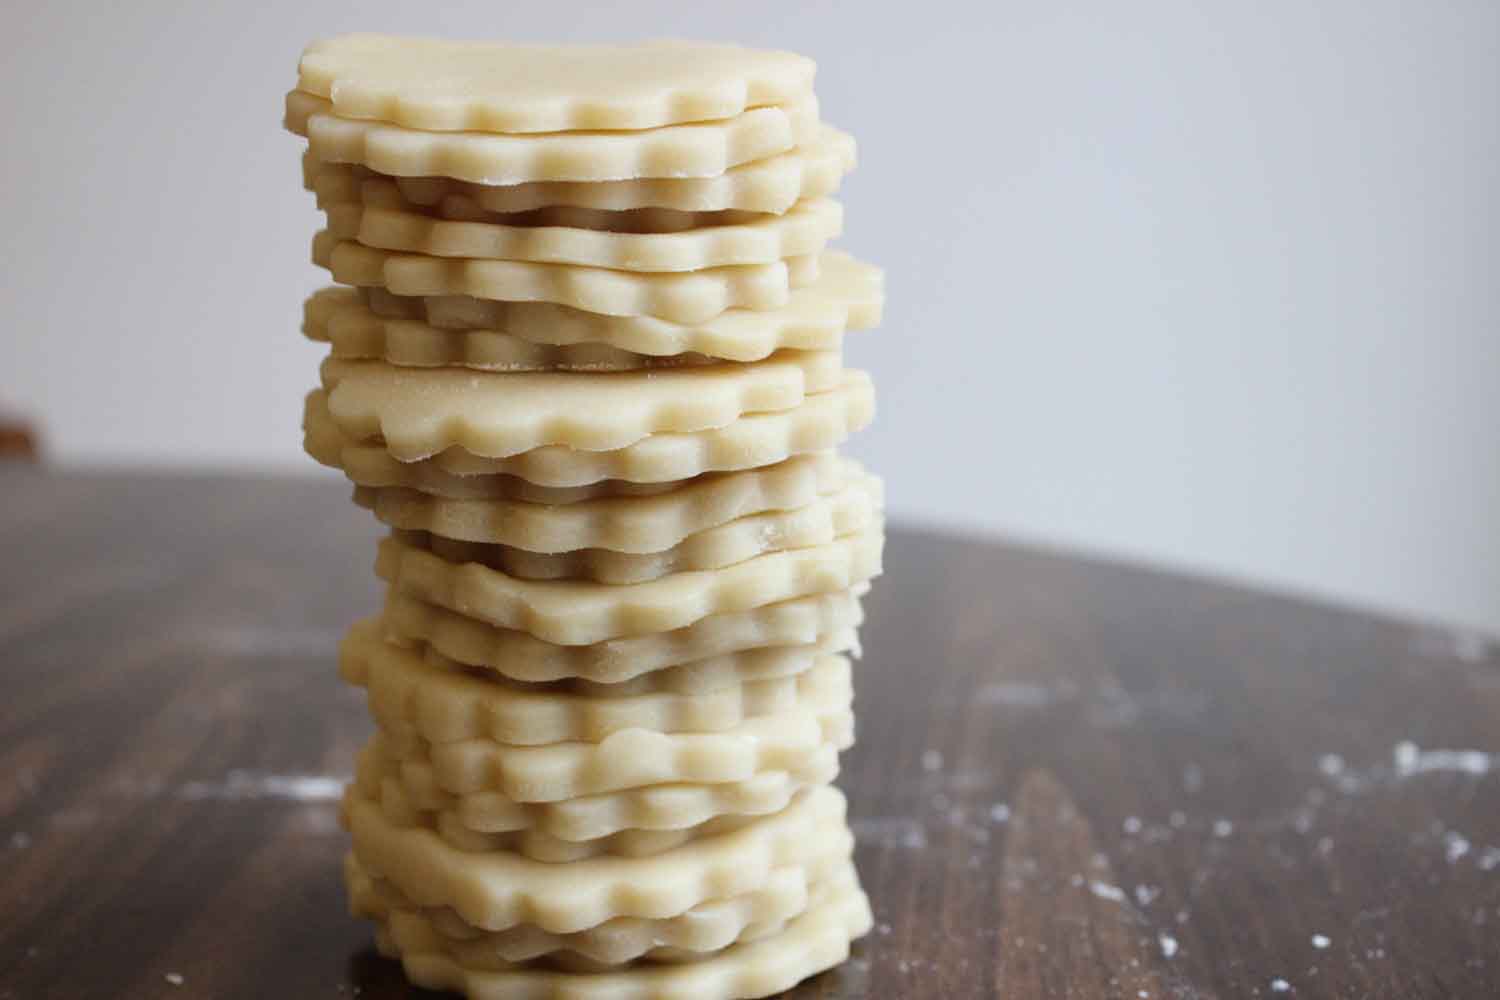
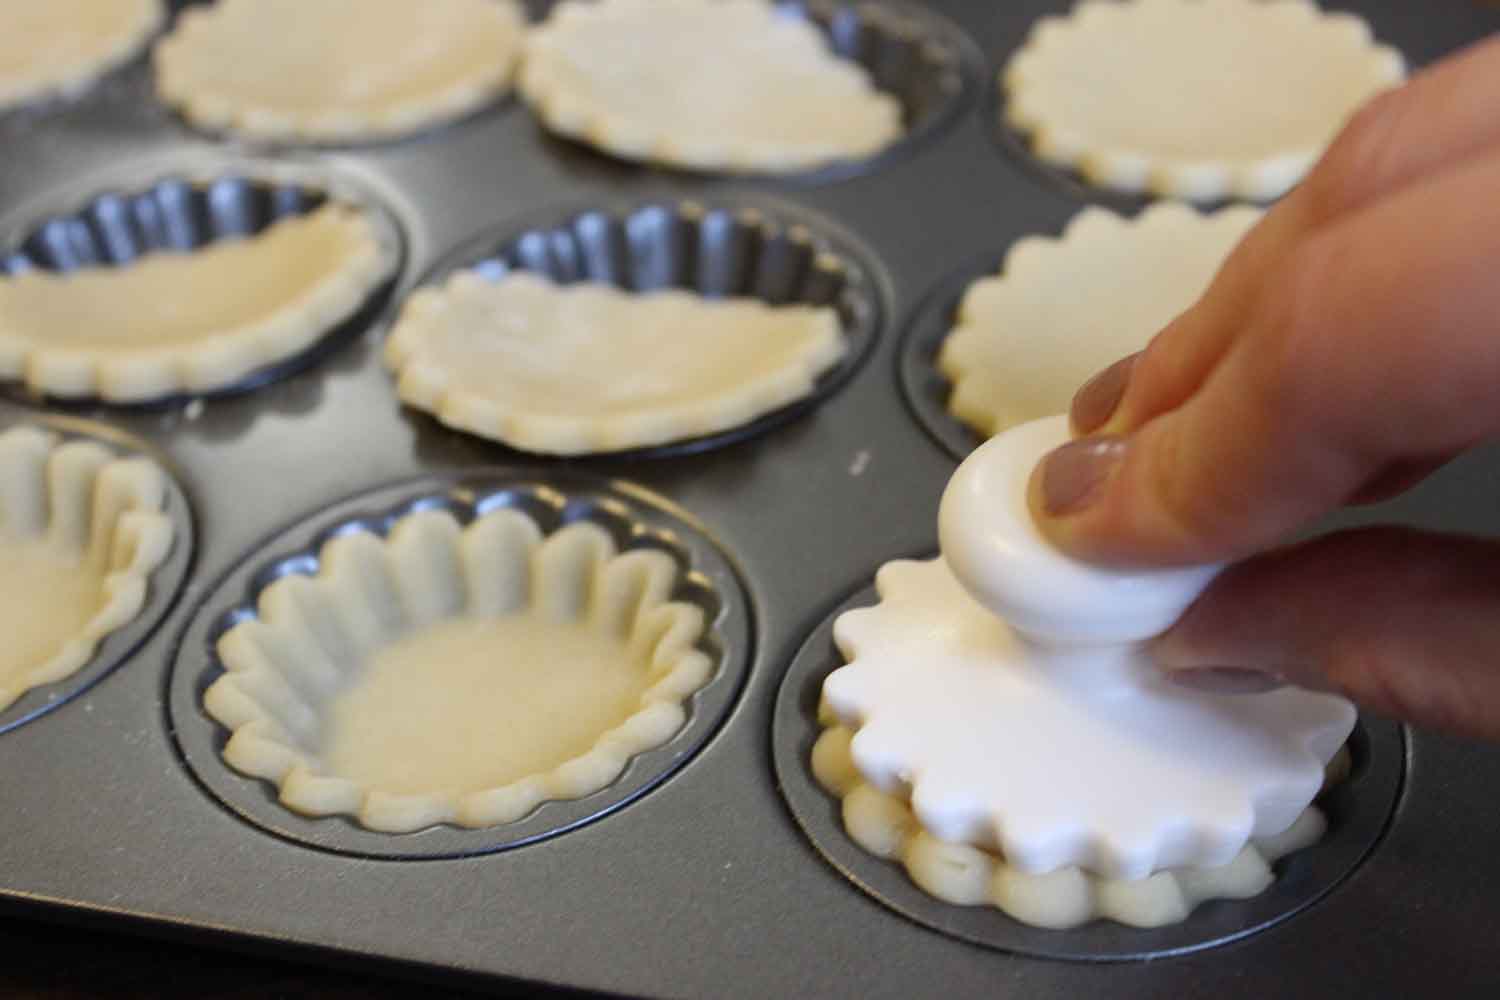
Use the tamper to press in each piece of tartlet crust. If the tamper sticks to the dough, pat some flour on the tamper before pressing the crust in.
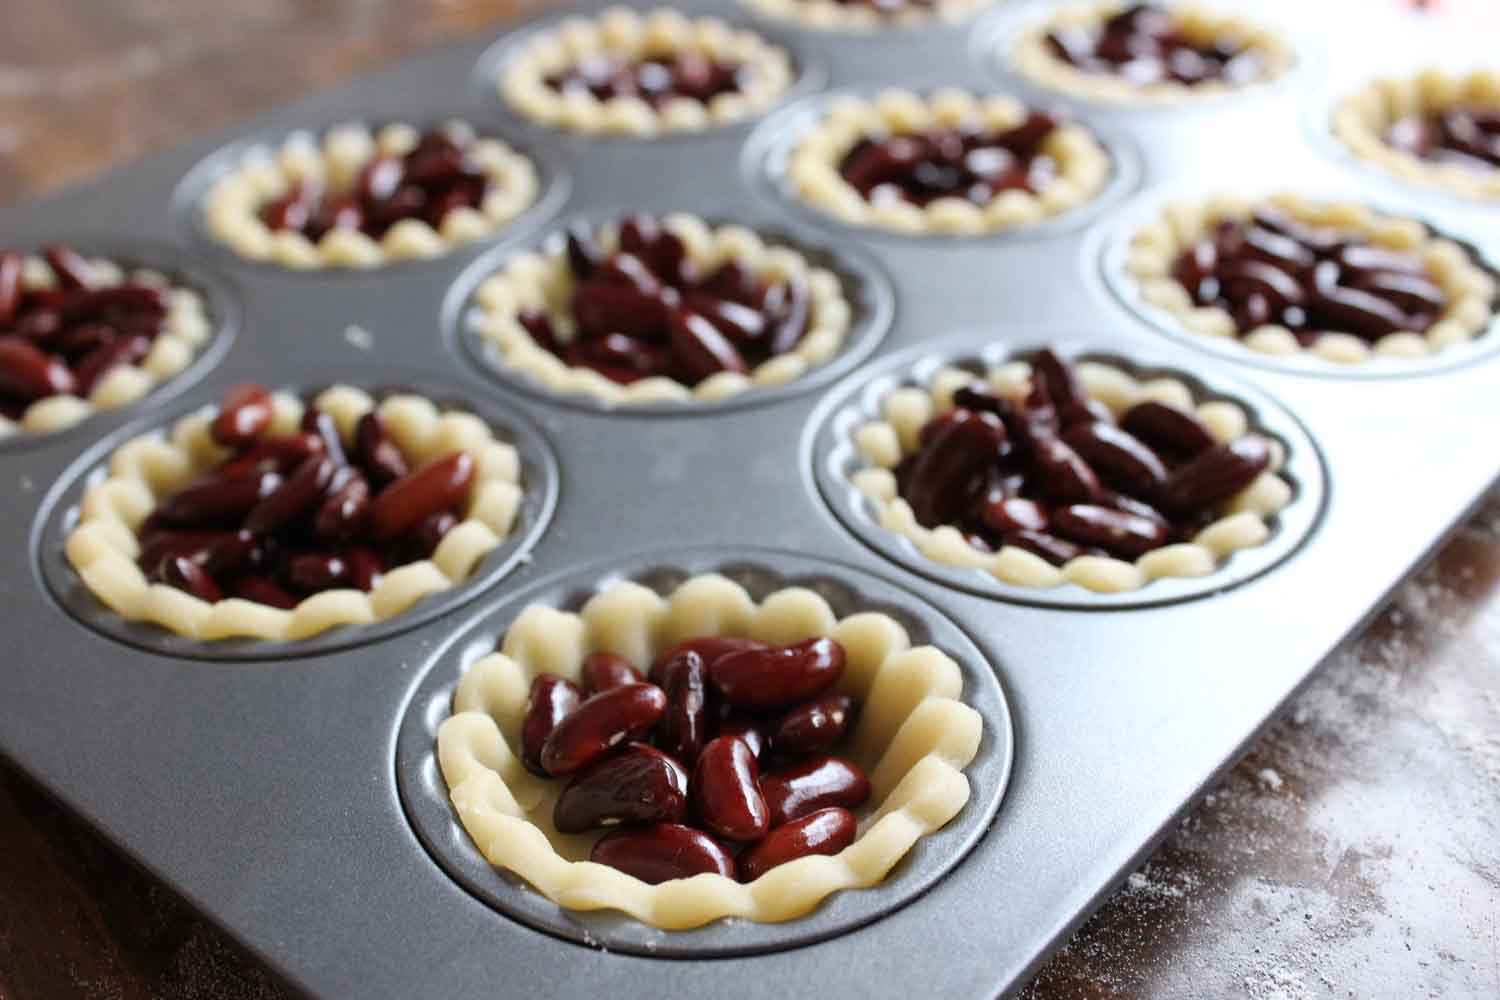
Another trick I learned along the way is to put dry beans on the bottom of each tart crust. This prevents the crust from rising in the oven, and helps keep their shape. If I were baking tarts with pie filling, I obviously wouldn’t use the bean trick, because the pie filling would hold the crust down.
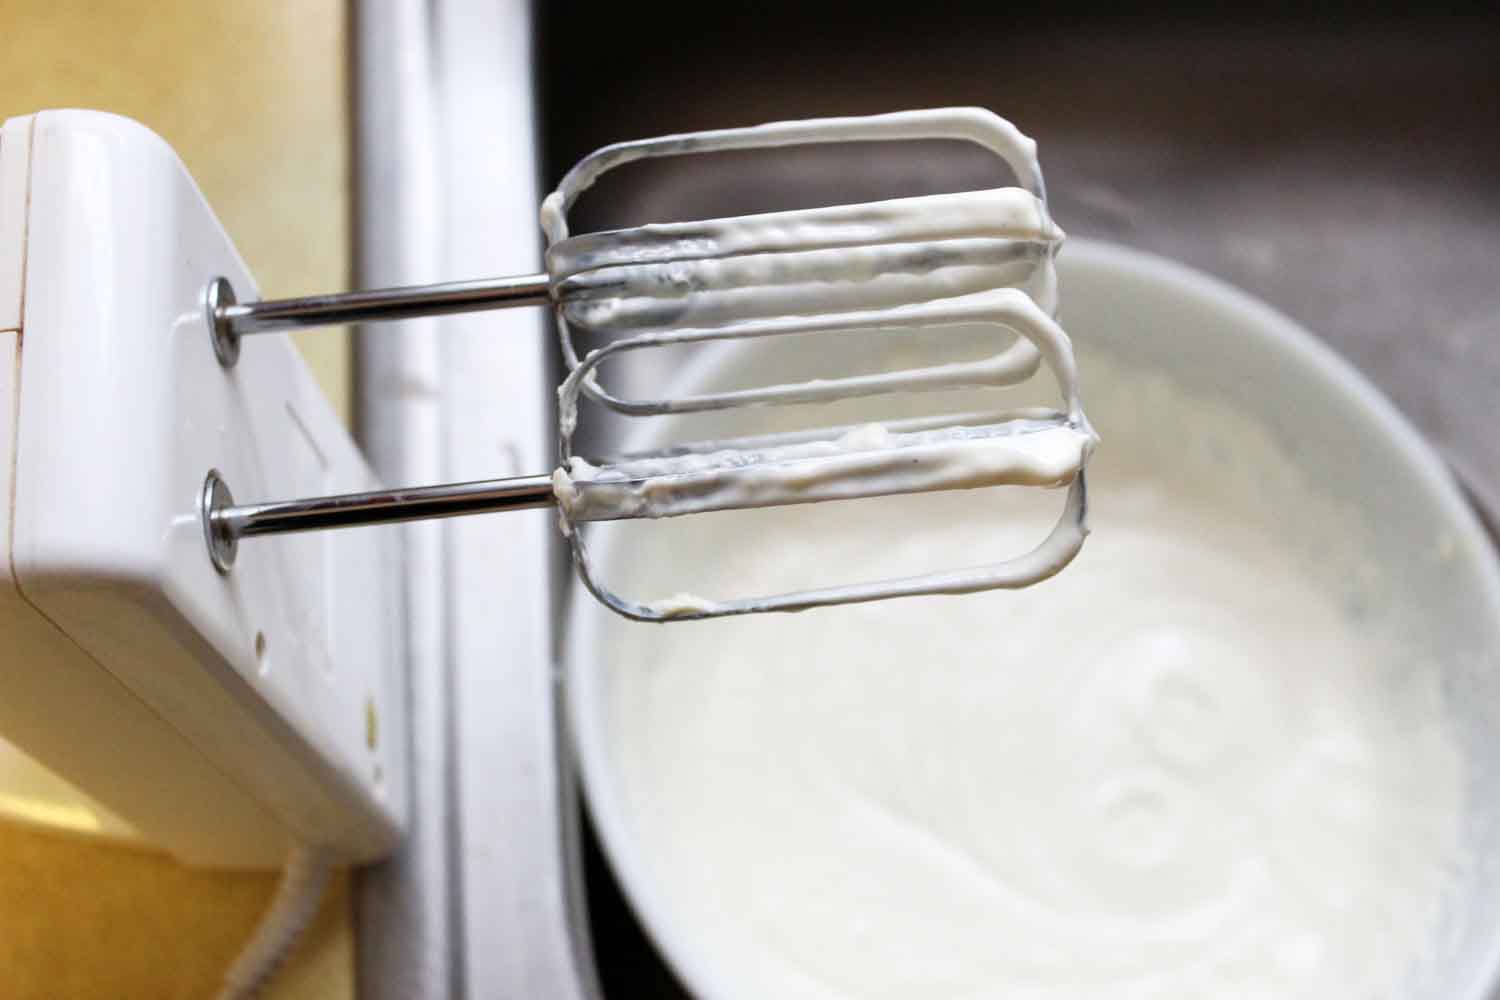
For the filling I beat together:
1 package of cream cheese
1 can of sweetened condensed milk
1/4 cup of lemon juice
1 Tbs of vanilla extract
Add the filling to the baked tart crust, and place desired fruit on top.

And there you have the perfect Saturday afternoon snack.
xo,
Maggie


